 Save
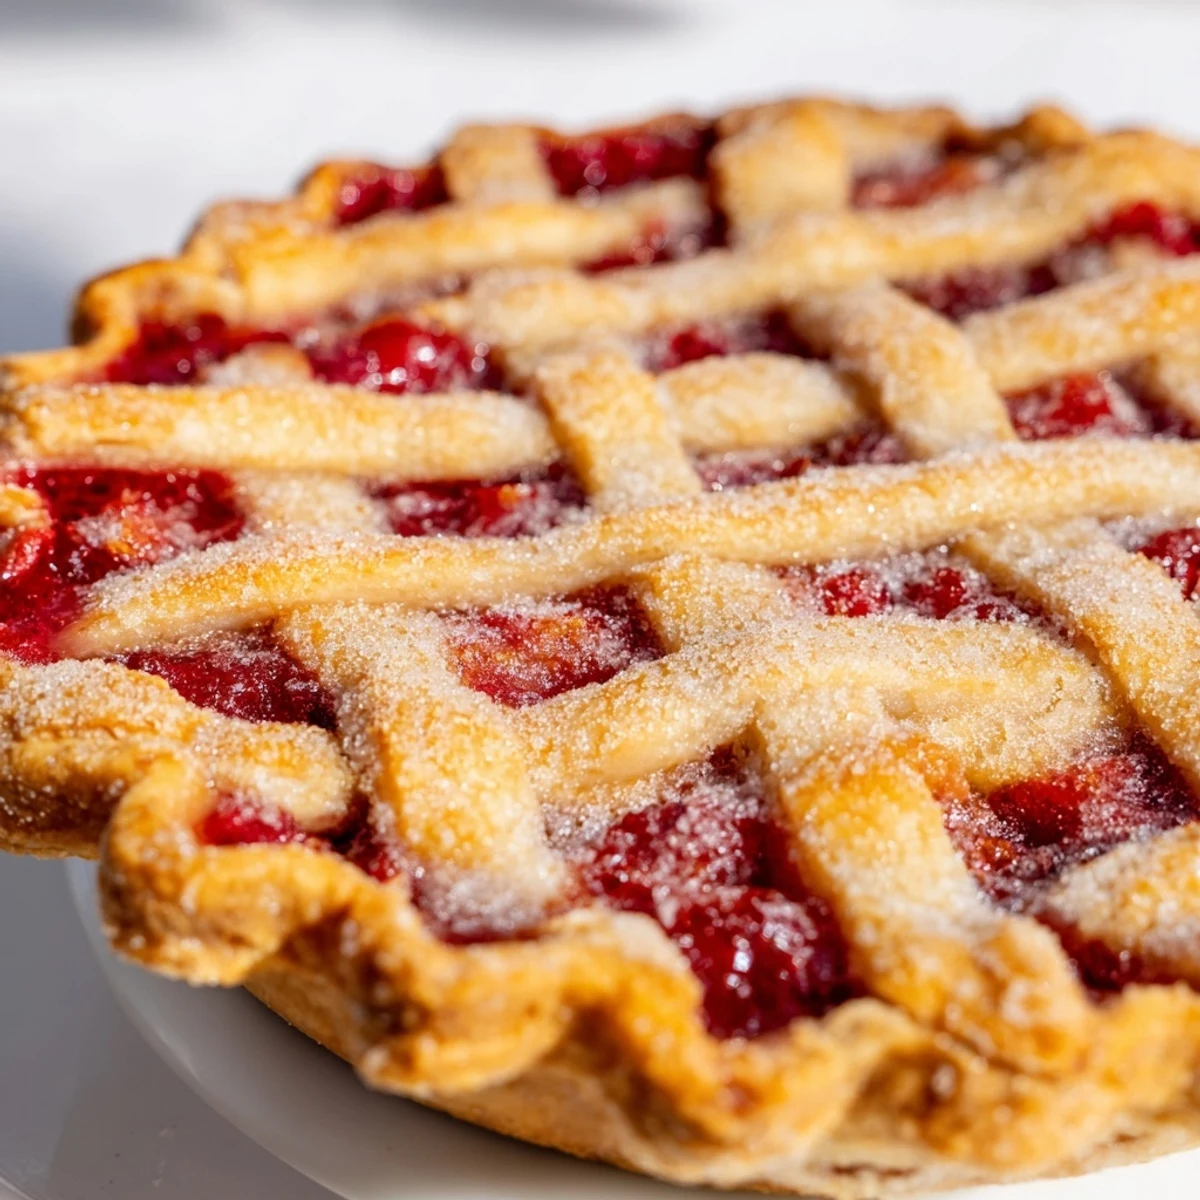
Save This summer favorite features a flaky, golden crust woven into a classic lattice pattern, filled with juicy, sweet-tart cherries. The dough is made from a blend of flour, cold butter, and ice water for a tender texture. Fresh or frozen cherries are combined with sugar, cornstarch, lemon juice, and almond extract to create a luscious filling. After weaving the strips into a decorative lattice and brushing with egg wash, the pie bakes until the crust turns golden and the filling bubbles invitingly. Letting it cool ensures clean slices and a delightful treat.
The July heat wave had everyone dragging their feet, but my grandmother was determined that cherries would not go to waste. She sat us both at the kitchen table with a colander between us, teaching me how to pit cherries without splattering juice on everything we owned. By the time we finished, our stained thumbs told the story of an afternoon spent talking about everything and nothing while preparing what would become the most anticipated dessert of the summer.
I brought this pie to a Fourth of July potluck one year, expecting it to be dessert alongside three other pies. Someone cut into it first, and suddenly people were hovering, waiting for slices. The host actually chased me down as I was leaving to get the recipe because her husband had taken one bite and declared it the best cherry pie of his life.
Ingredients
- 2 1/2 cups all-purpose flour: The foundation of everything flaky and good, spoon it gently into your measuring cup
- 1 tsp salt: Just enough to wake up the flour without tasting salty
- 1 tbsp granulated sugar: A tiny sweetness that helps the crust brown beautifully
- 1 cup unsalted butter, cold and cut into cubes: Cold butter is non-negotiable here, straight from the fridge
- 6–8 tbsp ice water: Add it slowly, watching for the dough to just come together
- 5 cups fresh or frozen pitted cherries: Fresh taste like summer, frozen work perfectly if thawed and drained
- 3/4 cup granulated sugar: Sweetens just enough to let the cherry brightness shine through
- 1/4 cup cornstarch: The magic that transforms cherry juices into that perfect spoonable thickness
- 1 tbsp lemon juice: Brightens everything and keeps the filling from becoming cloyingly sweet
- 1/4 tsp almond extract: The secret ingredient that makes cherry flavor sing
- 1/8 tsp salt: Balances the sweetness and rounds out the fruit flavor
- 1 egg, beaten: For that golden finish that makes pies look professionally made
- 1 tbsp coarse sugar: Optional but adds this sparkle and crunch that people notice immediately
Instructions
- Make the dough foundation:
- Whisk together your flour, salt, and sugar in a large bowl until they are one happy family. Cut in that cold butter using a pastry cutter or your fingertips until the mixture looks like coarse crumbs with some pea-sized bits remaining. Sprinkle in ice water gradually, stirring gently until the dough just holds together when squeezed.
- Let the dough rest:
- Divide your dough in half and shape each portion into a disk. Wrap them separately in plastic and let them chill in the refrigerator for at least one hour to relax the gluten.
- Prepare the cherry filling:
- Combine your cherries with sugar, cornstarch, lemon juice, almond extract, and salt in a large bowl. Toss everything together until every cherry is wearing its coating of sugar and starch. Let this mixture sit while you roll out your dough, giving the cornstarch time to start working.
- Roll out the bottom crust:
- Preheat your oven to 400°F and roll one dough disk into a 12-inch circle on a floured surface. Carefully transfer it to your 9-inch pie dish, letting the edges drape over the sides. Pour in that gorgeous cherry filling.
- Weave the lattice top:
- Roll the second dough disk into another 12-inch circle and cut it into strips about 3/4 inch wide. Lay half the strips across the pie horizontally, then weave the remaining strips vertically, alternating over and under to create that classic basket pattern.
- Finish with professional touches:
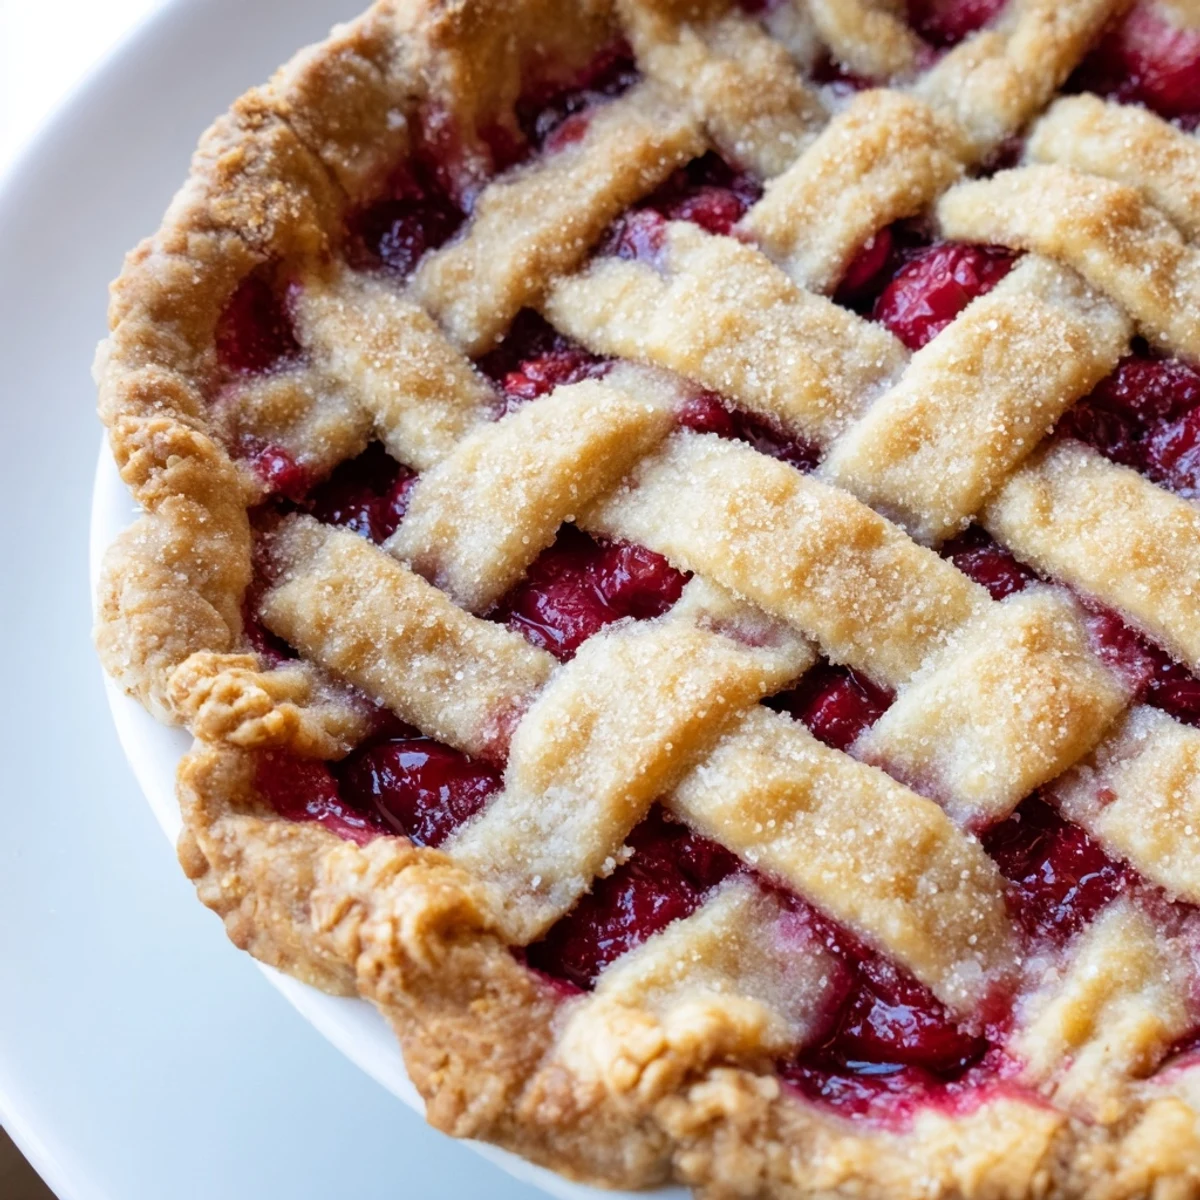
- Trim and crimp the edges to seal everything inside, then brush the entire lattice with beaten egg. Sprinkle coarse sugar over the top for that bakery sparkle. Place the pie on a baking sheet to catch any enthusiastic bubbling.
- Bake to golden perfection:
- Bake at 400°F for 20 minutes, then reduce the temperature to 350°F and continue baking for 35 more minutes. The crust should be deeply golden and the filling should be bubbling vigorously through those lattice openings. Cool on a wire rack for at least two hours before slicing.
 Save
Save My sister called me at midnight once, just to tell me she had eaten the last piece cold from the refrigerator standing in her kitchen. She said the silence of the house and the cold, sweet cherry filling was exactly what she needed after a terrible day. Food as comfort is such a cliché until it happens to you.
The Art of Lattice Work
My first lattice crust looked like a drunk spider had woven a web across my pie filling. The strips were uneven, the weaving was inconsistent, and I almost scrapped it for a solid top crust. But I baked it anyway, and somehow those imperfections made it look charming and rustic. Now I actually prefer slightly imperfect lattice because it proves someone made it by hand.
Cherry Wisdom
Fresh cherries in season are glorious but frozen cherries picked at peak ripeness often make a more consistently flavored pie. The key is thawing them completely and draining off that excess liquid before mixing with sugar and cornstarch. I have made this mistake both ways and learned through experience.
Serving Suggestions
This pie deserves to be the star of whatever meal it joins, but a scoop of vanilla ice cream melting into those warm cherry juices transforms it into something transcendent. The contrast between hot fruit filling and cold creamy ice cream is worth planning your entire dessert strategy around.
- Whipped cream with a tiny splash of almond extract echoes the filling beautifully
- A cup of black coffee cuts through the richness and highlights the tart cherries
- Room temperature pie lets the crust texture really shine on its own
 Save
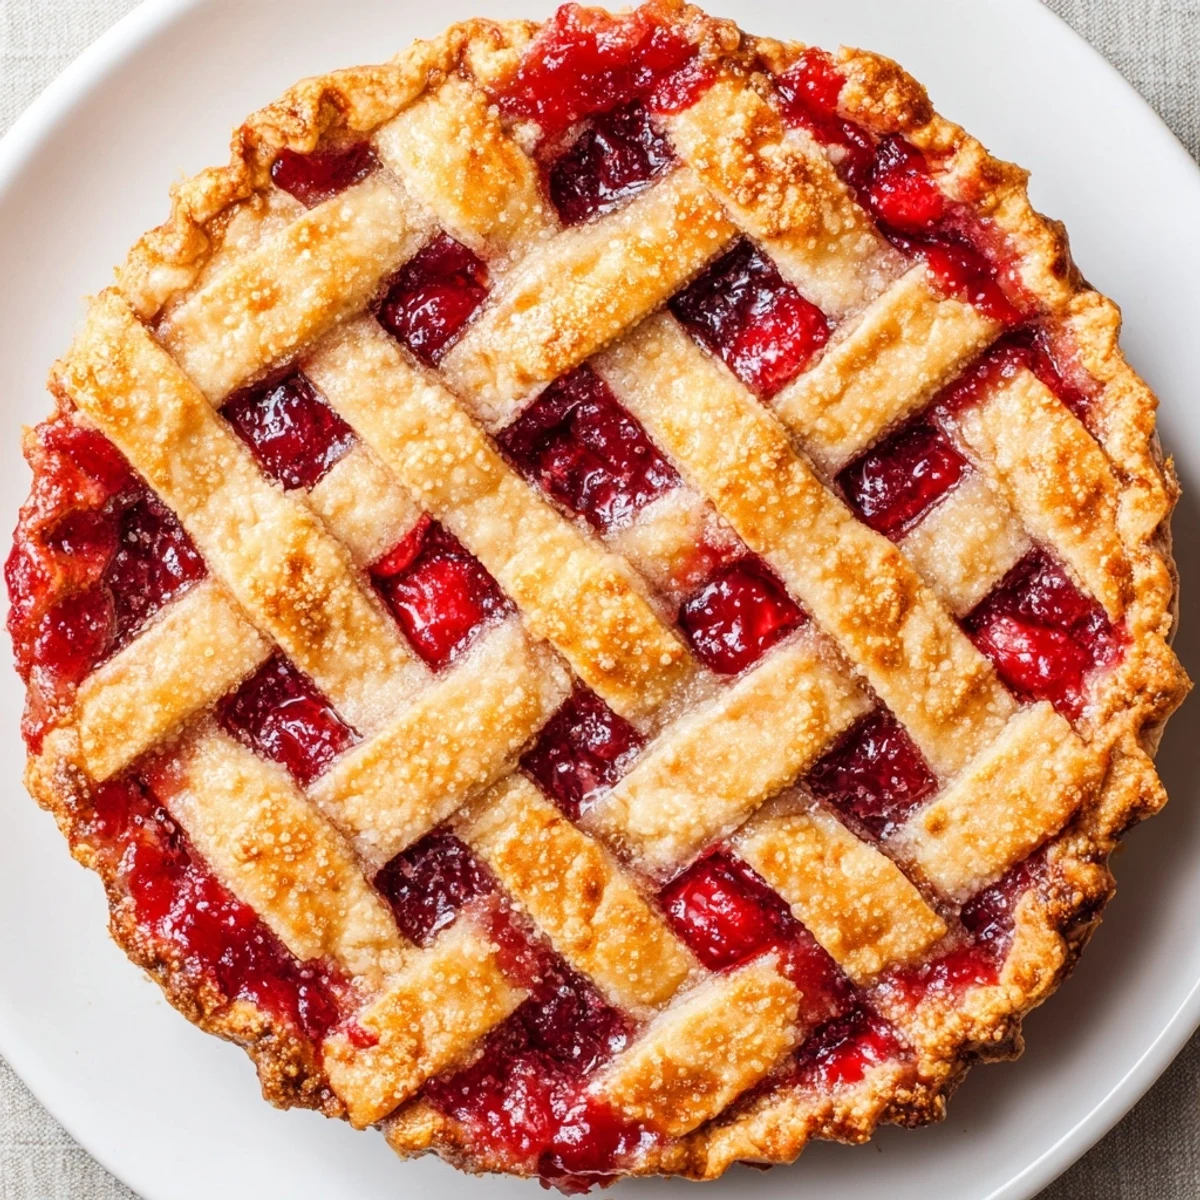
Save There is something deeply satisfying about serving a slice of pie where you can see ruby-red cherries peeking through that golden lattice. People always pause for just a moment before taking that first bite.
Recipe FAQs
- → How do I ensure a flaky crust?
-
Use cold butter cut into flour until coarse crumbs form, then add ice water gradually. Chilling the dough before rolling helps maintain flakiness.
- → Can I use frozen cherries?
-
Yes, thaw and drain frozen cherries well to avoid excess moisture and maintain filling consistency.
- → What is the purpose of the lattice crust?
-
The lattice allows steam to escape while adding a visually appealing top that crisps nicely during baking.
- → How do I prevent a soggy bottom crust?
-
Ensure the filling is well-coated with cornstarch to thicken juices, and bake on a sheet to catch drips for even heat circulation.
- → Can I omit almond extract?
-
Yes, almond extract is optional but enhances the cherry flavor with a subtle nutty note.
