 Save
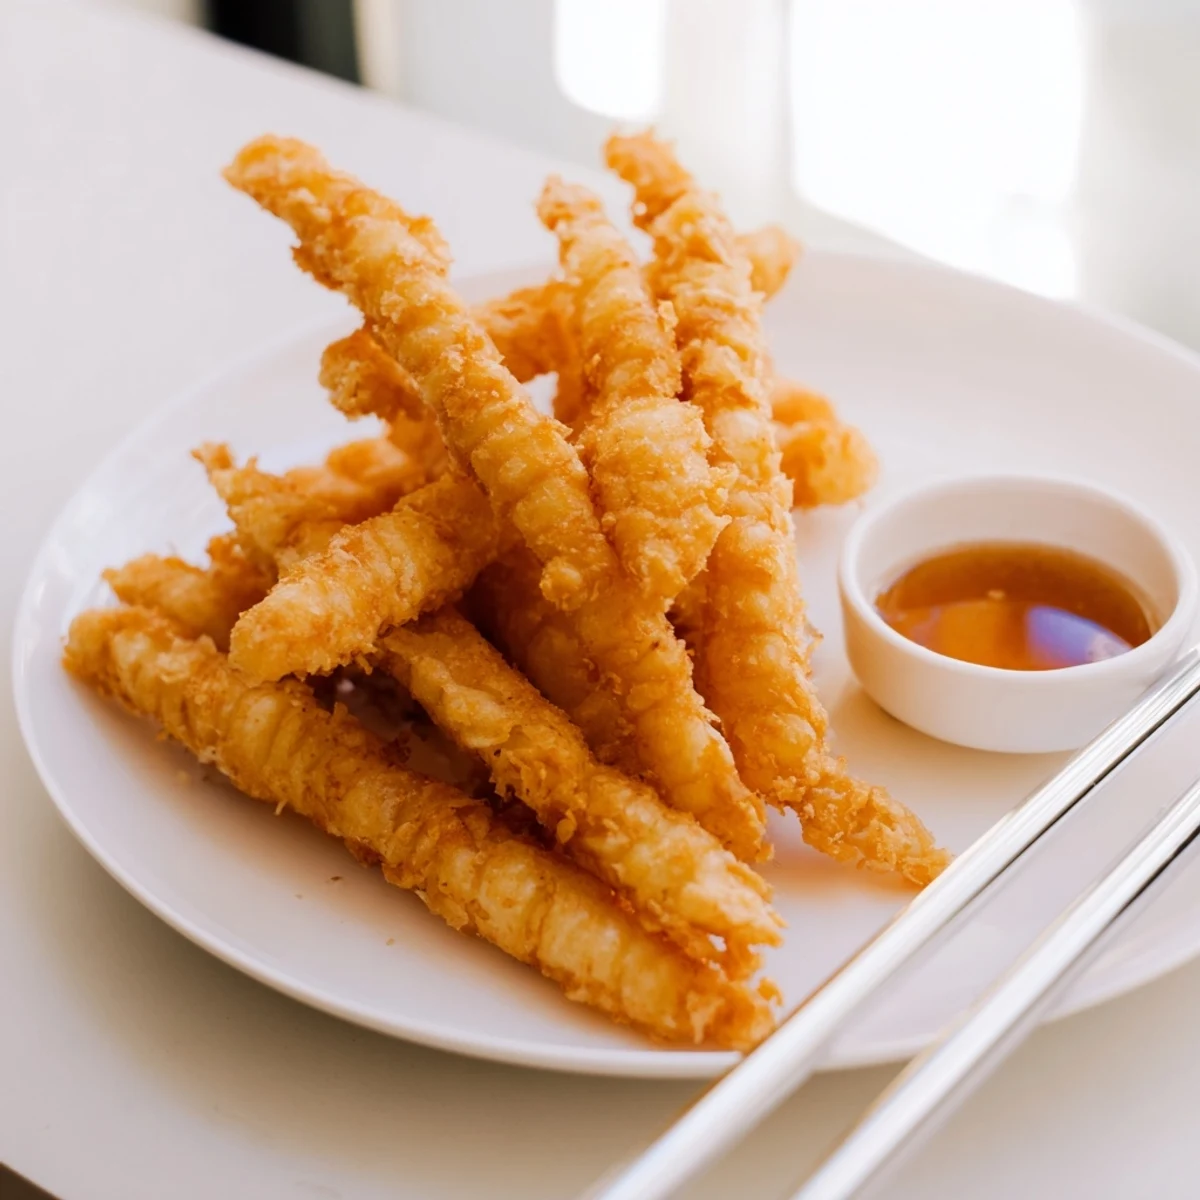
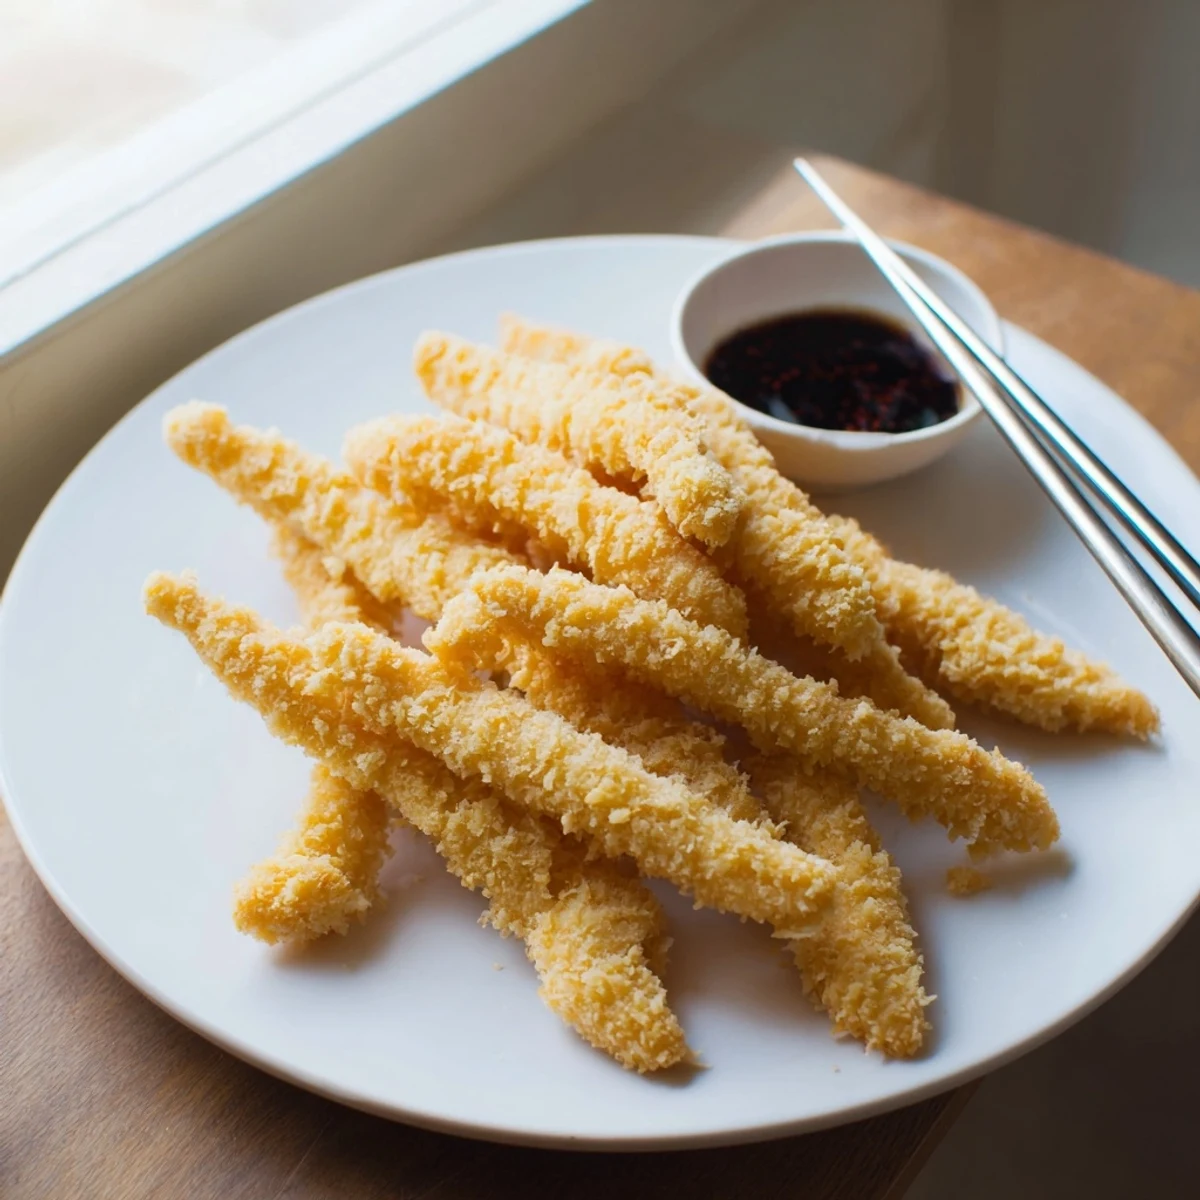
Save Create authentic Japanese-style chicken tempura with an incredibly light, crispy coating. The secret lies in using ice-cold sparkling water and minimal mixing to achieve that signature airy crunch. Each strip of tender chicken emerges from the fryer golden brown and perfectly cooked through. The accompanying dipping sauce balances savory soy, sweet mirin, and fresh ginger for the perfect complement.
The first time I attempted tempura at home, I stood over my stove watching the oil temperature like a hawk, convinced I would either burn down the kitchen or end up with soggy disappointment. Instead, that first batch emerged impossibly light and shattering-crisp, and I understood why this technique has fascinated cooks for centuries. There is something magical about how the simplest batter transforms into such delicate crunch.
Last summer, my niece watched me fry batch after batch, her eyes widening each time the chicken hit the oil and immediately started hissing and bubbling. She kept sneaking pieces while I turned my back, claiming quality control was essential. Now she asks for chicken tempura every time she visits, and honestly, I cannot blame her.
Ingredients
- 500 g boneless skinless chicken breasts: Cutting these into thin strips ensures they cook through quickly and stay tender inside
- 1/2 tsp salt and 1/4 tsp black pepper: Simple seasoning that lets the crispy batter shine without competing flavors
- 120 g all-purpose flour and 30 g cornstarch: The cornstarch is the secret to that signature shattering crunch
- 1 large egg and 180 ml ice-cold sparkling water: Keep that water as cold as possible, the carbonation creates those tiny air bubbles
- 1/2 tsp baking powder: Adds just enough lift for an ethereal, not heavy, coating
- 1 liter vegetable oil: You need enough depth so the chicken floats freely while frying
- 60 ml soy sauce, 60 ml mirin, 1 tbsp rice vinegar, 1 tbsp sugar, 1 tsp grated ginger: This sauce balances salty, sweet, and bright notes that cut through the fried richness
Instructions
- Prep your chicken strips:
- Cut the breasts into 1 x 5 cm strips and pat them thoroughly dry with paper towels, then season generously with salt and pepper
- Mix the dry ingredients:
- Whisk together the flour, cornstarch, and baking powder in a mixing bowl until fully combined
- Prepare the cold wet mixture:
- Lightly beat the egg in a separate bowl, then stir in the ice-cold sparkling water without overmixing
- Combine batter mixtures:
- Pour the wet ingredients into the dry and stir briefly with chopsticks, leaving the batter lumpy and slightly uneven
- Heat your frying oil:
- Bring the vegetable oil to 175°C in a deep pan or fryer, using a thermometer if you have one
- Dip and fry:
- Coat each chicken strip in batter, let excess drip off, then carefully lower into the hot oil
- Cook until golden:
- Fry for 3 to 4 minutes per batch, turning once, until deep golden brown and crisp
- Drain and rest:
- Transfer cooked pieces to a wire rack or paper towels while you fry the remaining chicken
- Make the dipping sauce:
- Combine soy sauce, mirin, rice vinegar, sugar, and ginger in a small saucepan, heat gently until sugar dissolves, then cool completely
- Serve immediately:
- Arrange the hot chicken tempura on a platter with the dipping sauce alongside for everyone to help themselves
 Save
Save My friend Akiko told me that in Japan, tempura masters apprentices spend years just learning to maintain perfect oil temperature before they are allowed near the batter. While I will never reach that level of mastery, I have learned that paying attention to those small details makes all the difference between good tempura and great tempura.
Keeping The Batter Cold
The temperature contrast between cold batter and hot oil creates that incredible puff and crunch. I keep my mixing bowl over another bowl filled with ice, working quickly to maintain that chill throughout the frying process.
Timing Everything Right
Tempura waits for no one, so have everything ready before you start heating oil. Set up your draining station, make the sauce, and line up your dipped chicken so you can fry continuously without running back and forth.
Oil Temperature Mastery
If you do not have a thermometer, test your oil by dripping in a tiny bit of batter. It should sink halfway then immediately float back up and sizzle vigorously, surrounded by tiny bubbles.
- Keep a splatter guard nearby if you have one, tempura can be energetic
- Never leave hot oil unattended, even for a minute
- Let used oil cool completely before disposing
 Save
Save There is pure joy in hearing that first crunch when someone bites into freshly made tempura. It is the sound of simple ingredients transformed into something extraordinary.
Recipe FAQs
- → What makes tempura batter so light and crispy?
-
The combination of ice-cold sparkling water and minimal mixing creates air pockets in the batter. Keeping everything cold prevents gluten development, resulting in that signature delicate crunch. Don't overmix—lumpy batter is actually ideal.
- → Can I use regular water instead of sparkling water?
-
While still possible, regular water won't produce quite the same lightness. The carbonation in sparkling water creates tiny bubbles that make the batter exceptionally airy and crispy when fried.
- → What oil temperature is best for frying tempura?
-
Maintain your oil at 175°C (350°F). Too cool and the chicken will absorb excess oil, becoming greasy. Too hot and the outside burns before the inside cooks through. Use a thermometer for best results.
- → How do I keep tempura crispy when serving?
-
Serve immediately after frying for maximum crunch. If you need to hold them briefly, place on a wire rack over a baking sheet in a warm oven—avoid paper towels which trap moisture and make the coating soggy.
- → What other proteins work well with this batter?
-
Shrimp is the classic tempura choice, but you can also use white fish fillets, scallops, or even vegetables like sweet potato, green beans, and zucchini slices. Adjust cooking time as needed.
- → Can I make the dipping sauce ahead of time?
-
Yes, the dipping sauce actually benefits from sitting for 30 minutes to an hour, allowing the flavors to meld. Store it in the refrigerator and bring to room temperature before serving.
