
 Save
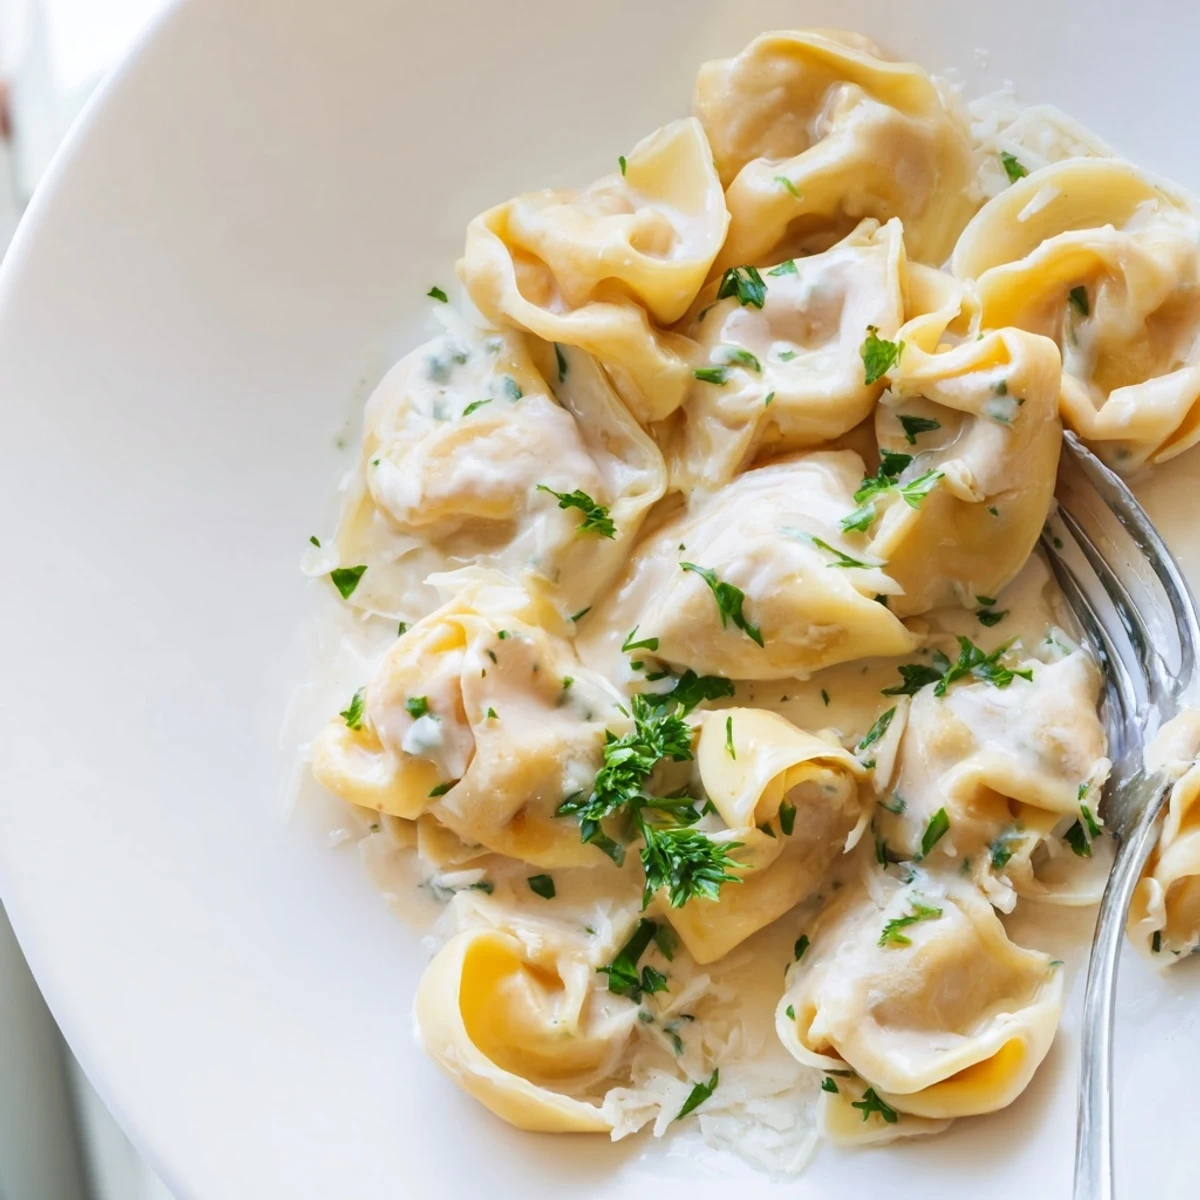
Save These handmade chicken tortellini bring authentic Italian comfort straight to your table. Tender pasta dough envelopes a rich filling of finely chopped chicken breast, creamy ricotta, Parmesan, garlic and fresh parsley, seasoned with a whisper of nutmeg.
Each little parcel is boiled until it floats, then gently tossed in a luscious butter and Parmesan cream sauce that clings to every fold. The entire process takes about an hour and yields four generous servings.
Perfect for a cozy family meal or an elegant weeknight dinner that feels special without demanding professional skills. Pair with a crisp Pinot Grigio and a simple side salad for a complete experience.
The flour scattered across my grandmother's kitchen table like fresh snow, and her hands moved with a rhythm I could never quite replicate until years later when I found myself alone in my own kitchen, determined to master her tortellini. She never wrote anything down, preferring to say the dough tells you when its ready, which frustrated me to no end as a teenager. Now I understand exactly what she meant. This chicken tortellini with its silky cream sauce is my evolution of her tradition, adapted for the nights when I want something handmade without spending an entire afternoon.
One rainy Tuesday my sister showed up unannounced with a bottle of Pinot Grigio and nothing else, and I had exactly enough chicken and flour in the fridge to pull this together while she sat on the counter telling me about her week. We ate standing up, sauce dripping off our chins, and she declared it better than any restaurant pasta shed had in years. That spontaneous evening turned this into our unofficial comfort meal whenever one of us needs rescuing.
Ingredients
- All purpose flour (2 cups): The foundation of your pasta dough, and you really do need to mound it on the counter the old fashioned way for the best texture.
- Large eggs (3): Room temperature eggs incorporate more smoothly into the flour, so pull them out of the fridge about thirty minutes ahead.
- Salt (1/2 tsp for dough): Just enough to seasons the pasta from within, so every bite carries flavor instead of relying solely on the sauce.
- Cooked chicken breast, finely chopped (1 cup): Rotisserie chicken is the shortcut that changed everything for me, and the dark meat actually adds more richness if you are feeling rebellious.
- Ricotta cheese (1/2 cup): This keeps the filling tender and slightly creamy, and draining any excess liquid from the ricotta first prevents soggy parcels.
- Grated Parmesan cheese (1/4 cup for filling, 1/2 cup for sauce): Use the good stuff here because its flavor is doing heavy lifting in both the filling and the sauce.
- Garlic, minced (1 clove): A single clove is all you need to give the filling a subtle backbone without overpowering the delicate chicken.
- Fresh parsley, finely chopped (2 tbsp for filling plus more for garnish): Flat leaf parsley brings a fresh brightness, and I always chop extra because it makes such a cheerful garnish.
- Ground nutmeg (1/4 tsp): This tiny amount is the secret that makes people close their eyes and wonder what that warm flavor is.
- Salt and pepper, to taste: Season the filling generously before you seal any tortellini, since there is no going back once they are folded.
- Heavy cream (1 cup): The sauce is deliberately simple so it coats the pasta like velvet without competing with the filling.
- Unsalted butter (2 tbsp): This adds a silky richness to the cream sauce that nothing else can quite replicate.
Instructions
- Build the dough mountain:
- Pile the flour on a clean surface, create a deep well in the center, and crack the eggs directly into it with the salt. Use a fork to gently beat the eggs, slowly pulling in flour from the walls until everything comes together into a shaggy mass that you can start kneading with your hands.
- Knead until silky:
- Push the dough away from you with the heel of your palm, fold it back, give it a quarter turn, and repeat for about seven to eight minutes. The dough should feel smooth and springy when you press your thumb into it, and then you wrap it tightly in plastic and let it rest for twenty minutes so the gluten relaxes.
- Mix the filling:
- Combine the chopped chicken, ricotta, Parmesan, garlic, parsley, nutmeg, and a generous pinch each of salt and pepper in a bowl. Stir until everything is evenly distributed, then taste a tiny bit on your finger and adjust the seasoning before you commit to sealing it inside dozens of little pasta pockets.
- Roll and cut:
- Divide the rested dough in half, keeping one portion wrapped while you work, and roll it out as thin as you can manage, aiming for about one sixteenth of an inch. Cut into two inch squares or circles using a knife or pasta cutter, and keep the pieces covered with a damp towel so they do not dry out.
- Shape the tortellini:
- Place a small spoonful of filling in the center of each piece, fold it over into a triangle or half moon, and press the edges firmly to seal out any air pockets. Bring the two bottom corners together around your finger and pinch them to create the classic tortellini shape, setting each one on a floured surface as you go.
- Boil the parcels:
- Bring a large pot of generously salted water to a rolling boil and drop the tortellini in batches so they are not crowded. They only need three to four minutes, and you will know they are done when they float to the surface like proud little pillows, at which point you scoop them out with a slotted spoon.
- Make the cream sauce:
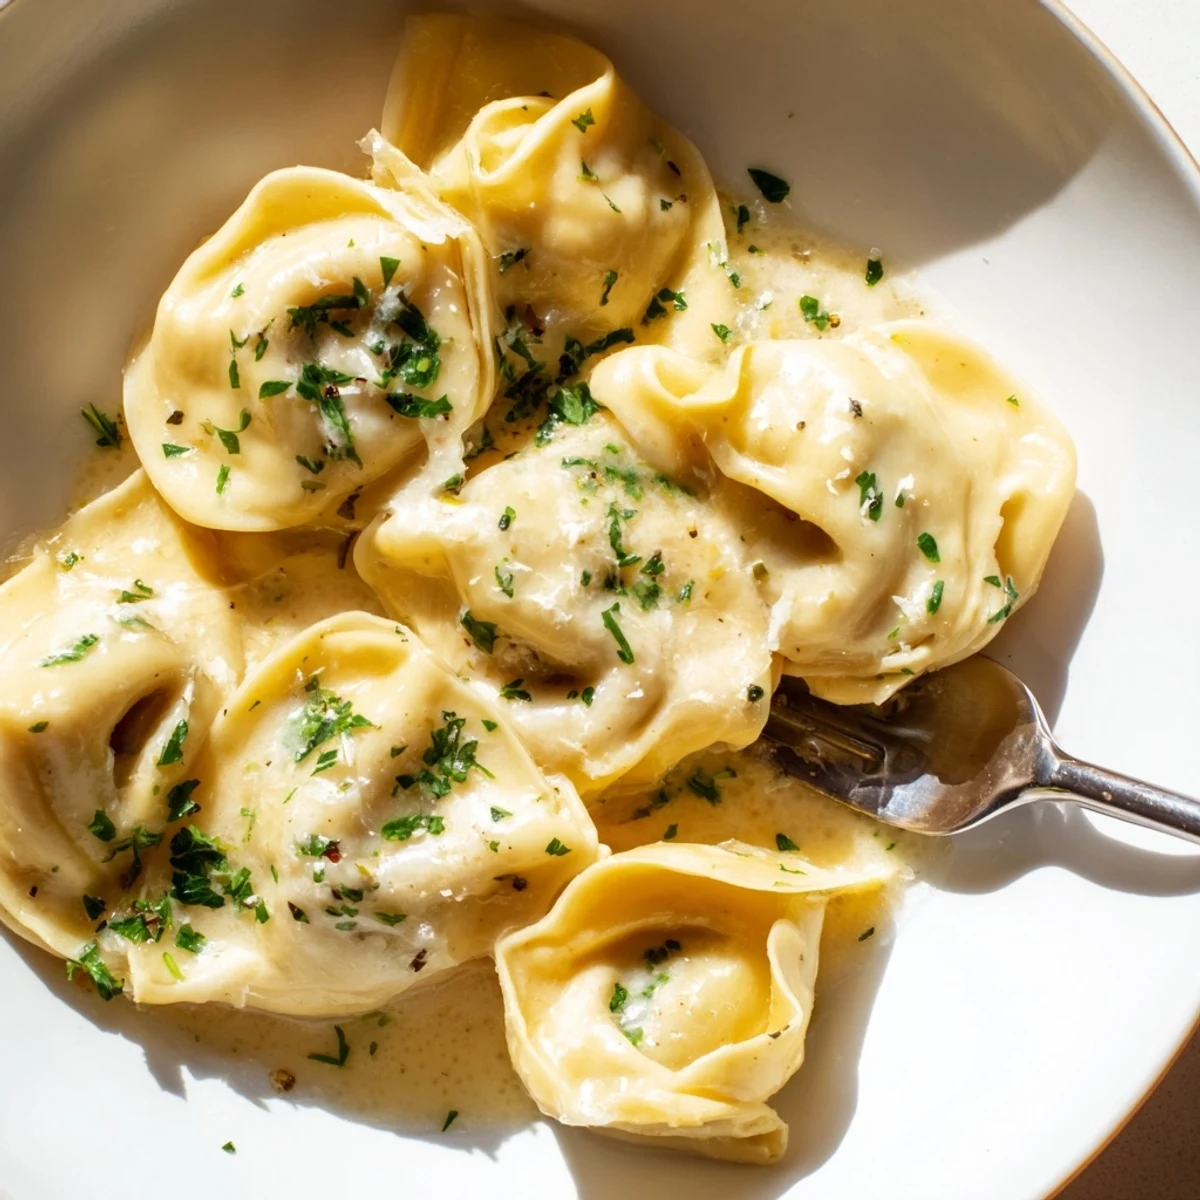
- In a saucepan over medium heat, melt the butter, pour in the cream, and let it simmer gently for two to three minutes until it thickens slightly. Stir in the Parmesan until it melts into a glossy sauce, finish with freshly ground black pepper, and toss the drained tortellini gently so every curve gets coated.
 Save
Save The first time I served these at a dinner party, the room went completely quiet for about three minutes, which is the highest compliment any home cook can receive. My friend David picked up his empty plate and just held it, staring at the remaining sauce smears like he was deciding whether to lick it clean.
A Few Things I Learned the Hard Way
Wet filling is the enemy of good tortellini, so if your ricotta seems watery, press it through a fine mesh strainer or let it drain in cheesecloth for an hour. Working with dough that has dried out is equally frustrating, so I keep a spray bottle of water nearby and give the edges a light mist if they refuse to seal. The shape does not need to be perfect, and honestly the slightly wonky ones taste exactly the same as the beautiful ones.
What to Serve Alongside
A simple arugula salad with lemon juice and olive oil provides the peppery contrast these rich tortellini need. Crusty bread is nonnegotiable for sauce mopping, and a chilled glass of Pinot Grigio or a lightly oaked Chardonnay ties the whole meal together beautifully.
Making Ahead and Storing
You can assemble the tortellini up to a day in advance and keep them on a semolina dusted tray in the refrigerator, uncovered so they do not get soggy. They also freeze beautifully on a tray before being transferred to a bag, and they go straight from freezer to boiling water with just an extra minute of cooking time.
- Semolina or cornmeal under the tortellini prevents sticking far better than flour.
- Do not stack uncooked tortellini on top of each other unless you enjoy peeling them apart.
- Leftover cream sauce reheats gently over low heat with a splash of cream to bring it back to life.
 Save
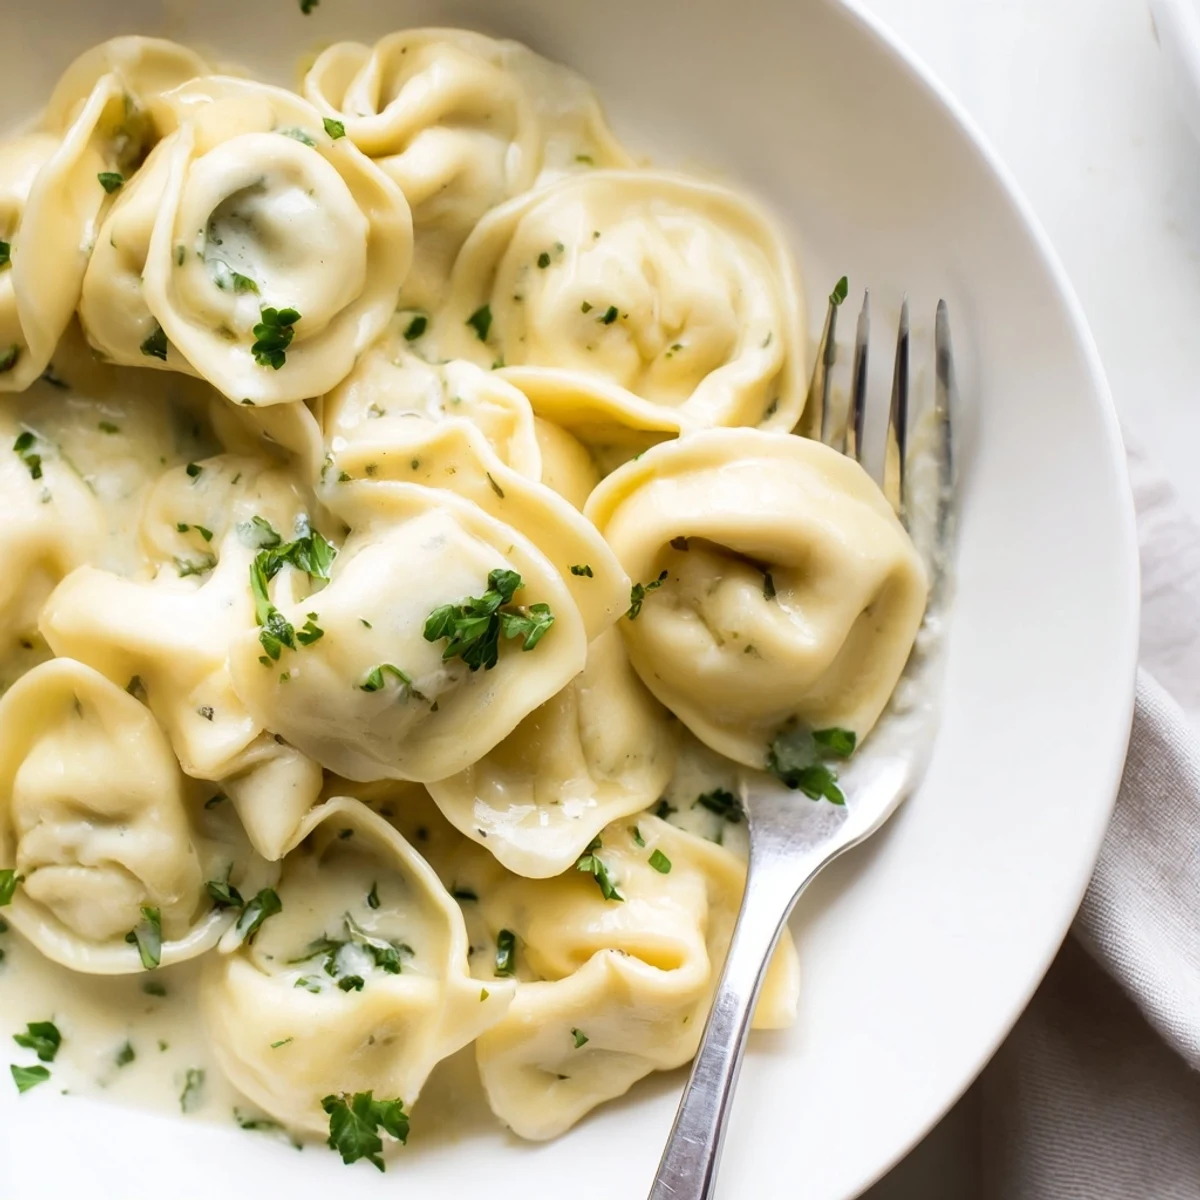
Save Every fold and crimp connects you to centuries of Italian grandmothers who did this daily without recipes or measuring cups, and that thought always makes the process feel like something worth savoring. Share these with someone you love, and watch the table go quiet.
Recipe FAQs
- → Can I use store-bought tortellini instead of making the dough from scratch?
-
Absolutely. Fresh or frozen store-bought tortellini work well and cut your preparation time significantly. You can still prepare the homemade cream sauce to elevate the dish. Just cook the tortellini according to package directions and proceed with the sauce.
- → What type of chicken works best for the filling?
-
Rotisserie chicken is an excellent convenient option that adds great flavor. You can also use leftover grilled, baked or poached chicken breast. The key is to chop it very finely so the filling stays smooth and easy to stuff inside the pasta.
- → How thin should I roll the pasta dough?
-
Aim for about 1/16-inch thickness. The dough should be thin enough to see the shadow of your hand through it, but not so thin that it tears when filled. A pasta machine makes this easier, but a rolling pin and patience work just as well.
- → Can I freeze the assembled tortellini before cooking?
-
Yes, uncooked tortellini freeze beautifully. Place them in a single layer on a floured baking sheet and freeze until firm, then transfer to an airtight container. Cook them directly from frozen, adding about one extra minute to the boiling time.
- → What can I substitute for the heavy cream in the sauce?
-
Half-and-half works as a lighter alternative, though the sauce will be slightly less thick. For a dairy-free version, full-fat coconut milk or a cashew cream can create a similar richness. Avoid plain milk as it may not emulsify properly with the butter and cheese.
- → How do I prevent the tortellini from opening while boiling?
-
Make sure the edges are well sealed by pressing firmly and removing any air pockets inside. A light brushing of water or beaten egg on the edges before sealing helps create a stronger bond. Also, avoid overcrowding the pot—cook in small batches.