 Save
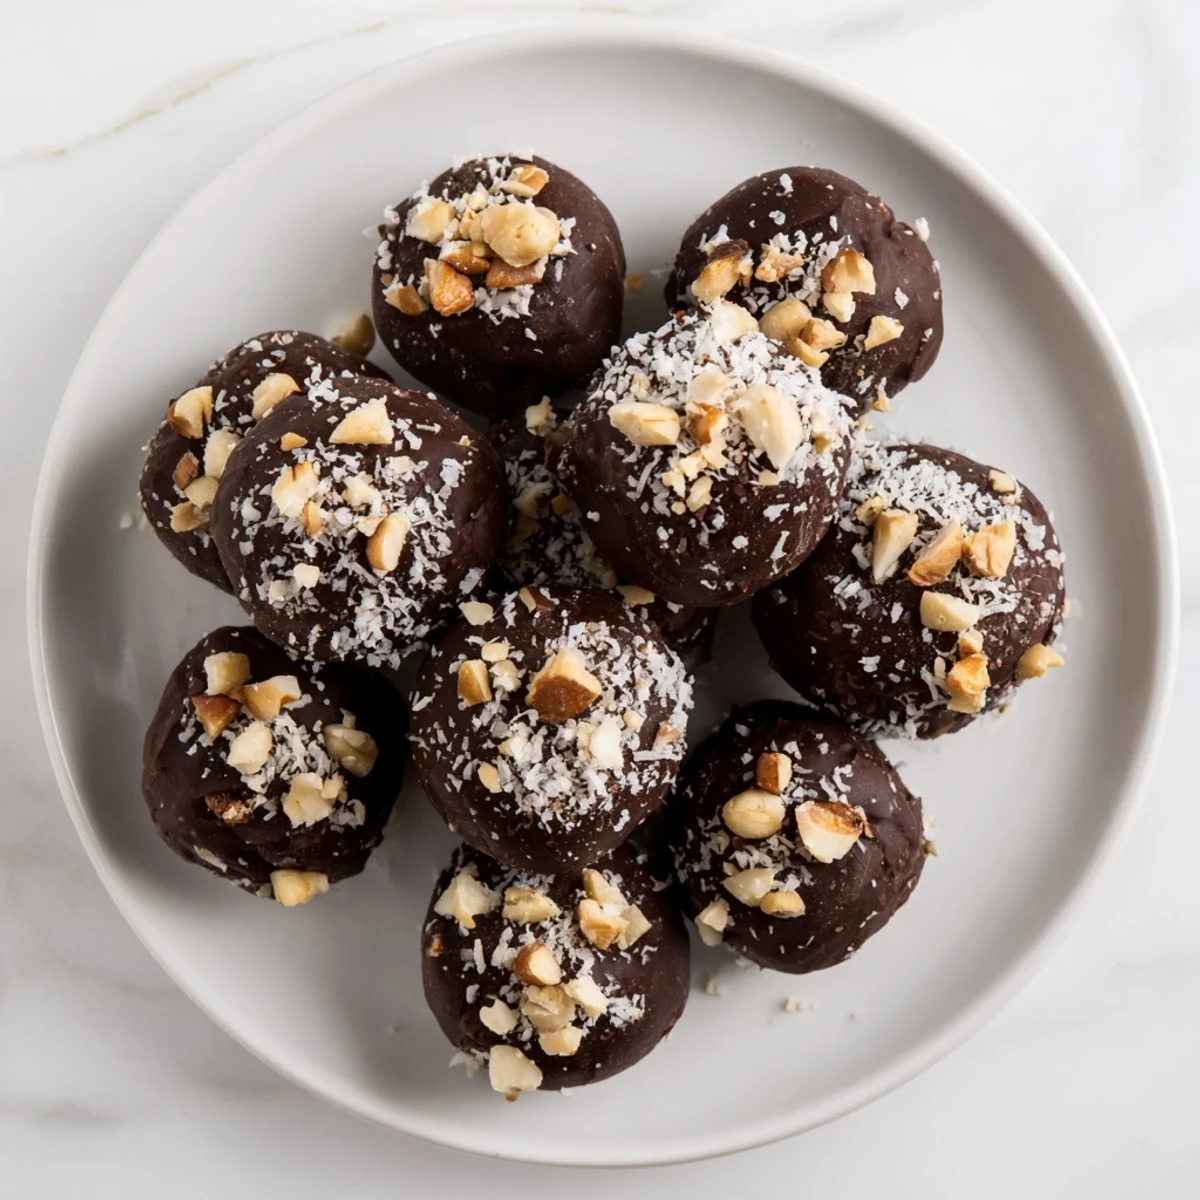
Save These classic chocolate truffles are luxuriously smooth with a rich texture that melts in your mouth. Combining high-quality dark chocolate, cream, butter, and vanilla, the mixture chills before being rolled into small balls. Coatings like cocoa powder, toasted nuts, or shredded coconut add delightful texture and flavor. Ideal as an elegant treat or gift, they require minimal preparation and chilling time.
I still remember the first time I made chocolate truffles from scratch. It was a rainy Sunday afternoon, and I'd just discovered a small French chocolaterie during a trip to Paris. The moment I bit into one of their dark chocolate truffles, something clicked—I had to learn to make these myself. Years later, standing in my own kitchen with melted chocolate and heavy cream, I realized that these little spheres of indulgence had become my go-to gift whenever I wanted to say something without words. Now, every time I make them, I'm transported back to that moment of wonder.
I'll never forget bringing a batch of these to my neighbor's house when she was going through a rough patch. She opened the box, and her whole face changed. She didn't eat them right away—she just held the box and said they were too pretty to open. That's when I understood that these truffles are more than chocolate and cream; they're little vessels of care.
Ingredients
- High-quality dark chocolate (200 g, 60–70% cocoa), chopped: Don't skimp here—this is literally the star of the show. The cocoa percentage matters because it balances richness with bitterness. If you go lower than 60%, they become too sweet; higher than 70%, and they can taste a bit sharp. Chop it finely so it melts evenly when the hot cream hits it.
- Heavy cream (120 ml): The cream is what transforms chocolate into that silky ganache that literally melts on your tongue. Make sure it's cold from the fridge before you heat it—this little detail helps everything emulsify perfectly.
- Unsalted butter (25 g), softened: This adds a subtle richness and helps the ganache set at exactly the right consistency. Softened butter integrates smoothly without breaking the mixture apart like cold butter would.
- Pure vanilla extract (1 tsp): A small amount that whispers rather than shouts, rounding out the chocolate flavor and adding a hint of warmth.
- Cocoa powder, chopped nuts, or coconut for coating: These are your finishing touches, the part that makes each truffle feel intentional and special. Toast nuts yourself if you can—it makes all the difference in flavor depth.
Instructions
- Start with your chocolate foundation:
- Place your chopped chocolate in a heatproof bowl—stainless steel or glass works best. Make sure the pieces are fairly uniform in size so they all melt at the same rate. There's something meditative about chopping chocolate finely; it's the moment you know you're about to create something special.
- Bloom the chocolate with hot cream:
- Pour your just-simmered cream (that moment when it's steaming and tiny bubbles form around the edges) directly over the chocolate. Don't stir yet. Let it sit for exactly 2 minutes. This pause is crucial—it lets the heat gently melt the chocolate without forcing it. You'll see the cream start to look glossy and rich.
- Bring it together with a gentle hand:
- Now add your softened butter and vanilla, and stir slowly and deliberately until everything is completely smooth. You're not whisking vigorously here; you're coaxing the ingredients into harmony. The mixture should look like silk when you're done—glossy, thick, and absolutely irresistible.
- Chill with patience:
- Cover your bowl and refrigerate for at least 2 hours, or until the ganache is firm enough to scoop without slumping. This is the hardest part—waiting. But it's also when you can pour yourself something to drink and plan which people are lucky enough to receive your truffles.
- Roll with rhythm and speed:
- Using a melon baller (the best tool for this job) or even a small teaspoon, scoop portions and roll them between your palms into tight little spheres. Your hands will warm the ganache slightly, which actually helps it hold its shape. Work quickly and confidently—hesitation makes the chocolate sticky.
- Coat with intention:
- Pour your cocoa powder, chopped nuts, or coconut into shallow bowls. Roll each truffle until it's completely coated. There's an art to this—enough coating to look beautiful, but not so much that it's crumbly. Press gently so the coating adheres.
- Set them to rest:
- Place your finished truffles on parchment paper and refrigerate for 20 minutes. This final chill ensures they stay firm and won't lose their shape when people pick them up. This is also when you get to admire your work and feel genuinely proud.
 Save
Save I remember teaching my young daughter to make these last winter. Watching her carefully roll the ganache into balls, her face scrunched in concentration, then the absolute delight when she could choose her own coating—it hit me that these truffles weren't just about impressing others. They were about the joy of making something beautiful with your own hands and sharing it with people you love.
The Art of Flavorful Variations
Once you've mastered the basic recipe, the fun really begins. A splash of Grand Marnier adds elegance and warmth, while Amaretto brings a subtle almond note that pairs beautifully with the chocolate. I've experimented with everything from espresso powder (which deepens the chocolate flavor dramatically) to a tiny pinch of sea salt (which somehow makes the chocolate taste even more chocolatey). The ganache is your canvas, and you're the artist. Start with the basic version, then play around once you feel confident. Some of my favorite discoveries have come from happy accidents in the kitchen.
Storing and Serving Your Truffles
Truffles are forgiving when it comes to storage. Keep them in an airtight container in the refrigerator for up to a week, and they'll stay perfect. Here's a trick I learned: let them sit at room temperature for about 10 minutes before serving. This allows the ganache to soften just slightly, creating that perfect moment of melt-in-your-mouth bliss that makes people close their eyes when they taste them. It's the difference between a good truffle and an unforgettable one.
Choosing Your Coating and Making It Personal
The coating is where you get to express yourself. Premium unsweetened cocoa powder creates an elegant, understated look and reinforces the chocolate flavor. Toasted nuts (hazelnuts are my personal favorite—they add a subtle earthiness) or shredded coconut each bring their own personality. I like to make a batch with three different coatings so people feel like they're choosing an adventure when they pick one. The coating also helps protect the ganache and adds texture that contrasts beautifully with the smooth center.
- Toast your own nuts in a dry skillet for a minute or two to really wake up their flavor—store-bought toasted nuts are fine, but fresh toasted tastes noticeably better
- If you're making these as gifts, consider making a special batch with one unique coating that's distinctly yours—it becomes your signature
- Pat the ganache balls dry with a paper towel before coating to help everything stick without getting messy
 Save
Save There's something about homemade truffles that transcends chocolate and cream. They're little gifts of intention, each one a small promise that you cared enough to take the time. Once you've made them once, you'll find yourself making them again and again.
Recipe FAQs
- → What type of chocolate works best for these truffles?
-
High-quality dark chocolate with 60–70% cocoa content provides the perfect balance of richness and smoothness.
- → How long should the mixture chill before shaping?
-
Refrigerate the mixture for at least 2 hours until firm enough to scoop and shape into balls.
- → Can the coating be customized?
-
Yes, coatings like unsweetened cocoa powder, chopped toasted nuts, or shredded coconut add varying flavors and textures.
- → What is the best way to shape the truffles?
-
Use a melon baller or teaspoon to scoop the mixture, then quickly roll it between hands into smooth balls.
- → How should truffles be stored after preparation?
-
Store in an airtight container in the refrigerator for up to a week, and let sit at room temperature before serving for optimal texture.
