 Save
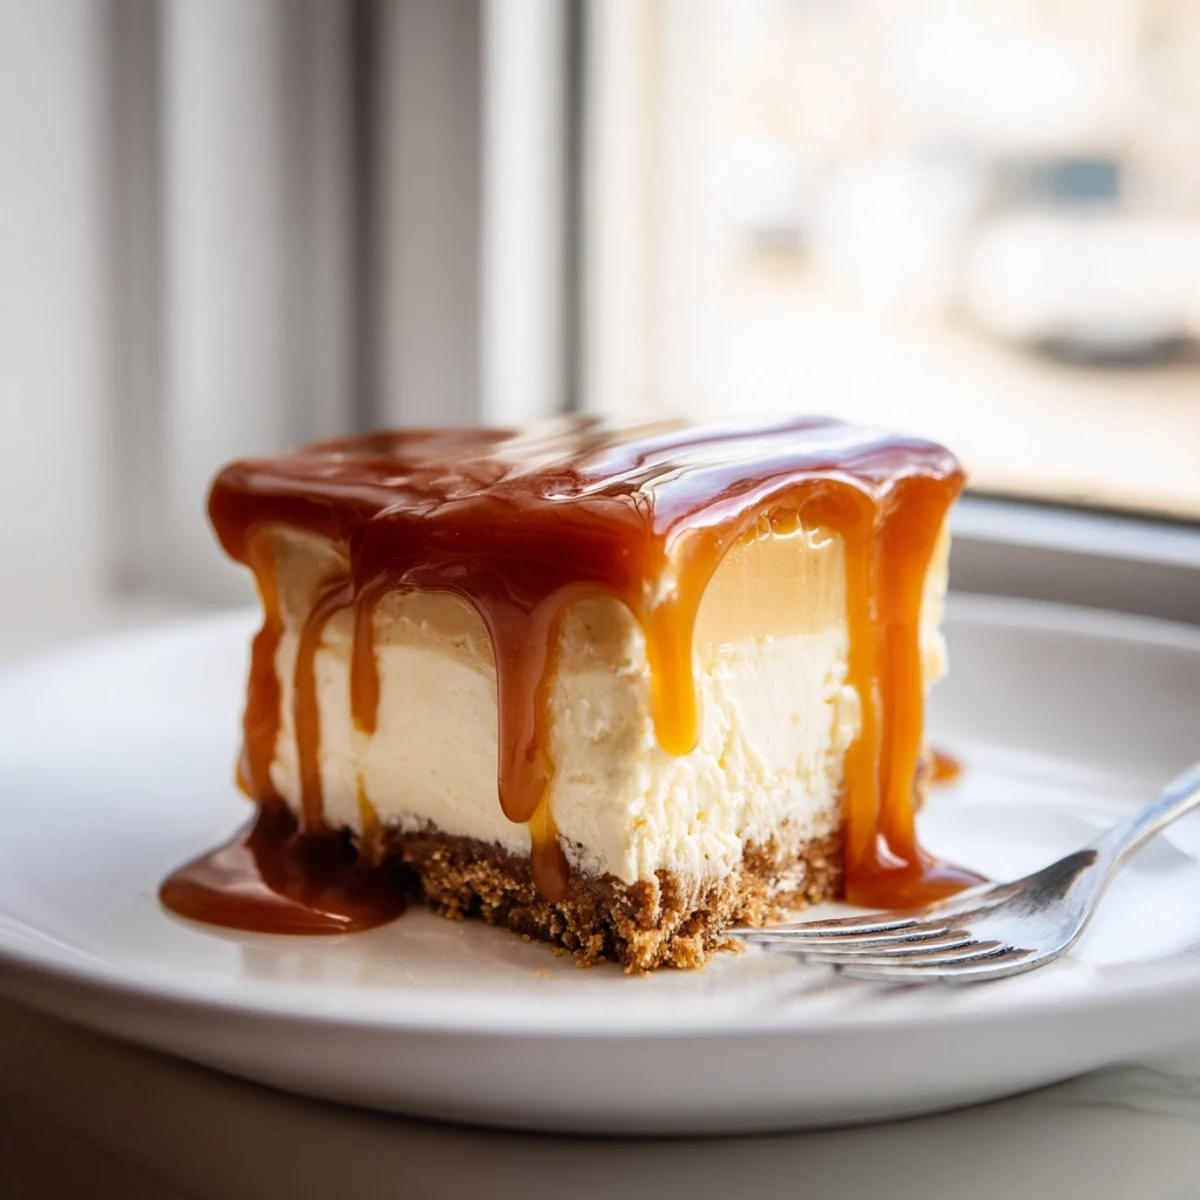
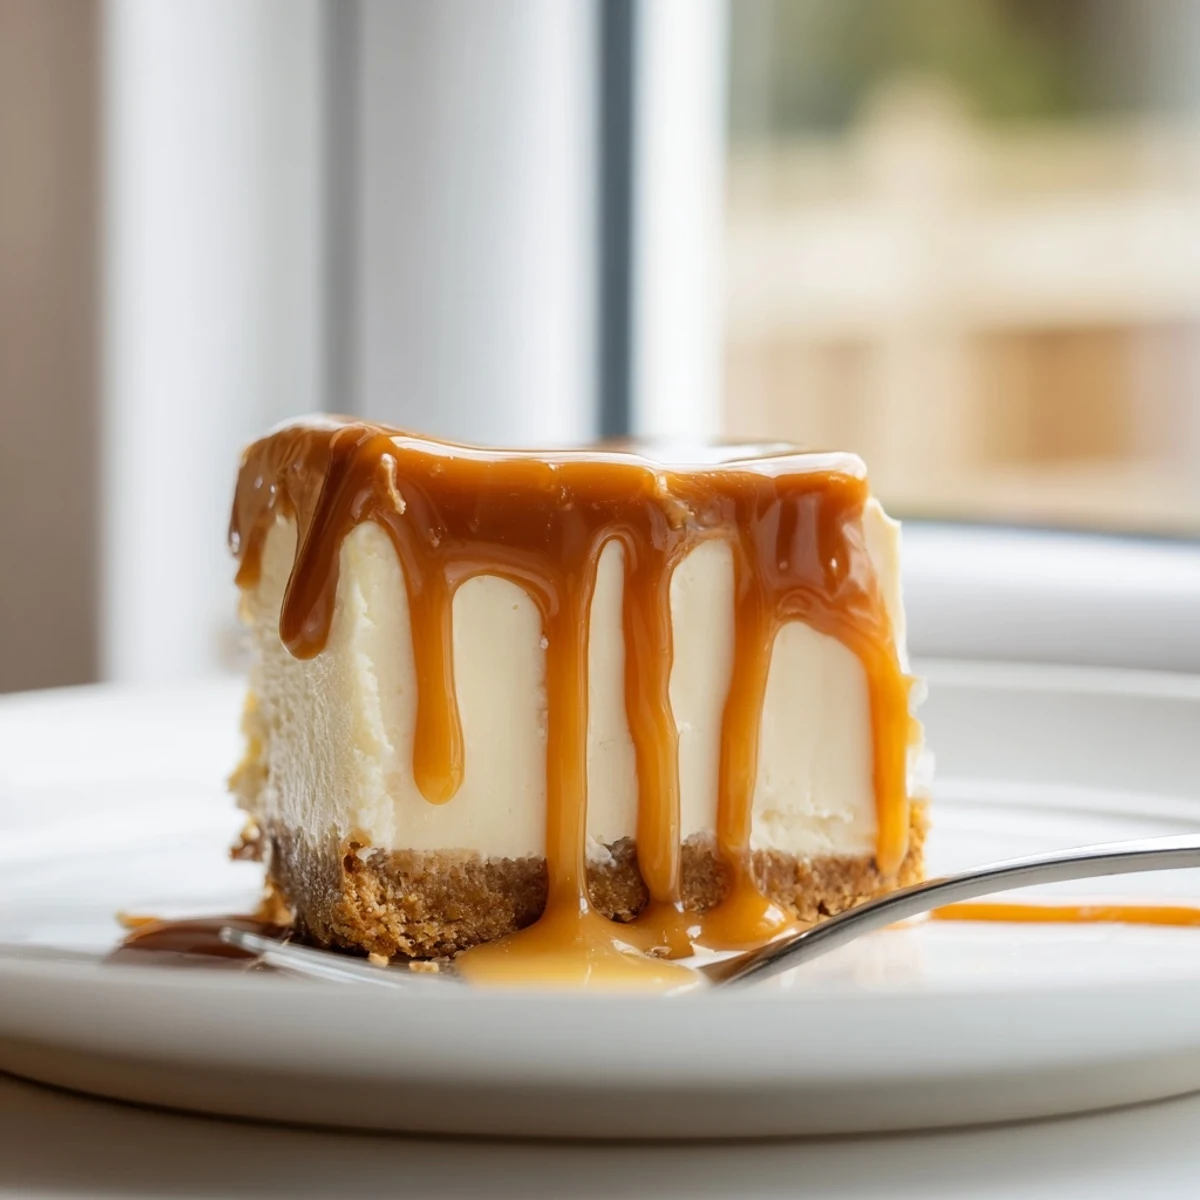
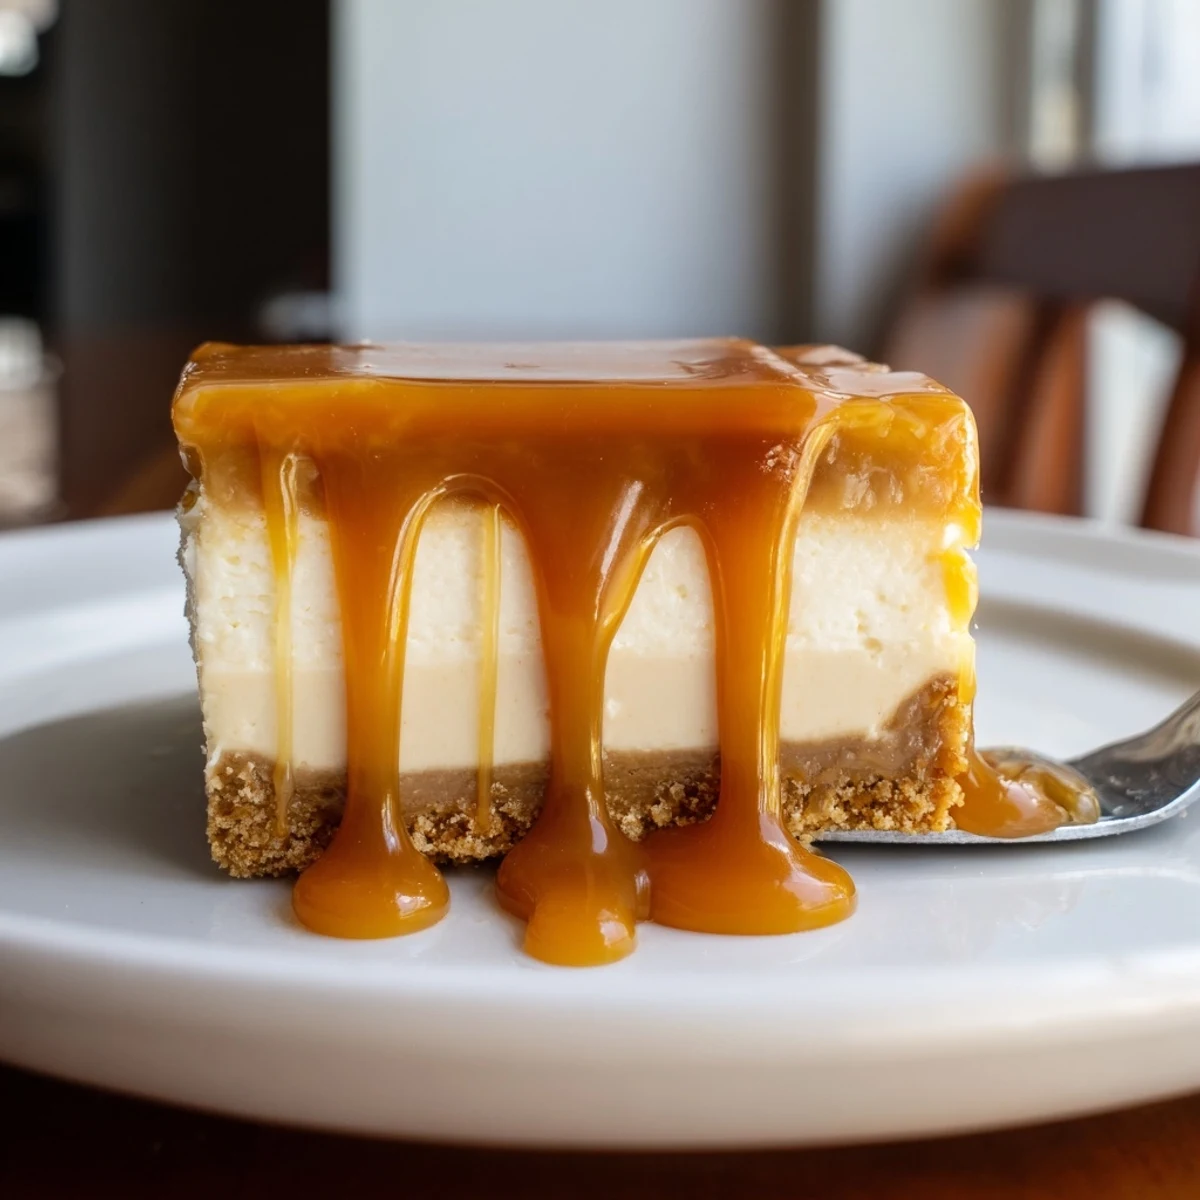
Save These luscious bars feature three irresistible layers: a crunchy buttery graham cracker base, silky smooth cream cheese filling, and glossy homemade caramel sauce. The cheesecake layer achieves perfect creaminess through a blend of cream cheese and sour cream, while the caramel adds deep amber sweetness with optional sea salt for complexity.
Best served chilled after 4 hours of refrigeration, these bars deliver restaurant-quality dessert right from your kitchen. The yield of 16 squares makes them ideal for gatherings, dinner parties, or holiday celebrations.
The first time I attempted caramel from scratch, I stood over that saucepan like it might explode at any second. The sugar crystallized into a stubborn mess, and I almost gave up entirely. But then I tried again, and watching that clear syrup transform into liquid amber felt like pure kitchen magic. Now these cheesecake bars are the dessert everyone actually requests for birthdays.
I brought these to a summer potluck last year, and my friend Sarah took one bite and literally moaned in the middle of the conversation. The way the caramel drips over the cheesecake layers makes them feel fancy without being fussy. People still ask me about those bars months later.
Ingredients
- Graham cracker crumbs: These create the essential buttery foundation that holds everything together
- Unsalted butter: Melt it first so it coats every crumb evenly for a crust that wont fall apart
- Cream cheese: Room temperature is non negotiable here or youll end up with lumpy filling
- Sour cream: This adds just enough tang to cut through all that rich sweetness
- Granulated sugar: Standard white sugar dissolves perfectly into the cheesecake batter
- Eggs: Large eggs provide structure without making the bars dense or rubbery
- Vanilla extract: Pure vanilla makes a noticeable difference in the final flavor
- All purpose flour: Just a tablespoon stabilizes the filling and prevents cracking
- Heavy cream: Warm it slightly before adding to hot caramel to prevent splattering
Instructions
- Prep your pan like a pro:
- Crimp parchment paper into the corners and let the edges hang over for handles that make lifting out the whole batch effortless
- Build the buttery crust:
- Press the crumb mixture firmly into the pan using the bottom of a measuring cup for even thickness
- Mix the creamy filling:
- Beat everything until just combined, over mixing incorporates too much air and causes cracks
- Bake until barely set:
- The center should still have a slight wobble like gelatin when you gently shake the pan
- Make the magic caramel:
- Swirl the pan instead of stirring to prevent crystallization, and have your cream ready before starting
- Layer and chill completely:
- Let caramel cool slightly so it pours smoothly but still spreads over the cold cheesecake
 Save
Save My grandmother used to say that caramel was just patience in sugar form, and I finally understand what she meant. These bars have become my go to when I need something that feels special but doesnt require restaurant level skills.
Making Caramel Without Fear
The trick is resisting the urge to stir once the sugar starts melting. Swirling the pan gently distributes heat without encouraging those annoying sugar crystals. Have your butter and cream measured and ready because caramel waits for no one.
Getting Perfect Slices
Run your knife under hot water and wipe it clean between every single cut. This simple trick keeps the caramel from dragging and gives you those gorgeous clean edges that make the bars look bakery worthy. Chill the bars thoroughly before slicing.
Storage and Make Ahead Tips
These actually improve after a day in the fridge as the flavors meld together. The crust stays perfectly crisp and the caramel firms up just enough for clean slicing.
- Stack bars between parchment paper in an airtight container
- Freeze undecorated bars for up to a month, adding fresh caramel before serving
- Bring to room temperature for 20 minutes before serving for the creamiest texture
 Save
Save There is something deeply satisfying about serving a dessert that makes people close their eyes and savor every bite. These bars might just become your most requested recipe too.
Recipe FAQs
- → How long should I chill the cheesecake bars?
-
Refrigerate for at least 2 hours after baking, then add another hour after pouring the caramel topping. For optimal texture and clean cutting, chill for 4 hours total before serving.
- → Can I make the caramel sauce in advance?
-
Yes, prepare the caramel up to 3 days ahead and store in an airtight container in the refrigerator. Gently reheat before pouring over the chilled cheesecake layer.
- → What's the best way to cut clean squares?
-
Use a sharp knife warmed under hot water and wiped clean between each cut. For perfect squares, chill the assembled bars thoroughly and cut with a steady downward motion.
- → Can I use store-bought caramel sauce instead?
-
While possible, homemade caramel offers superior flavor and texture. If using store-bought, choose a high-quality sauce and warm slightly before spreading for easier application.
- → How do I store leftover bars?
-
Keep refrigerated in an airtight container with parchment paper between layers for up to 5 days. The bars can also be frozen for up to 2 months, though the caramel texture may change slightly.
- → Why did my caramel turn grainy?
-
Grainy caramel results from sugar crystals forming. Avoid stirring the sugar-water mixture once it begins heating, and swirl the pan gently instead. Brushing down the sides with a wet pastry brush also helps prevent crystallization.
