 Save
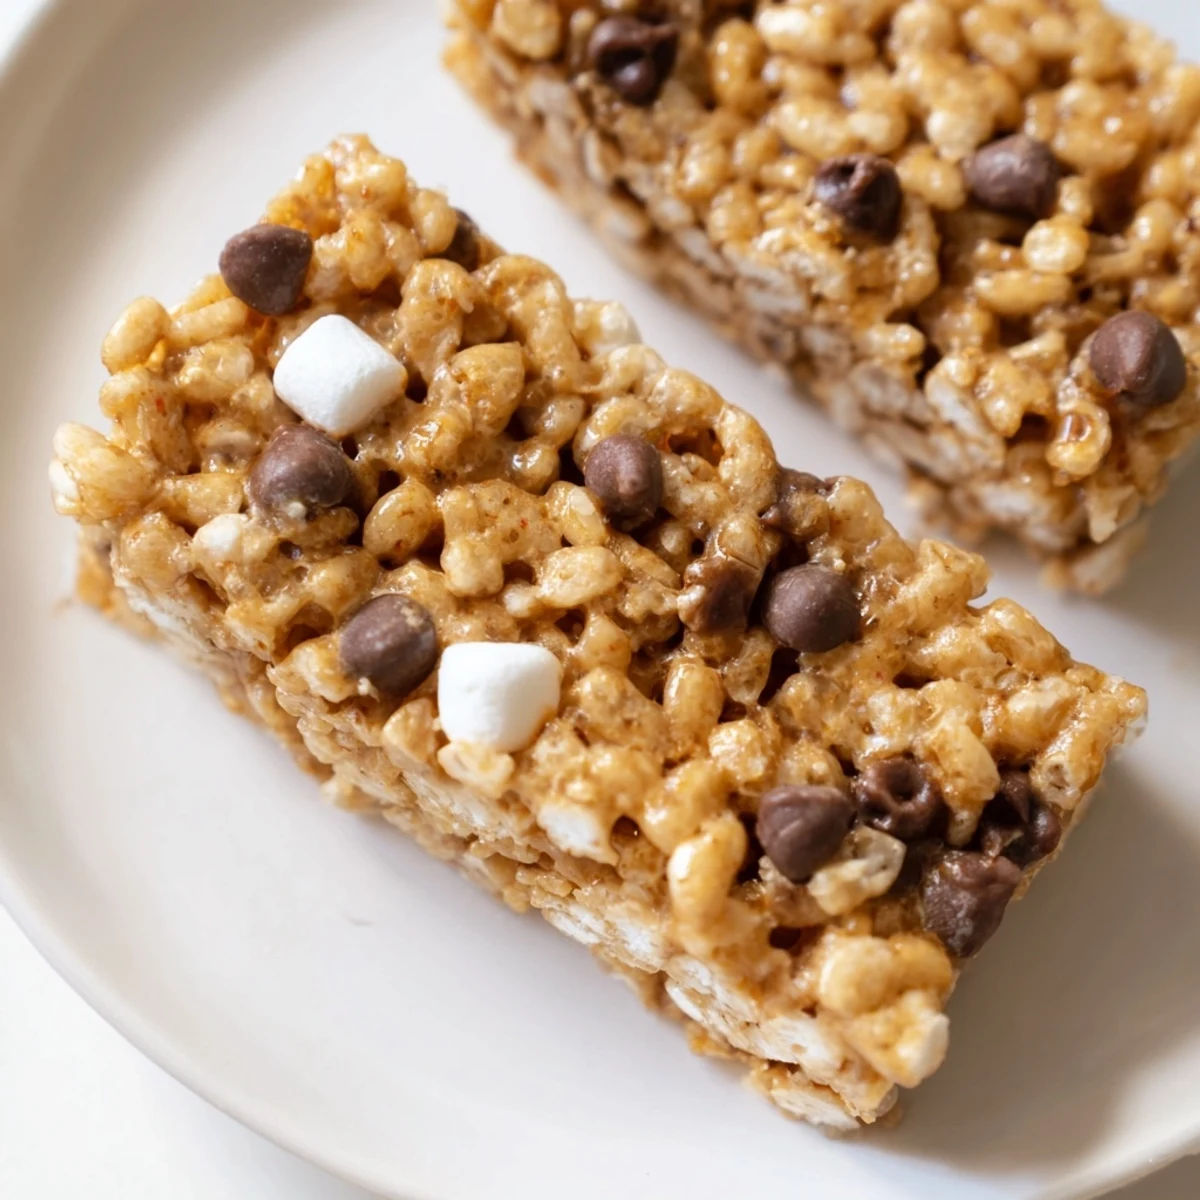
Save This classic snack blends crispy rice cereal with gooey melted marshmallows for a chewy and crunchy texture. Butter adds richness, while optional vanilla and chocolate chips bring extra flavor. The mixture is pressed into a pan, cooled, and cut into bars perfect for sharing or quick bites. Ideal for casual gatherings, it requires minimal time and simple tools. Variations include nuts or dried fruits for added texture. Serve chilled or room temperature for a nostalgic treat.
There's something magical about standing in a kitchen with melting marshmallows, watching them transform from puffy clouds into a glossy, gooey base that coats crispy cereal with pure comfort. I discovered these bars weren't just about the ingredients—it was the smell of butter warming, the sound of that gentle stir, and the moment I realized I'd made something that could disappear in minutes at any gathering.
I made these for my nephew's soccer team snack table once, and watching all those kids grab bars while they argued about the game made me understand why this recipe has lasted generations. It wasn't fancy, but it was exactly what the moment needed.
Ingredients
- Crispy Rice Cereal: This is your texture foundation—don't use frosted or sweetened varieties, as they'll overshadow the marshmallow sweetness and make everything cloyingly sugary.
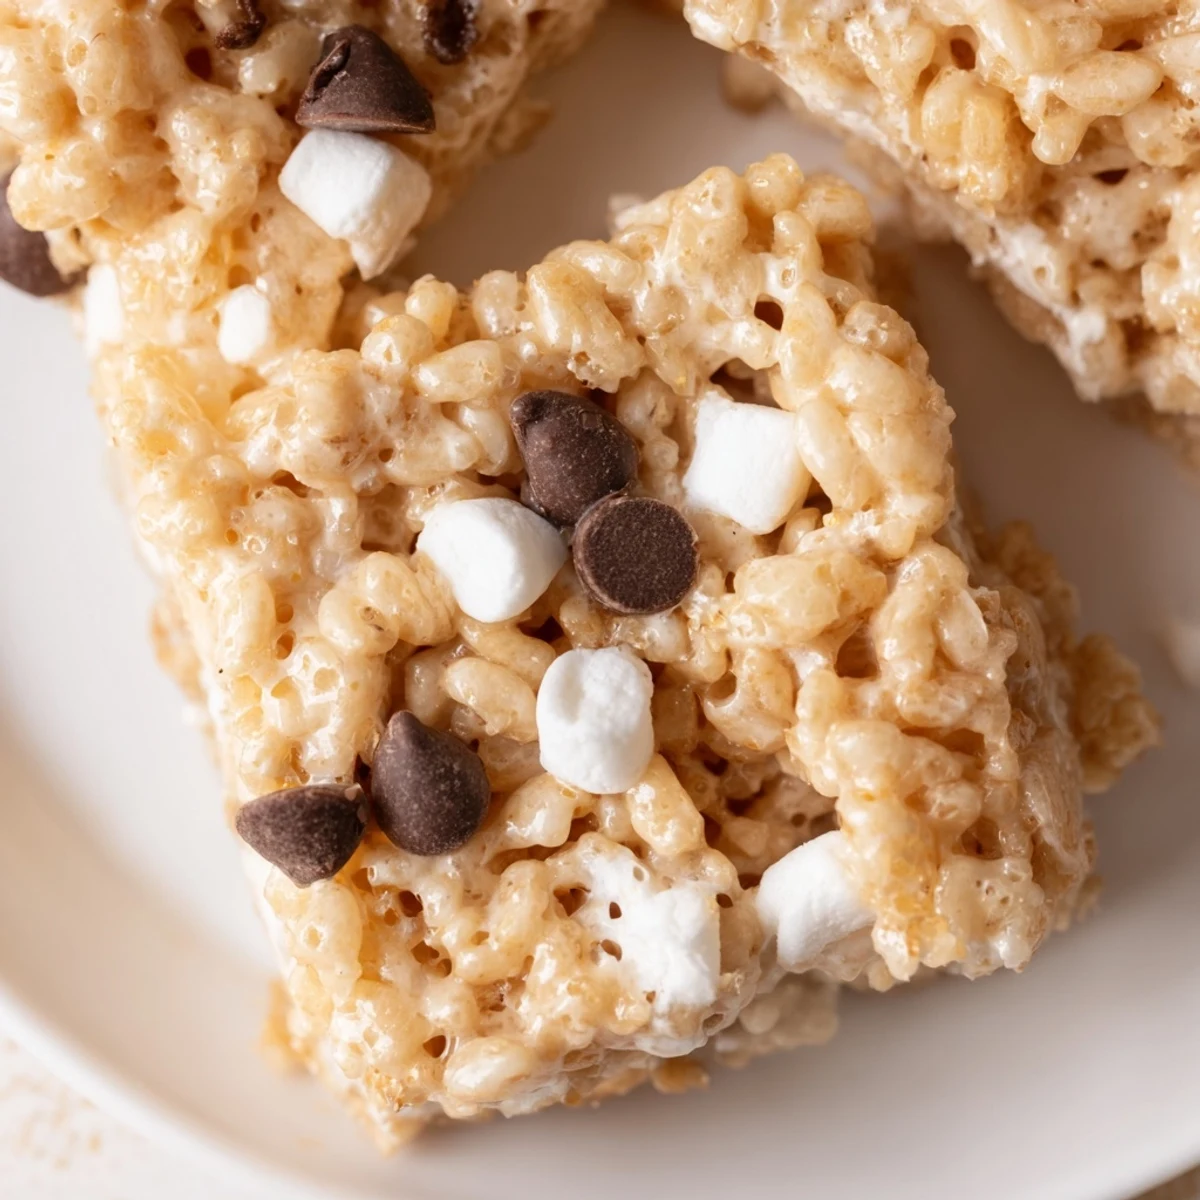
- Mini Marshmallows: They melt faster and coat more evenly than large ones, plus they blend seamlessly with the cereal without leaving gummy chunks.
- Unsalted Butter: This helps everything come together and prevents sticking when you press the mixture into the pan—salted butter can make the bars taste mineral-y.
- Mini Chocolate Chips: Optional, but they add a sophisticated contrast if you want to elevate these beyond the basic version.
- Vanilla Extract and Salt: Just a whisper of each deepens the marshmallow flavor and keeps the sweetness from feeling one-dimensional.
Instructions
- Prep Your Pan:
- Line a 9x13-inch baking pan with parchment paper or give it a light coating of nonstick spray. This step saves you from wrestling with stuck bars later—trust me on this one.
- Melt the Butter:
- In a large saucepan over low heat, let the butter turn golden and fragrant. Low heat is your friend here because marshmallows are sensitive and can scorch if things get too hot.
- Create the Marshmallow Base:
- Add the mini marshmallows and stir continuously until they're completely melted and smooth, about 3 minutes. You'll see them transform from little puffs into a glossy, homogeneous mixture.
- Season if You're Feeling It:
- Remove from heat and stir in vanilla extract and a tiny pinch of salt. This takes about 10 seconds but changes everything—it rounds out the sweetness beautifully.
- Fold in the Cereal:
- Add all the crispy rice cereal and fold gently with a spatula until every piece is coated. This is where patience matters—rushing and stirring aggressively will break the cereal into dusty pieces.
- Transfer and Press:
- Quickly move the mixture to your prepared pan before it sets. Using a buttered spatula or piece of wax paper, press everything into an even layer, working fast but gently.
- Add Chocolate if You'd Like:
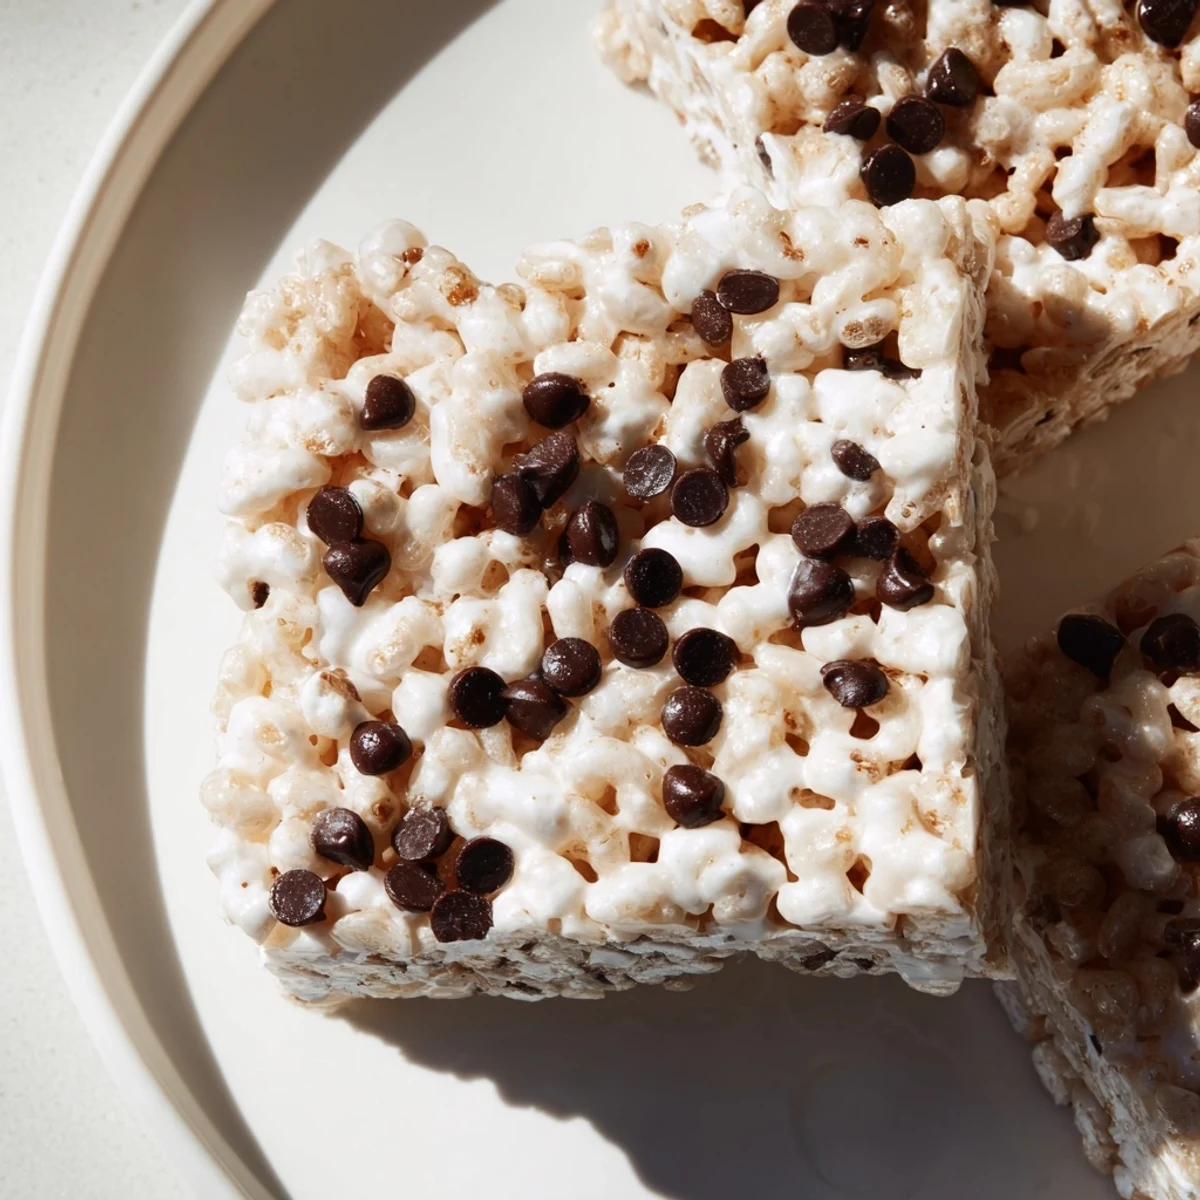
- Sprinkle mini chocolate chips on top and press them gently into the warm mixture so they stick.
- Let It Rest:
- Allow the pan to sit at room temperature for about 30 minutes until completely cool and set. This is the hardest part because it smells incredible and your hands will itch to grab one.
- Cut and Serve:
- Use a sharp knife to cut the cooled mixture into 16 bars. A light wipe of butter on your blade between cuts keeps things clean.
 Save
Save I once brought these to a potluck where someone's elaborate dessert didn't get touched, but my simple bars were gone within an hour. That taught me something about food—sometimes the most memorable things aren't the most complicated.
Why This Recipe Endures
These bars succeed because they hit the nostalgia nerve while requiring almost no skill to make. Kids learn to love baking when they help with something this forgiving, and adults remember why they loved them in the first place.
Customizing Your Bars
The beauty of this base recipe is how adaptable it is—you can swap regular marshmallows for funky flavored ones, add crushed pretzels for salty crunch, or toast your cereal lightly first for deeper flavor. I've experimented with peanut butter swirled on top and with freeze-dried strawberries folded in, and both transformed the bars into something that felt special without requiring a different technique.
Storage and Make-Ahead Tips
Store these in an airtight container at room temperature for up to 5 days, though they rarely last that long. If your kitchen is warm or humid, refrigerate them to keep the texture from getting too soft, but let them come to room temperature before eating so the marshmallow stays chewy instead of rubbery.
- For an even firmer bar that cuts cleanly, refrigerate for 15-20 minutes before slicing.
- You can make these ahead and freeze them for up to 2 months in an airtight container with parchment between layers.
- If they start to get stale, pop them in the microwave for 10 seconds to restore some chew.
 Save
Save These bars are proof that the simplest recipes are often the ones that matter most—they're there when you need comfort, they're easy enough for anyone to make, and they taste like someone cared. That's worth showing up for.
