 Save
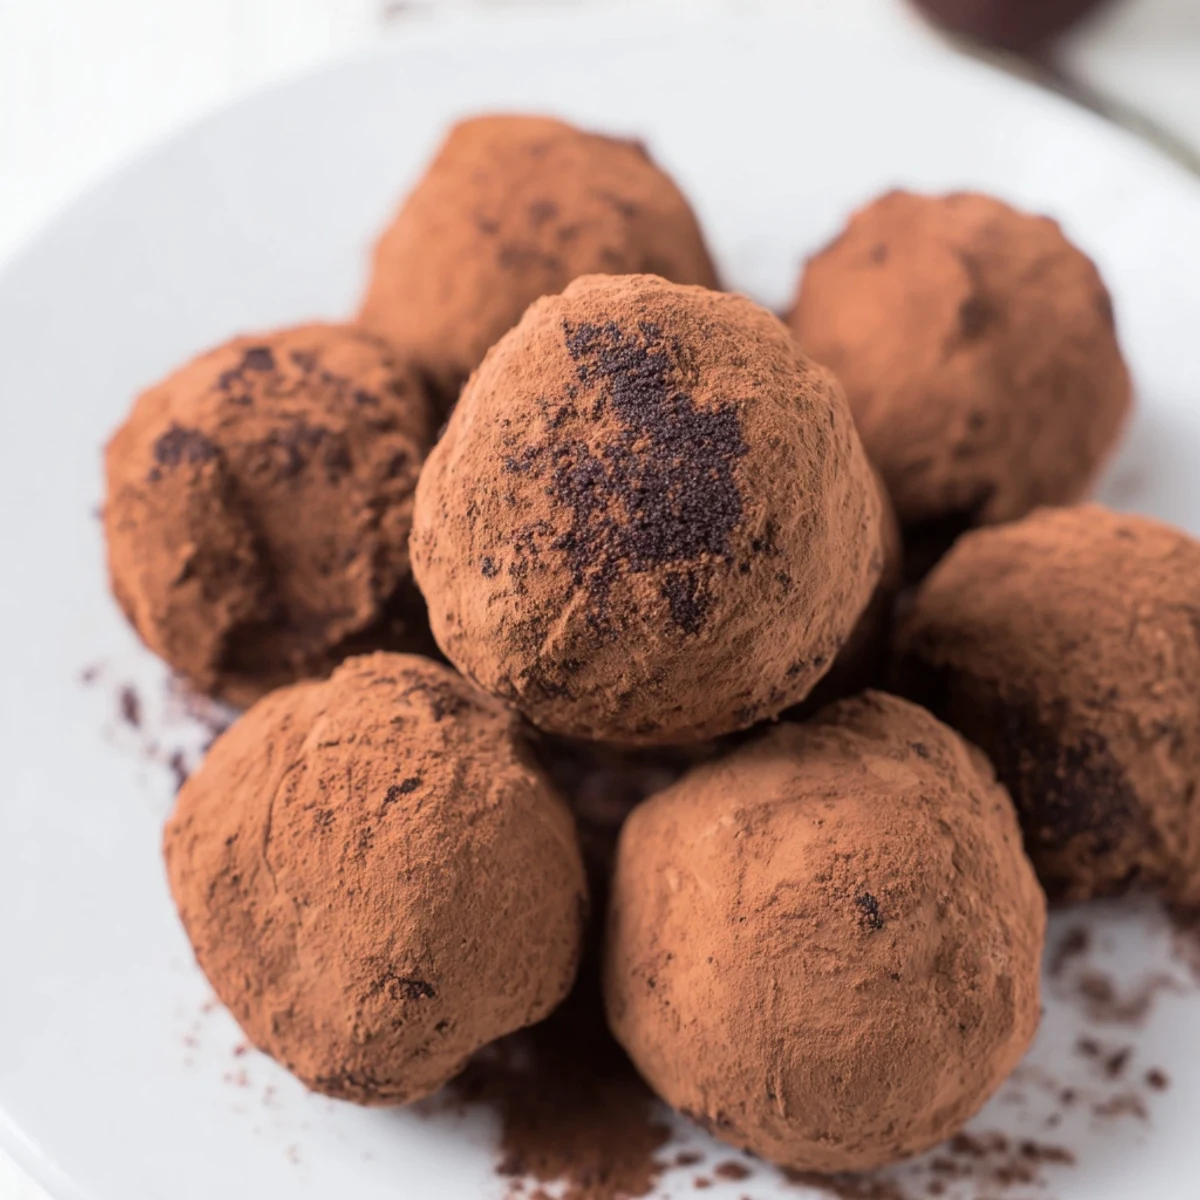
Save These dark chocolate truffles boast a rich and silky texture, crafted from high-quality chocolate melted with cream and butter. After chilling, the mixture is shaped into smooth spheres and gently dusted with unsweetened cocoa powder, delivering a bittersweet finish. Ideal for gifting or treating yourself, they offer a luxurious, melt-in-mouth experience with minimal preparation time.
My first batch of truffles happened by accident—I'd melted chocolate for a cake and had cream left over, so I whisked them together out of curiosity. What emerged from the fridge two hours later was pure magic: silky little spheres that melted on my tongue before I could even chew. I've been making them ever since, and they've become my go-to gift when I want to impress without fussing.
I made these for a dinner party last winter and set them out after dessert, thinking they'd be a nice nibble. Everyone stopped mid-conversation and went quiet—that kind of quiet that only happens when something tastes too good to interrupt. One guest asked for the recipe, then another, and I realized I'd created something that transcends ordinary sweets.
Ingredients
- High-quality dark chocolate (200 g, 70% cocoa): This is your star ingredient, so don't skimp—the bittersweet depth is what makes these sing, and finely chopping it helps it melt evenly and smoothly.
- Heavy cream (100 ml): The cream creates that velvety ganache texture that makes truffles different from regular chocolate; bring it just to a simmer, not a rolling boil.
- Unsalted butter (30 g): Adds richness and that glossy finish that makes truffles look professionally made, so cut it into small cubes so it melts seamlessly.
- Unsweetened cocoa powder (30 g): This final coat balances the sweetness and gives each truffle an elegant, sophisticated look that tastes as good as it looks.
Instructions
- Prepare your chocolate:
- Finely chop your dark chocolate and place it in a heatproof bowl—the smaller the pieces, the faster and more evenly it melts. This is the moment where patience pays off.
- Heat the cream gently:
- Pour heavy cream into a small saucepan and watch it carefully over medium heat; you'll see tiny bubbles form around the edges when it's ready, but never let it come to a boil or it'll scald and affect the flavor. This takes about 3-4 minutes.
- Make the ganache:
- Pour that hot cream over your chopped chocolate and wait a full minute without stirring—this lets the heat do the work. Then stir gently and slowly until the chocolate melts completely into a glossy, smooth mixture.
- Add the butter for shine:
- Stir in your cubed butter piece by piece, letting each one fully incorporate before adding the next; you'll see the ganache transform into something almost silky, with a subtle sheen that's a sign you're on the right track.
- Chill the mixture:
- Cover the bowl loosely with plastic wrap and refrigerate for 1-2 hours until the ganache is firm enough to scoop but still soft enough to roll—you're aiming for the texture of cookie dough, not hard chocolate. This patience step is crucial.
- Shape your truffles:
- Work quickly with a small teaspoon or melon baller to scoop portions, then roll them between your warm palms into smooth balls; if the mixture gets too warm and sticky, pop it back in the fridge for 15 minutes. Your hands are actually the best tool here because the slight warmth helps smooth out any cracks.
- Coat in cocoa:
- Pour cocoa powder into a shallow dish and roll each truffle to coat evenly on all sides, turning it gently with a fork or your fingers so every angle gets dusted. The cocoa clings beautifully to the chocolate and creates that professional bakery look.
- Final chill and serve:
- Arrange your coated truffles on parchment paper and refrigerate for at least 30 minutes so the cocoa coating sets perfectly. They'll keep in an airtight container in the fridge for up to a week, but honestly, they rarely last that long.
 Save
Save There's something almost meditative about rolling these little spheres, especially on an evening when you need to slow down. My daughter once rolled some with me, and we got so focused on making them perfectly round that we lost track of time—the kitchen got quiet except for the soft sound of chocolate being palmed into shape, and somehow that became the whole point.
Flavor Variations That Feel Natural
Once you've mastered the basic truffle, you can add personality to your batch without changing the method. Stir 1-2 tablespoons of liqueur like Grand Marnier, rum, or Baileys into the ganache before chilling if you want an adult twist that's subtle rather than overwhelming. You can also experiment with the coating: finely chopped nuts, shredded coconut, or powdered sugar each create a different textural experience and look.
The Science of What's Actually Happening
When hot cream meets chocolate, it's not just melting—the cocoa butter in the chocolate emulsifies with the cream's fat, which is why the mixture becomes so smooth and silky instead of grainy or separated. Letting it cool and firm up in the fridge allows the cocoa butter to crystallize in a stable form, which gives you that snappy texture when you bite through the cocoa coating. Adding butter at the end coats each cocoa particle in fat, which is what creates that glossy finish and helps everything stay together as you roll.
Gifting and Storage Wisdom
These truffles make people feel special because they taste homemade in the best way—and they actually are—but they also look polished enough that no one would guess how simple they are to make. I like to arrange them in small paper cups or on a piece of parchment inside a box, then bring them to room temperature before serving so the chocolate flavor comes through fully and that cocoa powder texture really shines.
- Store finished truffles in an airtight container in the refrigeridge for up to one week, keeping them away from strong-smelling foods since chocolate absorbs odors easily.
- If you're gifting them, pack them in a single layer with parchment between layers so they don't stick to each other or the box.
- Always let them sit at room temperature for 10-15 minutes before serving or eating—cold chocolate mutes the flavor, but room temperature brings out every nuance of that dark chocolate's complexity.
 Save
Save These truffles exist in that happy space where indulgence meets simplicity, and once you've made your first batch, you'll find yourself making them all the time. They're proof that sometimes the most impressive things come from understanding just a handful of ingredients and treating them with respect.
Recipe FAQs
- → What type of chocolate is best for these truffles?
-
Use high-quality dark chocolate with at least 70% cocoa content for a rich, intense flavor and smooth texture.
- → How long should the mixture chill before shaping?
-
Refrigerate the chocolate mixture for 1 to 2 hours until firm but scoopable, ensuring easy shaping without melting.
- → Can I enhance the truffles with additional flavors?
-
Yes, adding 1–2 tablespoons of liqueur like rum or Grand Marnier before chilling boosts flavor complexity.
- → What are good alternatives to cocoa powder for coating?
-
Finely chopped nuts, shredded coconut, or powdered sugar can be used instead of cocoa powder for varied textures and tastes.
- → How should I store the finished truffles?
-
Store in an airtight container in the refrigerator for up to a week. Bring to room temperature before serving for optimum flavor.
