 Save
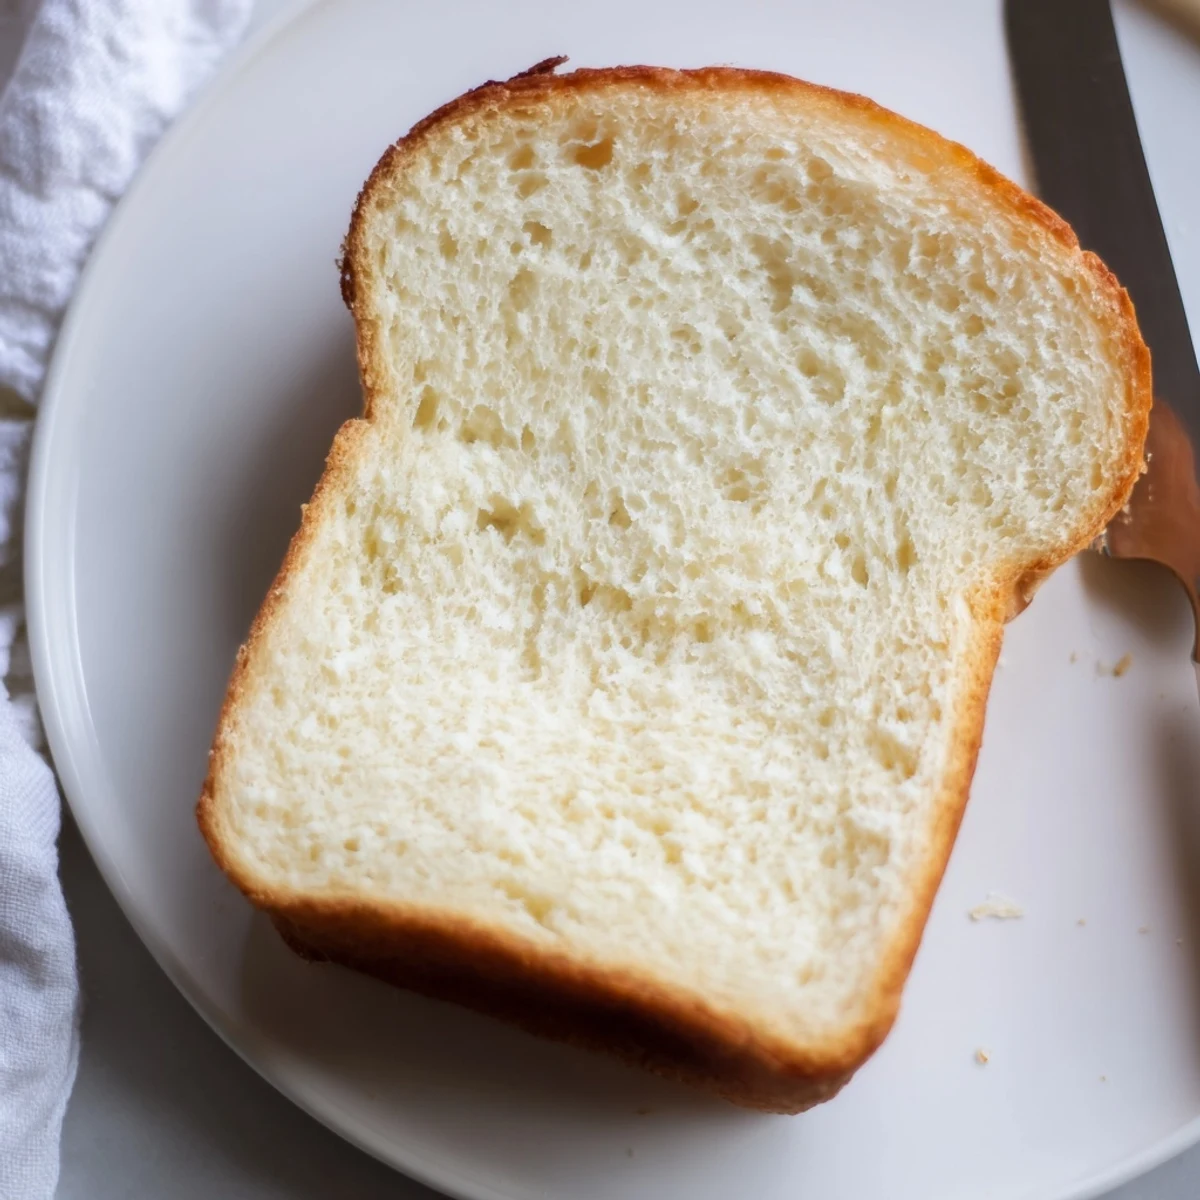
Save Create bakery-worthy loaves with this time-honored method. The dough rises beautifully to create pillowy slices with golden crusts. Each loaf bakes to perfection, developing that irresistible slightly sweet flavor and tender crumb.
The process rewards patience—let the dough rise fully in a warm spot, and you'll be rewarded with loaves that tower impressively above the pan rims. Brushing the hot crusts with melted butter ensures a soft, yielding texture that makes every bite memorable.
The smell of yeast blooming in warm water still takes me back to my grandmother's tiny kitchen, where she'd let me stand on a chair to 'help' knead dough. This Amish white bread recipe captures that same magic—nothing fancy, just honest ingredients transforming into something extraordinary. The first time I made it alone, I kept checking the oven every five minutes like an excited child, and the house filled with that unmistakable fresh-baked aroma that made neighbors wander over to investigate.
I once brought two still warm loaves to a potluck dinner, and before I could even set them down properly, people were already asking for the recipe. Something about homemade bread breaks down walls—strangers become friends over broken crusts shared across a crowded table. My roommate now specifically requests this bread whenever she's having a rough week, claiming there's actual comfort baked into every slice.
Ingredients
- Warm water: The temperature matters more than you think—too hot kills yeast, too cold makes it sluggish, so aim for bathwater warmth
- Granulated sugar: Feeds the yeast and creates that signature subtle sweetness that makes this bread uniquely Amish
- Active dry yeast: The living magic behind the rise, so check your expiration date before starting
- Salt: Don't skip it—salt balances sweetness and strengthens gluten structure
- Vegetable oil: Keeps the bread tender and extends freshness by a day or two
- All purpose flour: Start with 5 1/2 cups and adjust based on how the dough feels—humidity affects flour more than most people realize
- Melted butter for topping: Optional but creates that gorgeous bakery shine and softer crust everyone loves
Instructions
- Wake up the yeast:
- Dissolve sugar in warm water, sprinkle yeast on top, and watch for that foamy bloom that tells you it's alive and ready to work
- Build the dough:
- Stir in salt and oil, then gradually add flour until the dough pulls away from the bowl sides—you're looking for something tacky but not sticky
- Knead until smooth:
- Work the dough on a floured surface for 6 to 8 minutes until it feels like a soft earlobe under your fingers
- First rise:
- Place dough in a greased bowl, cover, and find a warm corner where it can double in size over about an hour
- Shape your loaves:
- Punch down gently, divide in half, and form each piece into a snug rectangle before tucking into greased loaf pans
- Second rise:
- Cover again and let the dough climb about an inch above the pan rims—this usually takes 30 to 45 minutes
- Bake to golden:
- Slide into a 350°F oven for 25 to 30 minutes until the tops turn golden brown and the loaves sound hollow when tapped
- Finish with butter:
- Brush immediately with melted butter for that tender, glistening crust, then cool completely before slicing
 Save
Save My father-in-law still talks about the first time he tasted this bread, admitting he'd never understood why anyone would bother making bread from scratch until that moment. Something happens when you serve people food you created with your own hands—they feel seen and cared for in a way store-bought bread never quite manages.
Getting The Rise Right
I've learned that yeast is surprisingly particular about its environment, almost like a moody houseguest who needs everything just so. Find that sweet spot in your kitchen—maybe atop the refrigerator or near a sunny window—where the temperature hovers around 75 to 80 degrees. Too cold and your dough will take forever to rise, while too much heat can actually damage the delicate yeast structure.
Mastering The Knead
The first few times I made bread, my arms would ache and I'd quit too early, wondering why my loaves turned out dense and disappointing. Then someone showed me the windowpane test—stretching a small piece of dough until it's thin enough to see light through without tearing. That translucent window means gluten has developed properly, and that's when you know the kneading is done.
Storing And Freezing
This bread stays fresh surprisingly well when stored properly, but I've also discovered it freezes beautifully for those times when life gets too busy for baking. Wrap cooled loaves tightly in plastic, then foil, and they'll keep for up to three months without losing that homemade quality. Thaw overnight on the counter, then refresh in a warm oven for that fresh-baked taste.
- Slice before freezing so you can grab exactly what you need
- Revive slightly stale bread by sprinkling with water and warming at 350°F for 10 minutes
- Never store bread in the refrigerator—it actually goes stale faster there
 Save
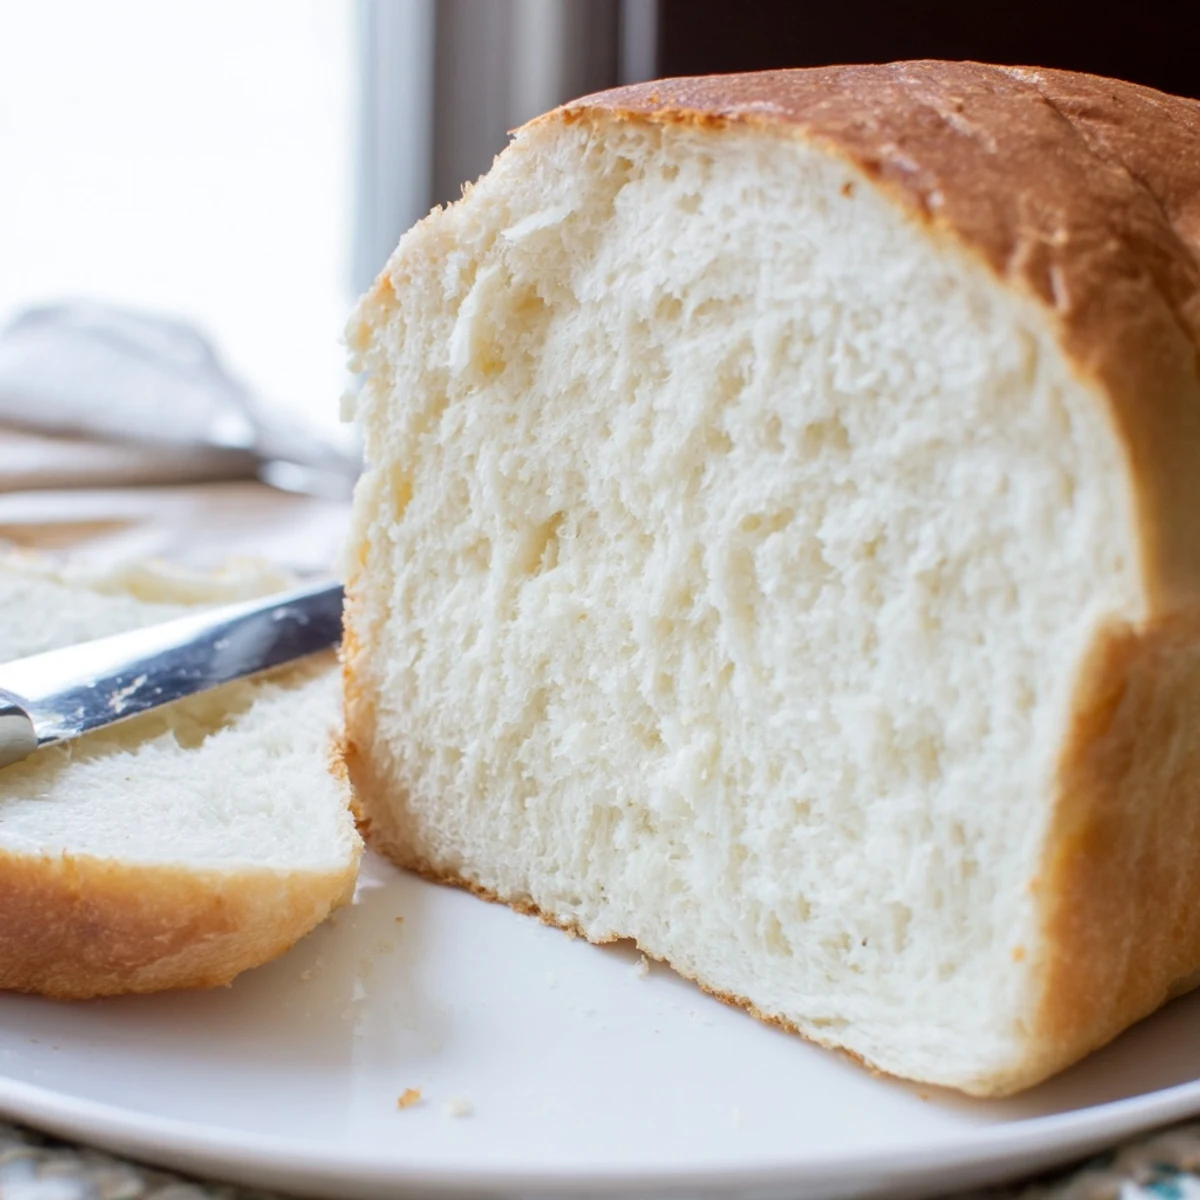
Save There's something profoundly satisfying about pulling two perfect golden loaves from your own oven, knowing you created something nourishing with your own hands. May your kitchen always smell like yeast and happiness.
Recipe FAQs
- → What makes Amish white bread different from regular white bread?
-
This version uses slightly more sugar and oil than standard white bread, creating a tender crumb and subtle sweetness. The longer rising period develops deeper flavor while ensuring the characteristic soft, pillowy texture that makes these loaves exceptional for sandwiches and morning toast.
- → How do I know when the dough has doubled in size?
-
Press two fingers gently into the dough—if the indentation remains visible without springing back, the dough has risen sufficiently. Alternatively, mark the bowl's edge with tape when starting; the dough should reach roughly twice that height. Expect about one hour in a warm, draft-free spot.
- → Can I use whole wheat flour instead of all-purpose?
-
You can substitute up to half the all-purpose flour with whole wheat, though the loaves will be denser and slightly less fluffy. For best results, use white whole wheat flour and increase the water by 1-2 tablespoons since whole wheat absorbs more liquid than refined flour.
- → Why is my bread dense instead of fluffy?
-
Dense loaves usually result from insufficient rising time, using cold water which inhibits yeast activity, or adding too much flour. The dough should feel tacky but not sticky—measure flour by gently spooning into cups rather than scooping directly, which compacts the flour.
- → How should I store the baked loaves?
-
Once completely cooled, wrap each loaf tightly in plastic or place in an airtight bag at room temperature for up to four days. For longer storage, slice the loaf and freeze individual portions in freezer bags—thaw slices overnight in the refrigerator or toast directly from frozen.
