 Save
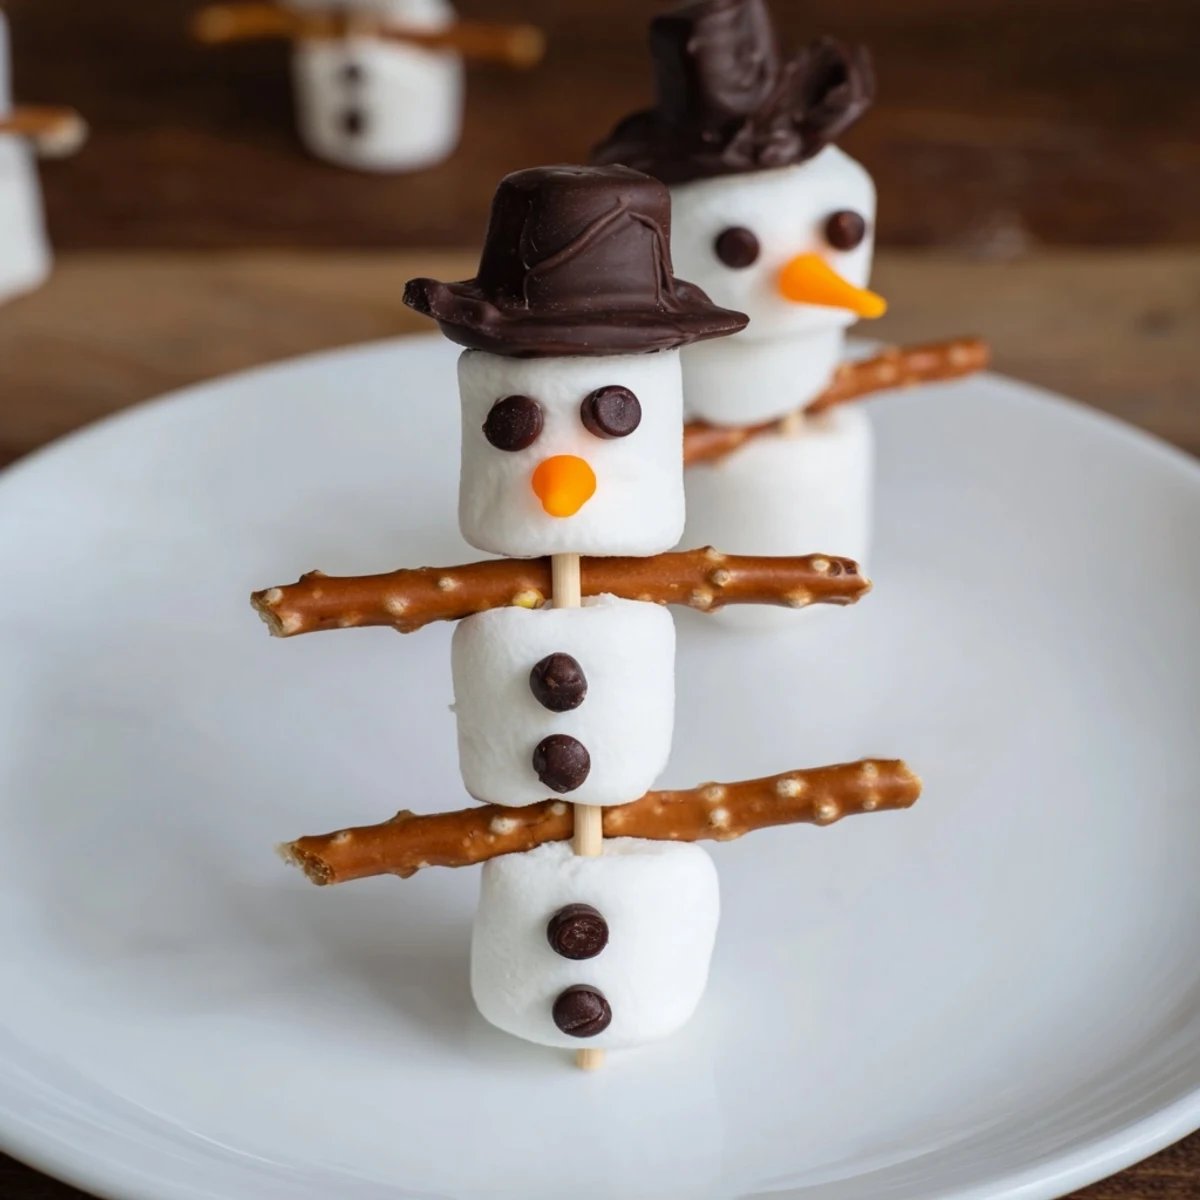
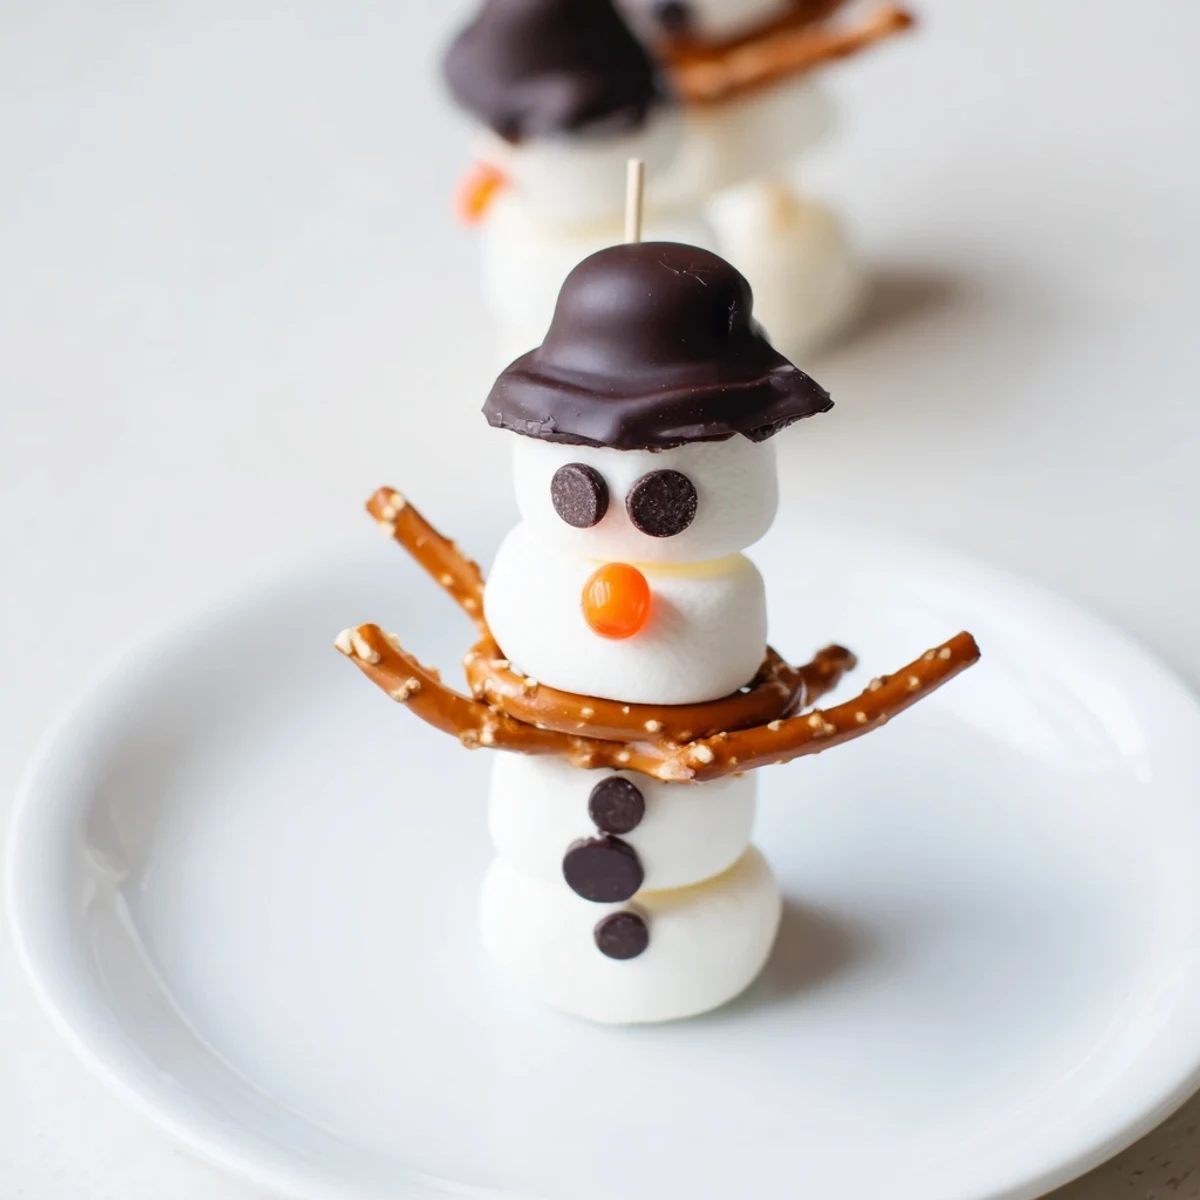
Save This delightful no-bake creation transforms soft marshmallows into charming snowmen on sticks. Three marshmallows are threaded onto each skewer, decorated with melted chocolate for faces and buttons, and adorned with candy-coated noses, gummy scarves, pretzel arms, and chocolate hats. Quick to assemble and visually appealing, these treats bring a whimsical touch to any winter gathering or festive party. Suitable for vegetarians and easy to personalize with colorful sprinkles or candy variations. Keep refrigerated for freshness and enjoy an easy, creative seasonal snack.
I first made these marshmallow snowmen on a snowy afternoon when my niece and nephew showed up unannounced, bored and restless. We raided the pantry for anything we could turn into a craft, and somehow ended up with a pile of marshmallows, pretzels, and a half-melted chocolate bar. Within twenty minutes, we had a little army of wobbly snowmen standing proudly on sticks, and the kids were convinced we'd invented something magical.
The first batch we made had wonky eyes and scarves that kept sliding off, but nobody cared. The kids giggled the whole time, and when we lined them all up on a tray, it felt like we'd created a whole winter village. That memory of their faces lighting up is why I keep making these every year.
Ingredients
- Large marshmallows: The fluffier, the better. I always grab the freshest bag because stale marshmallows just don't stack as nicely.
- Wooden skewers or cake pop sticks: I prefer the thicker cake pop sticks for younger kids since they're sturdier and safer.
- Dark or milk chocolate: Melted chocolate is your glue and your pen. I melt mine in 15 second bursts in the microwave to avoid seizing.
- Mini pretzel twists: These make the most adorable little snowman arms. I always buy extra because I snack on half the bag.
- Orange mini candy coated chocolates or sprinkles: Perfect for the carrot nose. A tiny dot of chocolate keeps them in place.
- Sour gummy belts or licorice strings: These become the sweetest little scarves. I like the bright colors for a pop of fun.
- Chocolate chips or mini peanut butter cups: Hats that double as a bonus chocolate bite. Genius, honestly.
- Black decorating gel: Optional, but handy if you want to add extra details without wrestling with a toothpick.
Instructions
- Build Your Snowman:
- Thread three marshmallows onto each skewer, starting from the bottom. Press them gently so they sit snug but don't squish. You'll feel them settle into place, and that's when you know you've got a good base.
- Give Them Personality:
- Dip a toothpick into your melted chocolate and dot on two eyes and a dotted smile. I like to add three little buttons down the front too. The chocolate sets fast, so work one snowman at a time if you're new to this.
- Add the Carrot Nose:
- Use a tiny dab of melted chocolate to stick an orange candy or sprinkle right in the center of the face. Hold it for a second until it grabs. This is the moment they start to look alive.
- Wrap the Scarf:
- Tie a gummy belt or licorice string around the neck, right between the top and middle marshmallow. I like a loose knot so it looks cozy, not strangled.
- Stick in the Arms:
- Poke two mini pretzel twists into the sides of the middle marshmallow. Angle them slightly upward like the snowman is waving hello. This part always makes me smile.
- Top It Off:
- Dab a bit of melted chocolate on the top marshmallow and press a chocolate chip or mini peanut butter cup on as a hat. Let it sit for a minute to set. If you want, add extra details with black gel—coal buttons, a fancy hat brim, whatever feels right.
- Let Them Set:
- Place your finished snowmen on parchment paper and let the chocolate firm up for a few minutes. They'll hold together beautifully once everything's set.
 Save
Save The year my daughter's preschool had a winter party, I brought two dozen of these. The teacher later told me the kids spent the whole snack time naming their snowmen and inventing backstories for them. One little boy insisted his snowman was a superhero. That's when I realized these weren't just treats—they were tiny edible characters that sparked imagination.
Keeping Them Fresh
These are best enjoyed the day you make them, but if you need to prep ahead, store them in a single layer in an airtight container. They'll keep for up to two days, though the marshmallows can get a bit sticky. I always put parchment between layers if I'm stacking them.
Adapting for Allergies
If you're dealing with nut allergies, skip the peanut butter cups and use chocolate chips or even mini Oreos for hats. For a wheat free version, swap the pretzel arms for candy canes broken in half. The beauty of this recipe is how flexible it is—you can work around almost any restriction and still end up with something adorable.
Serving Ideas That Clicked
I've served these at birthday parties, holiday cookie exchanges, and even as place settings at a winter dinner. You can stand them upright in a jar of sugar to look like a snowy field, or lay them flat on a tray with a dusting of powdered sugar for that fresh snowfall effect.
Making It a Group Activity
This is the perfect recipe to hand over to kids. Set up a little assembly line with bowls of toppings and let them go wild. The mess is minimal, the fun is maximum, and every snowman turns out charmingly unique.
- Lay out all your toppings in small bowls before you start so little hands can grab what they need
- Keep a damp cloth nearby for sticky fingers—it's a lifesaver
- If you're working with really young kids, pre thread the marshmallows so they only have to decorate
 Save
Save These little snowmen have become a tradition in our house, and every year they get a bit more elaborate. I hope they bring as much joy to your kitchen as they have to mine.
Recipe FAQs
- → How do I prevent marshmallows from sliding on the sticks?
-
Thread the marshmallows firmly onto the skewer and gently press each one to keep them snug. Using wooden or cake pop sticks helps stabilize the arrangement.
- → What alternatives can I use for decoration besides chocolate?
-
You can swap melted chocolate for colored icing or edible markers to add faces and buttons. Candy sprinkles also offer colorful accents.
- → Can this treat be prepared in advance?
-
Yes, it can be assembled ahead and stored in an airtight container for up to two days to maintain freshness and shape.
- → Are there nut-free decoration options?
-
Avoid using peanut butter cups and opt for chocolate chips or other nut-free candies to keep it safe for nut allergies.
- → What is the best way to secure gummy scarves on the marshmallows?
-
Tying the licorice or gummy belts gently around the middle marshmallow creates a snug fit that holds the scarf in place without slipping.
- → How can I make the candy noses stick better?
-
Use a dab of melted chocolate as edible glue to attach candy-coated chocolates or sprinkles firmly onto the marshmallow surface.
