 Save
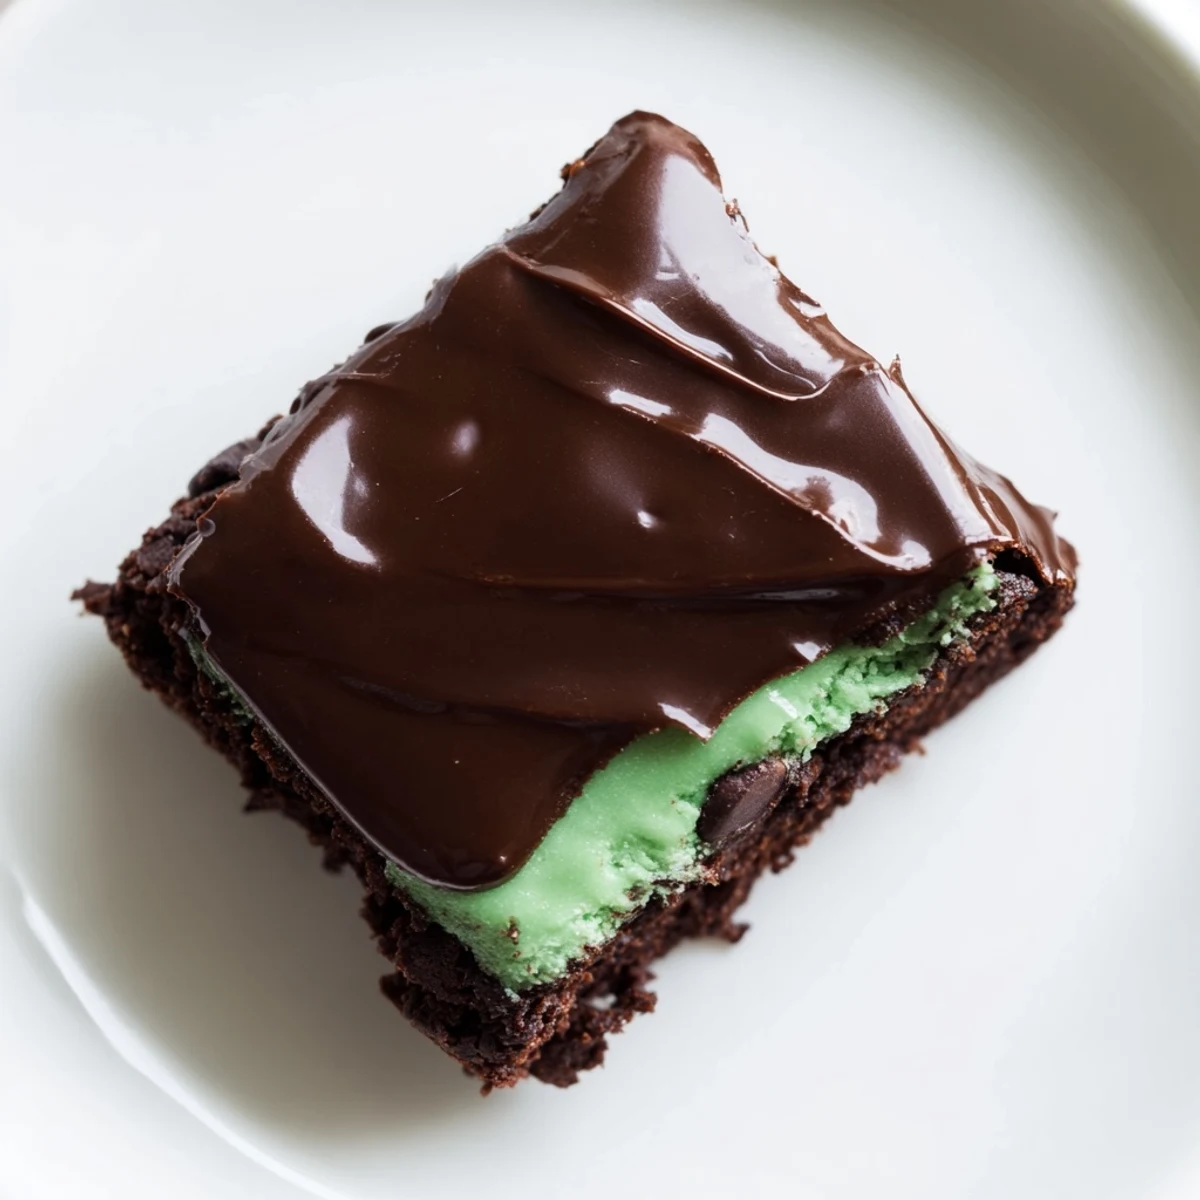
Save These rich and fudgy brownies feature a smooth, buttery chocolate base enhanced with semisweet chocolate chips. A creamy mint layer adds a refreshing touch, balancing the deep cocoa flavors. Topped with a silky chocolate coating, these squares are chilled to set perfectly before serving. Ideal for satisfying sweet cravings with a classic mint and chocolate harmony, they offer a medium-level challenge suitable for baking enthusiasts.
The first time I tasted a mint chocolate chip brownie, I was standing in my cousin's cramped kitchen during a July heat wave, convinced that chocolate and mint together was some kind of culinary prank. She handed me a square still cold from the fridge, and the shock of that cool peppermint against dense fudgy chocolate made me actually stop mid-conversation. I had been wrong about the combination, completely and happily wrong.
I made these for a coworker's birthday last year, cutting them into neat squares at 6 AM while my coffee went cold on the counter. She later told me she hid the container in her desk drawer so no one else would find them, which remains the highest compliment I have ever received about anything I have baked.
Ingredients
- Unsalted butter (170g melted, 60g softened, 30g for topping): The temperature matters more than you think, melted for the base creates that crackly top, softened for the mint layer means no lumps of butter ruining the smooth green spread.
- Granulated sugar (200g) and light brown sugar (100g): The mix gives you both height and chew, all white sugar makes a cakey brownie which is not what we are after here.
- 3 large eggs: Room temperature eggs emulsify better with the butter, cold eggs can make the batter look slightly curdled before you even get to the dry ingredients.
- Pure vanilla extract (1 tsp) and peppermint extract (1/2 tsp): Vanilla rounds out the chocolate, peppermint needs restraint or you end up with something that tastes like toothpaste, measure carefully.
- All purpose flour (80g): Surprisingly little flour is what keeps these dense, do not be tempted to add more even if the batter looks thin.
- Unsweetened cocoa powder (60g): Dutch process will give you a darker color and milder flavor, natural cocoa is sharper and more bitter, either works but do not substitute one for one without expecting a change.
- Salt (1/2 tsp): Essential against all that sugar, it wakes everything up.
- Semisweet chocolate chips (240g total): Folded into the batter and melted for the topping, buy a brand you would eat straight from the bag.
- Powdered sugar (240g sifted): Sifting prevents the mint layer from having tiny sugar pebbles that never dissolve.
- Whole milk (2 tbsp): Just enough to bring the mint frosting together, skim milk makes it too stiff.
- Green food coloring: Optional but the pale green is part of the nostalgic appeal, gel colors are more concentrated than liquid drops.
Instructions
- Prep your pan and oven:
- Heat the oven to 175C and line your baking pan with parchment, leaving an overhang on two sides so you can lift the whole slab out later. The overhang is not decorative, it is functional, trust me on this.
- Make the brownie base:
- Whisk the melted butter with both sugars until the mixture looks like wet sand that has started to come together, then beat in the eggs and vanilla one at a time. The batter should look glossy and thick before you even add the cocoa.
- Add the dry ingredients:
- Sift the flour, cocoa, and salt directly into the bowl to break up any cocoa lumps that love to hide in there. Stir until you no longer see dry streaks, then fold in the chocolate chips quickly so they do not melt from the residual warmth.
- Bake and cool completely:
- Spread the batter evenly and bake until a toothpick comes out with moist crumbs clinging to it, not wet batter. The waiting is the hardest part, the brownies must be room temperature before you add the mint layer or the butter in the frosting will melt and slide off.
- Whip the mint layer:
- Beat the softened butter until it looks like pale yellow frosting, then add the powdered sugar in batches with the milk and peppermint. The color should be a soft mint green, not neon, unless you are making these for a themed party.
- Chill to set:
- Spread the mint layer in an even blanket over the brownies and refrigerate for twenty minutes. This firms up the butter enough that the warm chocolate topping will not melt through and create muddy layers.
- Pour the chocolate topping:
- Melt the chocolate and butter together gently, let it cool for five minutes so it is pourable but not hot, then spread it over the mint layer. The slight temperature drop is what gives you that smooth shiny surface instead of a dull one.
- Final chill and cut:
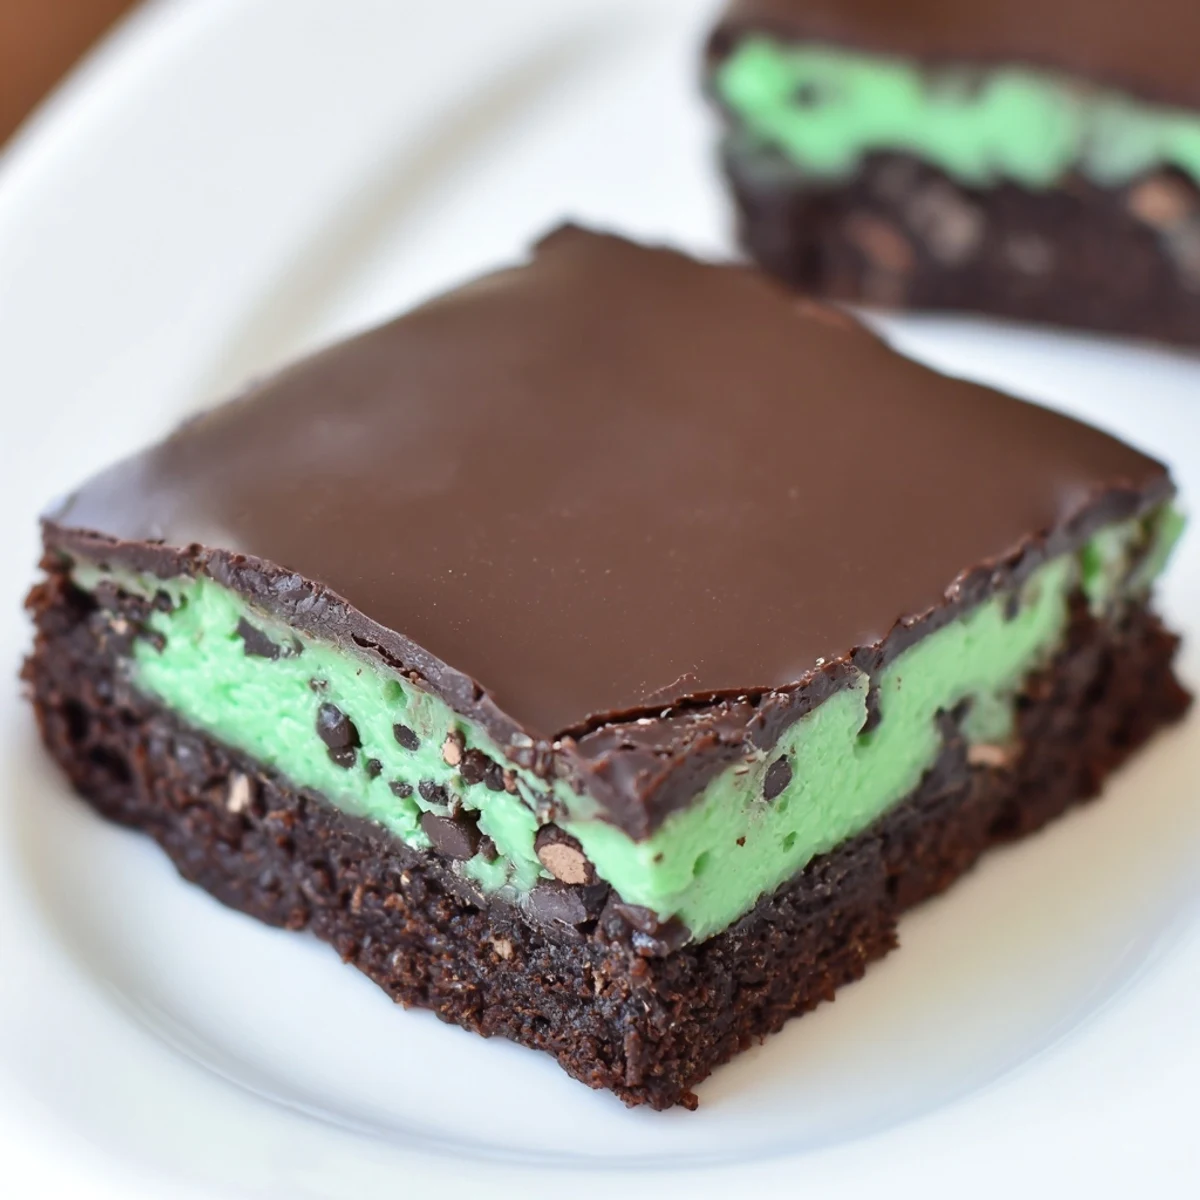
- Refrigerate at least thirty minutes until the topping is set solid, then lift the whole block out using the parchment overhang and cut with a warm knife. Clean the knife between cuts for neat squares that show off the three distinct layers.
 Save
Save My neighbor's daughter now asks for these specifically when she visits, calling them grass brownies with complete sincerity. I have never corrected her, because watching her carefully eat the layers in separate bites, saving the chocolate top for last, feels like being trusted with something important.
The Right Pan Makes a Difference
A metal pan conducts heat more evenly than glass, which can leave the edges overbaked while the center stays underdone. If glass is all you have, reduce the oven temperature by ten degrees and start checking five minutes early.
Reading Your Brownie Texture
Moist crumbs on the toothpick mean fudgy brownies, wet batter means they need more time, a clean toothpick means you have crossed into cake territory and there is no going back. The brownies will continue to set as they cool, so err on the side of underbaked.
Storing and Serving
These keep beautifully in the refrigerator for five days, the cold actually improves the texture of the mint layer. For clean cuts, run your knife under hot water and wipe dry between each slice, the warmth melts through the chocolate topping without cracking it.
- Let refrigerated brownies sit at room temperature for fifteen minutes before serving for the best flavor.
- The mint layer softens noticeably at warm room temperature, so transport these in a cooler if you are bringing them to a summer gathering.
- A tiny sprinkle of flaky salt on top of the chocolate layer before it sets adds a sophisticated edge to the sweetness.
 Save
Save However you choose to make them your own, these brownies reward patience more than skill. The layers will wait for you in the refrigerator, and the first bite of cold mint and dark chocolate will make the timing feel like it was always worth it.
Recipe FAQs
- → What makes the brownies fudgy instead of cakey?
-
The high butter content combined with a moderate amount of flour and cocoa powder creates a dense, moist texture, resulting in fudgy brownies.
- → How can I achieve a smooth mint layer?
-
Beat softened butter until creamy before gradually incorporating powdered sugar, milk, and peppermint extract until the mixture is fluffy and spreadable.
- → Can I substitute peppermint extract with something else?
-
While peppermint extract provides a classic flavor, you may try spearmint extract or a small amount of fresh mint infused milk for a different minty note.
- → How long should the brownies chill before serving?
-
Refrigerate the layered brownies for at least 30 minutes after applying the chocolate topping to ensure they set properly.
- → What is the best way to store these brownies?
-
Store chilled in the refrigerator for a firmer texture or at room temperature covered to maintain softness, enjoying within a few days.
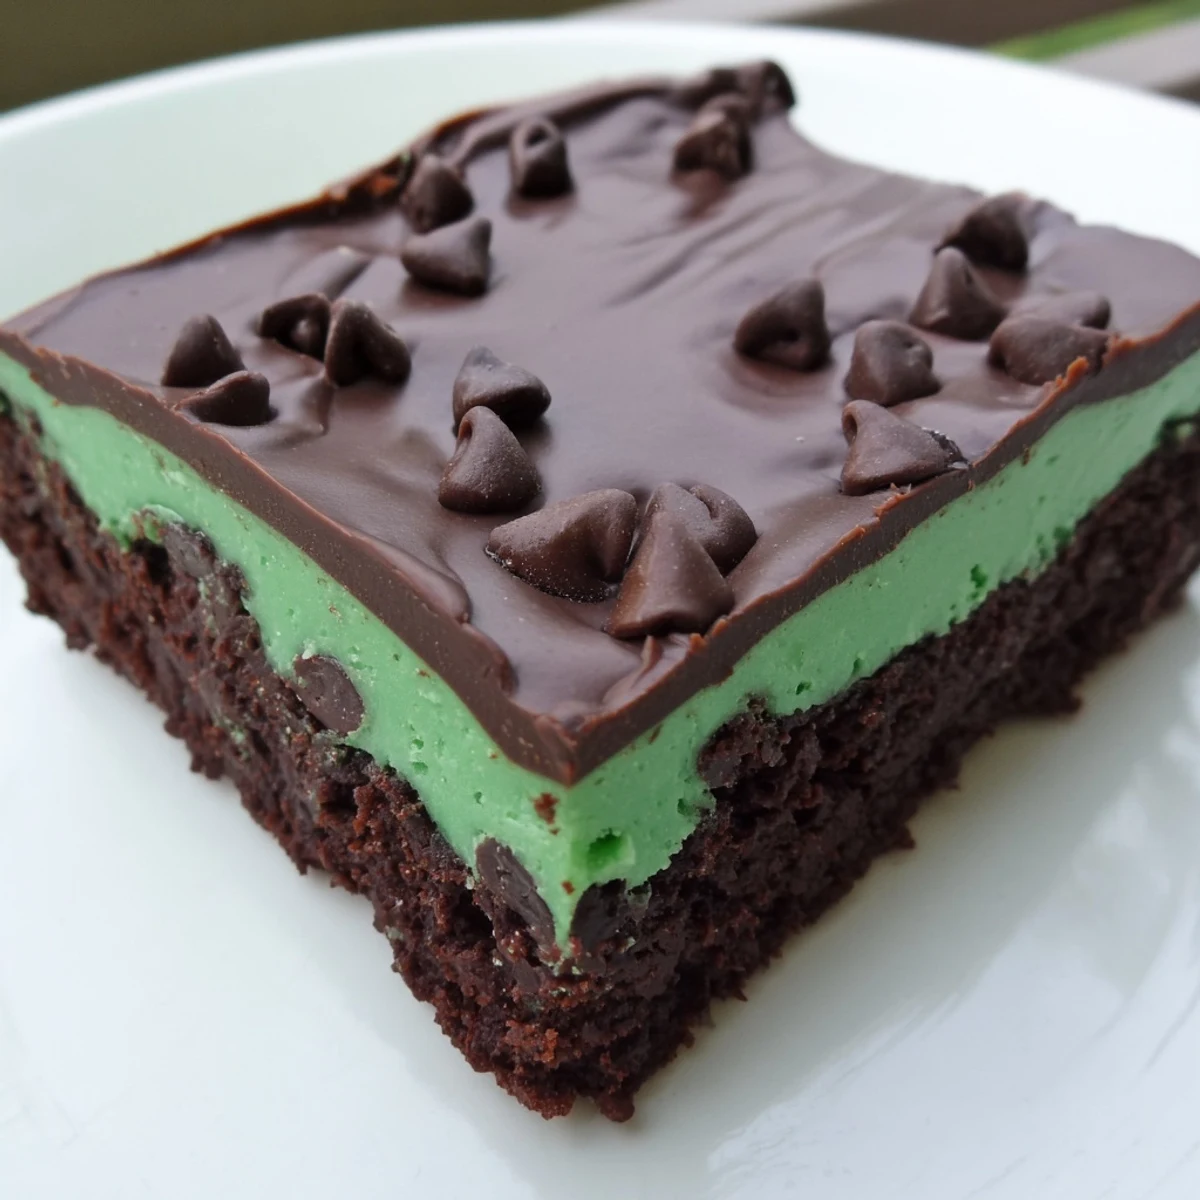
- → Can I add toppings for extra texture?
-
Yes, sprinkling chopped chocolate pieces or mint candies on top before the chocolate sets adds a pleasant crunch and visual appeal.
