
 Save
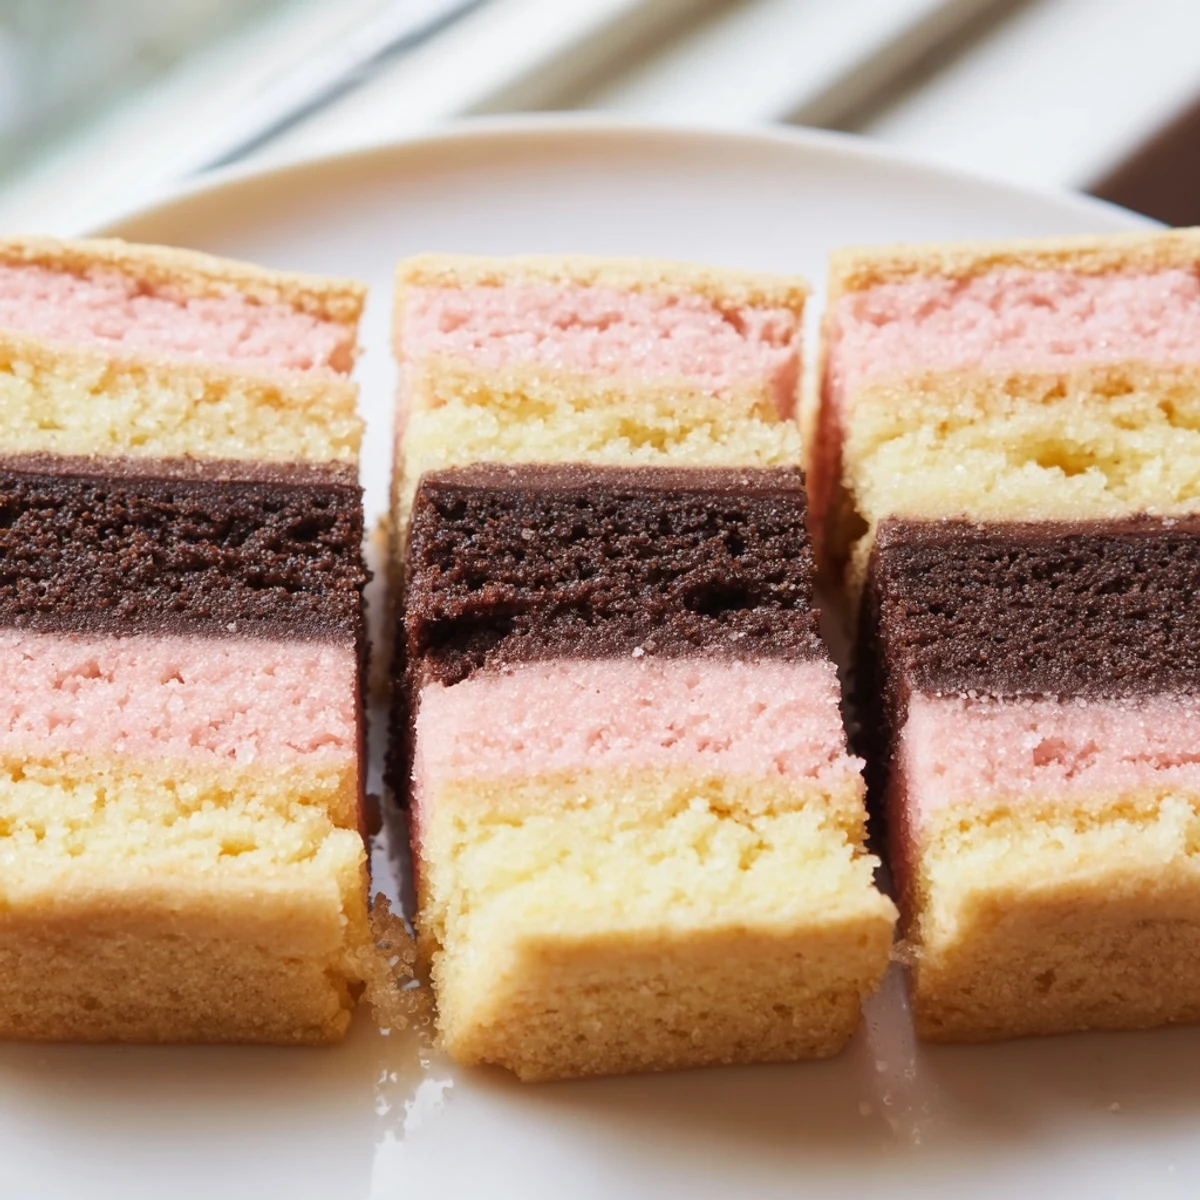
Save Neapolitan cookies bring together three classic flavors—rich chocolate, smooth vanilla, and sweet strawberry—in one visually stunning butter cookie. Inspired by the iconic ice cream, each cookie showcases distinct colorful layers that look impressive yet require no special decorating skills.
The dough is divided into three portions, flavored individually, then stacked and chilled before slicing into beautiful tri-color rounds. They make excellent gifts, holiday platter additions, or everyday treats paired with a glass of milk or cup of coffee.
The ice cream truck used to roll through our neighborhood every summer evening, and my sister always ordered Neapolitan because she could never commit to just one flavor. Years later, I found myself staring at three bowls of cookie dough on my counter, one chocolate, one vanilla, one streaked pink with strawberry powder, and I laughed at how some childhood loyalties never really fade. These Neapolitan Cookies capture that same indecent joy in buttery, slice and bake form.
I brought a tin of these to a potluck last winter and watched a quiet coworker eat four of them standing by the snack table without saying a word. When she finally looked up, she just nodded and said these are dangerous. That moment convinced me this recipe deserved a permanent spot in my rotation.
Ingredients
- All purpose flour (2 and a half cups): The backbone of the dough, and scooping with a spoon before leveling prevents dense cookies.
- Baking powder (1 tsp): Gives just enough lift without puffing the layers into each other.
- Salt (half tsp): Balances the sweetness and makes the chocolate layer taste deeper.
- Unsalted butter, softened (1 cup): Room temperature butter creams properly, so pull it out an hour ahead and do not cheat with the microwave.
- Granulated sugar (1 and a quarter cups): Creates crisp edges while keeping centers tender.
- Large eggs (2): Bind everything together, and adding them one at a time keeps the emulsion smooth.
- Pure vanilla extract (2 tsp): The star of the vanilla layer, so use the good stuff here, not imitation.
- Freeze dried strawberry powder (1 tbsp): Delivers real berry flavor and natural color without adding moisture that would wreck the dough texture.
- Unsweetened cocoa powder (2 tbsp): Transforms one third of the dough into something rich without needing melted chocolate.
- Milk (1 tsp): Just enough to hydrate the cocoa powder so it blends evenly into the dough.
Instructions
- Build your dry foundation:
- Whisk the flour, baking powder, and salt together in a medium bowl until evenly distributed. Set this aside while you work on the butter mixture.
- Cream butter and sugar:
- Beat the softened butter and sugar in a large bowl with an electric mixer until the mixture turns pale and fluffy, roughly two minutes. Scrape down the sides once so nothing hides from the beaters.
- Add eggs and vanilla:
- Drop in one egg, beat until fully absorbed, then repeat with the second. Pour in the vanilla and mix until you can smell that warm, sweet fragrance throughout.
- Bring dough together:
- Add the dry ingredients gradually, mixing on low speed until the last streak of flour just disappears. Overmixing makes tough cookies, so stop as soon as everything looks uniform.
- Split and flavor:
- Divide the dough into three equal portions by weight if you have a scale. Knead the strawberry powder into one portion until the pink color runs through evenly. Work the cocoa and milk into a second portion until it looks like fudge dough. Leave the third portion plain and lovely as it is.
- Stack and shape:
- On a sheet of parchment or plastic wrap, press each flavored dough into a flat rectangle about 8 by 4 inches. Lay the chocolate layer down first, then the vanilla, then the strawberry on top, pressing gently so they adhere without smudging the boundaries.
- Chill until firm:
- Wrap the stacked dough tightly and slide it into the fridge for at least 45 minutes. The dough needs to be completely firm to slice cleanly, and patience here saves you from ragged, smudged cookies later.
- Slice and bake:
- Preheat your oven to 350 degrees Fahrenheit and line baking sheets with parchment. Slice the dough crosswise into quarter inch thick pieces and lay them an inch apart. Bake for 10 to 12 minutes until the edges barely start turning golden, then cool on the sheet for five minutes before moving to a rack.
 Save
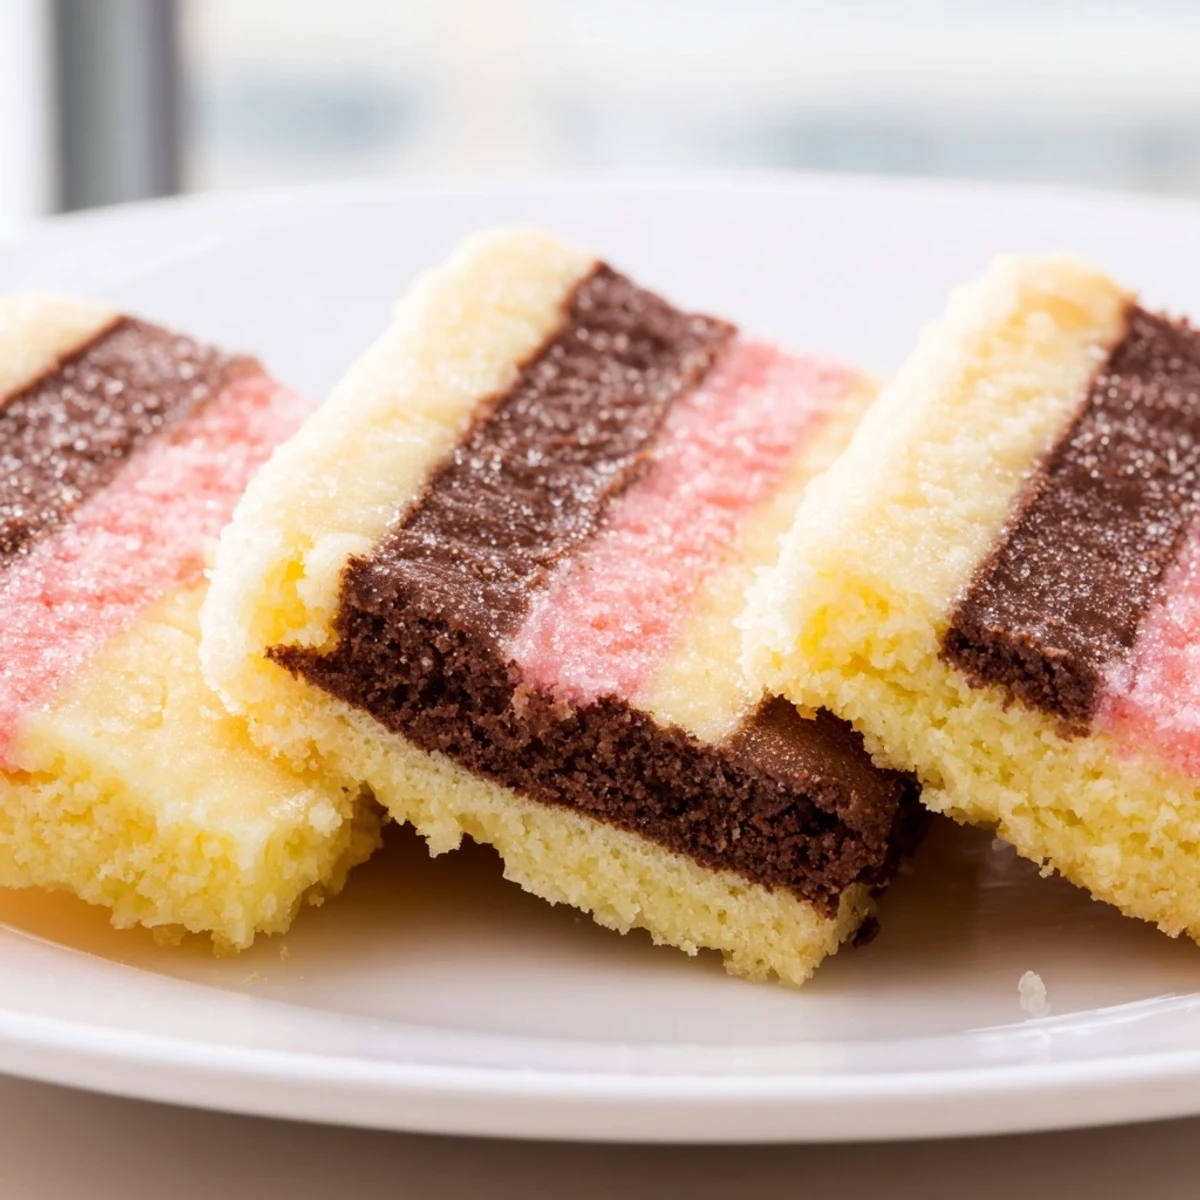
Save The first batch I ever made was slightly lopsided, layers uneven, edges a little rough, and my niece still declared them the most beautiful cookies she had ever seen. She arranged them in a circle on a plate and took a photo before anyone was allowed to touch them.
Swaps and Variations
Raspberry powder works just as well as strawberry if you want a deeper, tarter fruit note running through that pink layer. A friend of mine adds lemon zest to the vanilla portion and swears it brightens the whole cookie. You can also dip half of each cooled cookie in melted dark chocolate and let it set for a more indulgent version that disappears twice as fast at parties.
Storage and Freshness
These cookies keep beautifully in an airtight container at room temperature for up to one week, and the flavors actually settle and deepen after the first day. You can also freeze the unbaked dough log, tightly wrapped, for up to three months, then slice and bake straight from frozen with just a few extra minutes in the oven.
Getting Clean Slices Every Time
A sharp nonserrated knife gives you the cleanest cuts through the layered dough. Wipe the blade with a damp paper towel between every few slices to prevent streaking. Chill time is not optional, so plan accordingly and resist the urge to rush. Let the cookies cool completely before stacking or storing so they do not steam each other soft.
- Rotate the dough log a quarter turn after every few slices to keep one side from flattening under pressure.
- If your kitchen is warm, work in batches and keep the dough in the fridge between rounds.
- Always slice crosswise, never lengthwise, to preserve the layered look in every single cookie.
 Save
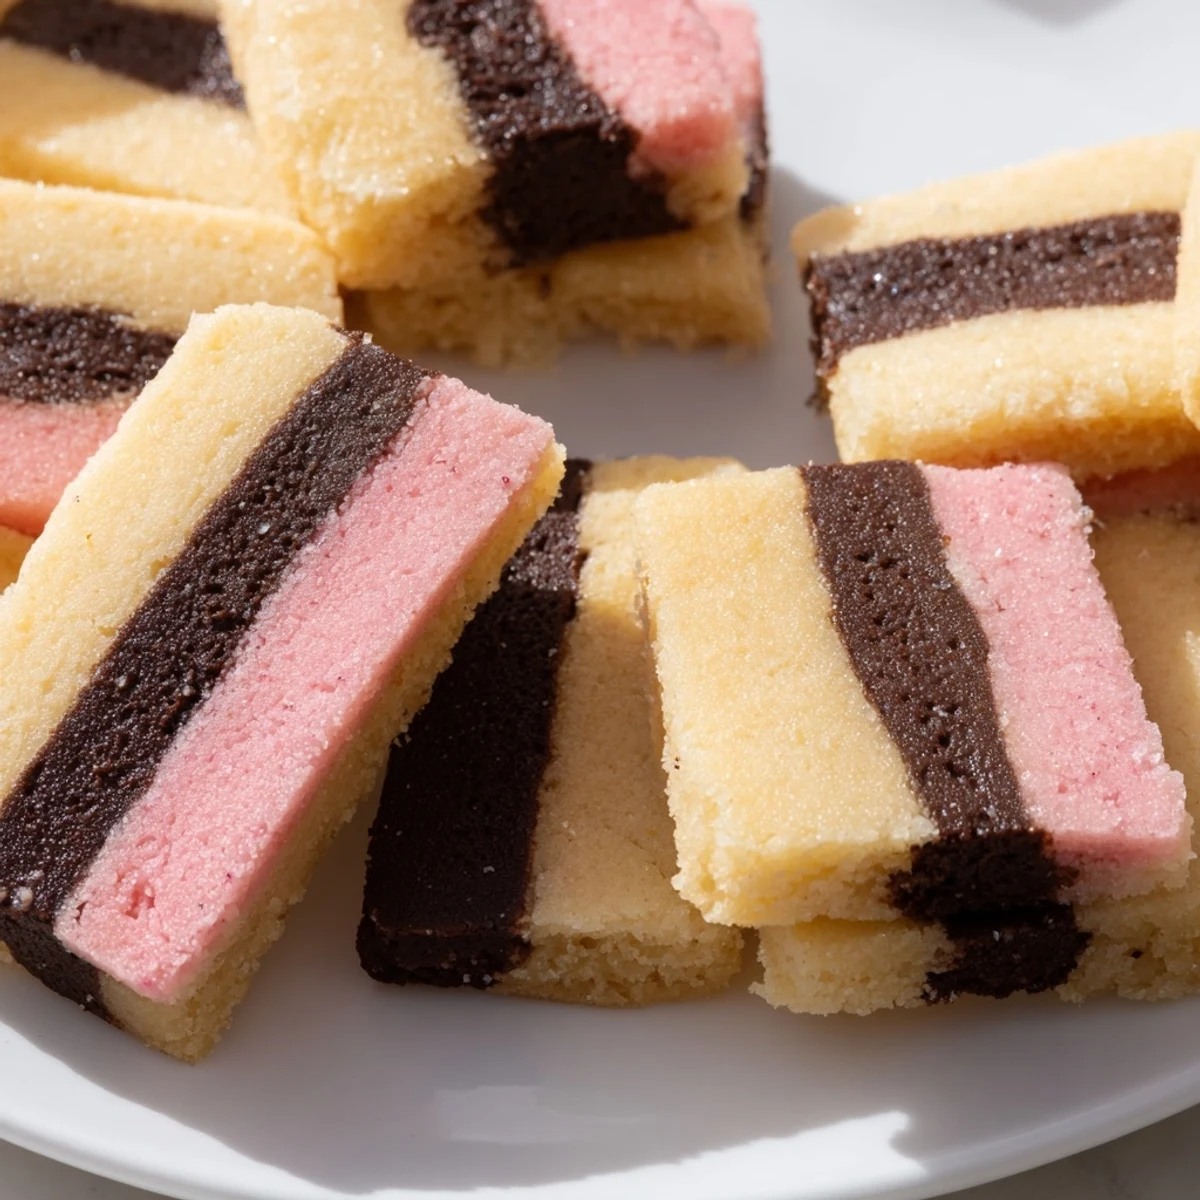
Save Every time I open the container and see those three distinct layers lined up, I think about that ice cream truck and my sisters refusal to choose just one. Some treats were always meant to give you everything at once.
Recipe FAQs
- → Can I make the dough ahead of time?
-
Yes, the assembled dough log can be wrapped tightly and refrigerated for up to 3 days before slicing and baking. You can also freeze it for up to 2 months—thaw in the fridge overnight before slicing.
- → Why did my layers blend together while slicing?
-
This usually means the dough wasn't chilled long enough. Make sure to refrigerate the stacked dough for at least 45 minutes until very firm. Using a sharp knife and slicing in one smooth motion also helps maintain clean layers.
- → What can I substitute for freeze-dried strawberry powder?
-
You can use 2 drops of pink or red food coloring combined with ½ teaspoon of strawberry extract. Alternatively, raspberry powder works beautifully, or you could add lemon zest and yellow coloring for a citrus variation.
- → How do I store these cookies?
-
Store completely cooled cookies in an airtight container at room temperature for up to one week. Layer them between sheets of parchment paper to prevent the colors from sticking together.
- → Can I dip these in chocolate?
-
Absolutely. Dip half of each cooled cookie in melted semi-sweet or white chocolate and place on parchment paper until set. This adds extra indulgence and makes them look even more impressive for gift-giving.
- → Why are my cookies spreading too much during baking?
-
Over-spreading typically happens if the butter was too warm or the dough wasn't adequately chilled. Ensure the sliced cookies go into the oven while still cool, and always preheat your oven fully before baking.