 Save
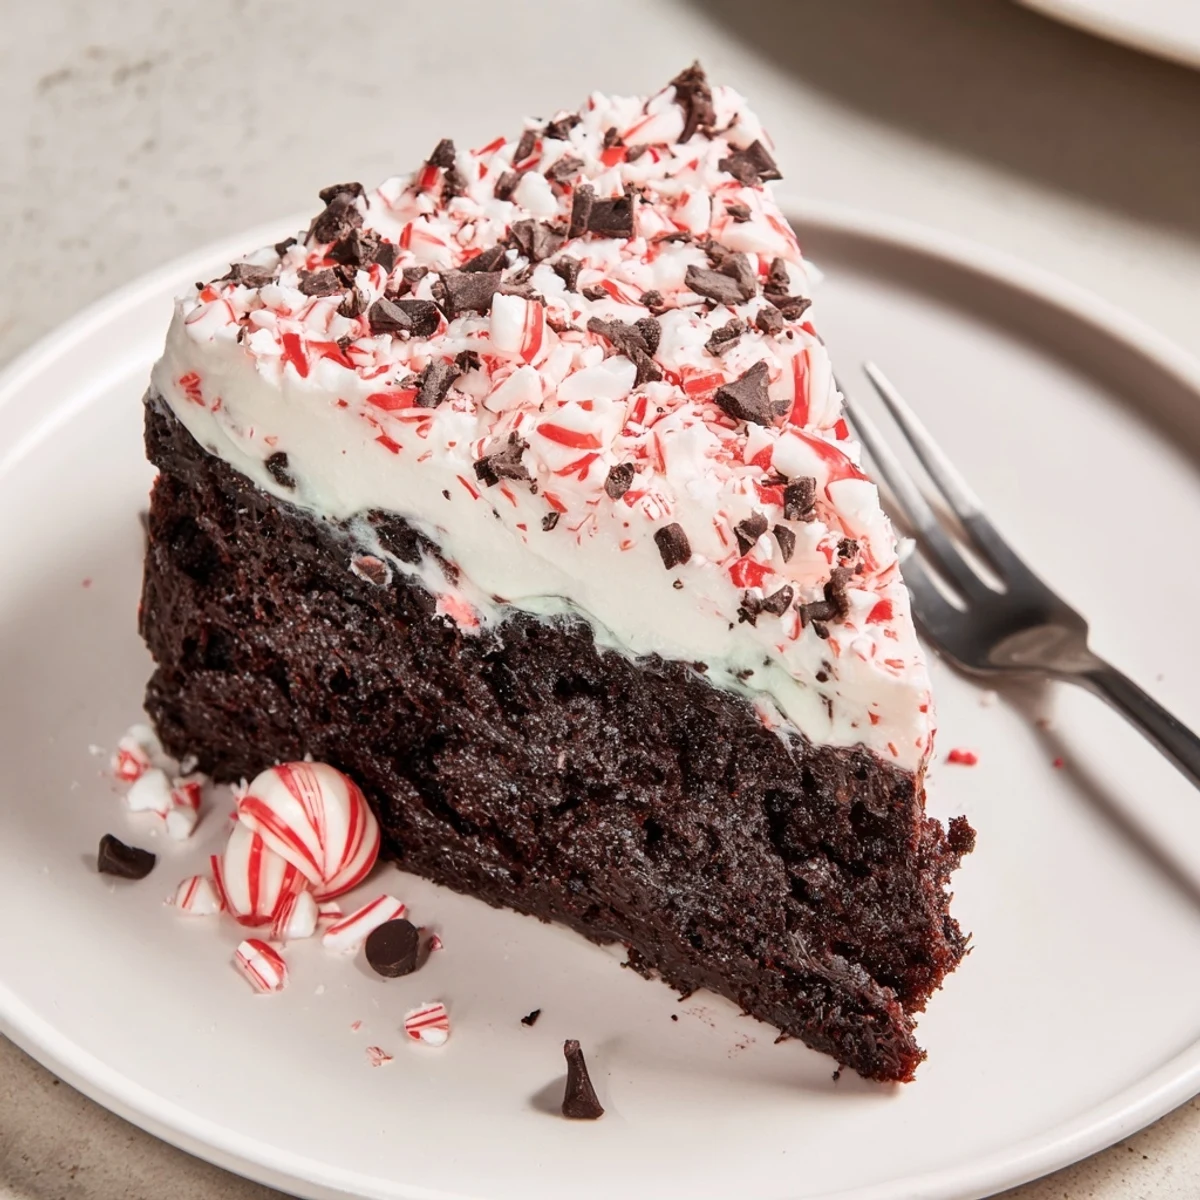
Save Start with a boxed chocolate mix baked in a greased 9x13 pan. Cool briefly, then use a wooden spoon handle to poke holes about an inch apart. Whisk instant vanilla pudding with cold milk and peppermint extract, pour over the warm cake so it sinks into the holes, and refrigerate at least one hour. Spread thawed whipped topping, sprinkle crushed peppermint and optional chocolate shavings, slice and serve chilled. For more mint, add a little peppermint extract to the batter or swap cake bases for a festive twist.
There&rsquos something irresistible about the way peppermint scents swirl through the kitchen as this cake chills. I first made this Peppermint Poke Cake during a late December afternoon, windows fogged, and Christmas music humming in the background. The anticipation while waiting for the pudding to settle in was half the fun, and I found myself sneaking cold bites straight from the fridge. Even now, this cake marks any gathering with a spark of minty freshness and laughter-rich moments.
Last winter, I brought a pan of this cake to our neighborhood game night, thinking it might be just another dessert on the table. It ended up being passed around twice—even the self-proclaimed “not-a-dessert-person” requested seconds, which sparked a debate over the best way to eat it: fork or spoon.
Ingredients
- Chocolate cake mix: A reliable boxed mix is my shortcut, ensuring a light crumb that soaks up every bit of peppermint pudding.
- Large eggs: Let these come to room temperature first for easier blending and an airy rise.
- Water: It keeps the batter smooth and helps the cake bake up moist—simple but key.
- Vegetable oil: Adds tenderness, so don’t swap for butter if you want the classic soft poke cake texture.
- Instant vanilla pudding mix: Don’t use cook-and-serve—instant sets up quickly and slides right into the holes.
- Cold milk: Your pudding won’t thicken unless the milk is properly chilled; I learned this after one runny attempt.
- Peppermint extract: A little goes a long way—measure carefully for just the right tingle.
- Red or pink food coloring: Optional, but it gives a delightful candy-striped look inside each slice.
- Frozen whipped topping: Thaw it first—frozen it clumps, thawed it spreads in fluffy clouds over the cake.
- Crushed peppermint candies or candy canes: They add crunch and make each piece look like it belongs on a holiday postcard.
- Chocolate shavings or mini chocolate chips: Optional, but chocolate fans never regret the extra sprinkle.
Instructions
- Get things ready:
- Preheat your oven to 350°F (175°C) and grease your 9x13-inch baking pan—a quick swipe with oil does the trick.
- Whip up the cake batter:
- In a large bowl, combine the cake mix, eggs, water, and oil. Mix until glossy and lump-free, enjoying how the chocolate aroma gets richer by the second.
- Bake the base:
- Pour the smooth batter into your prepared pan and bake for 28 to 32 minutes. When a toothpick comes out clean, you’ll know it’s ready.
- Let it cool:
- After baking, let the cake rest for about 10 to 15 minutes—just enough so it won’t crumble when you poke it.
- Poke those holes:
- Using the handle of a wooden spoon, make holes all over the cake, spacing them about an inch apart. This is where the magic happens.
- Mix the peppermint pudding:
- Whisk the instant pudding, cold milk, peppermint extract, and a couple drops of food coloring in a bowl until thickened. I always watch for that gentle hue and inhale the minty scent—it sets fast.
- Fill and chill:
- Pour the pudding over the cooled cake, gently spreading and pressing it into every hole with a spatula. Cover and refrigerate for at least an hour, letting everything meld.
- Topping time:
- Spread the thawed whipped topping in soft swirls over the chilled cake—aim for evenness but don’t worry if it looks rustic.
- Add the peppermint pretties:
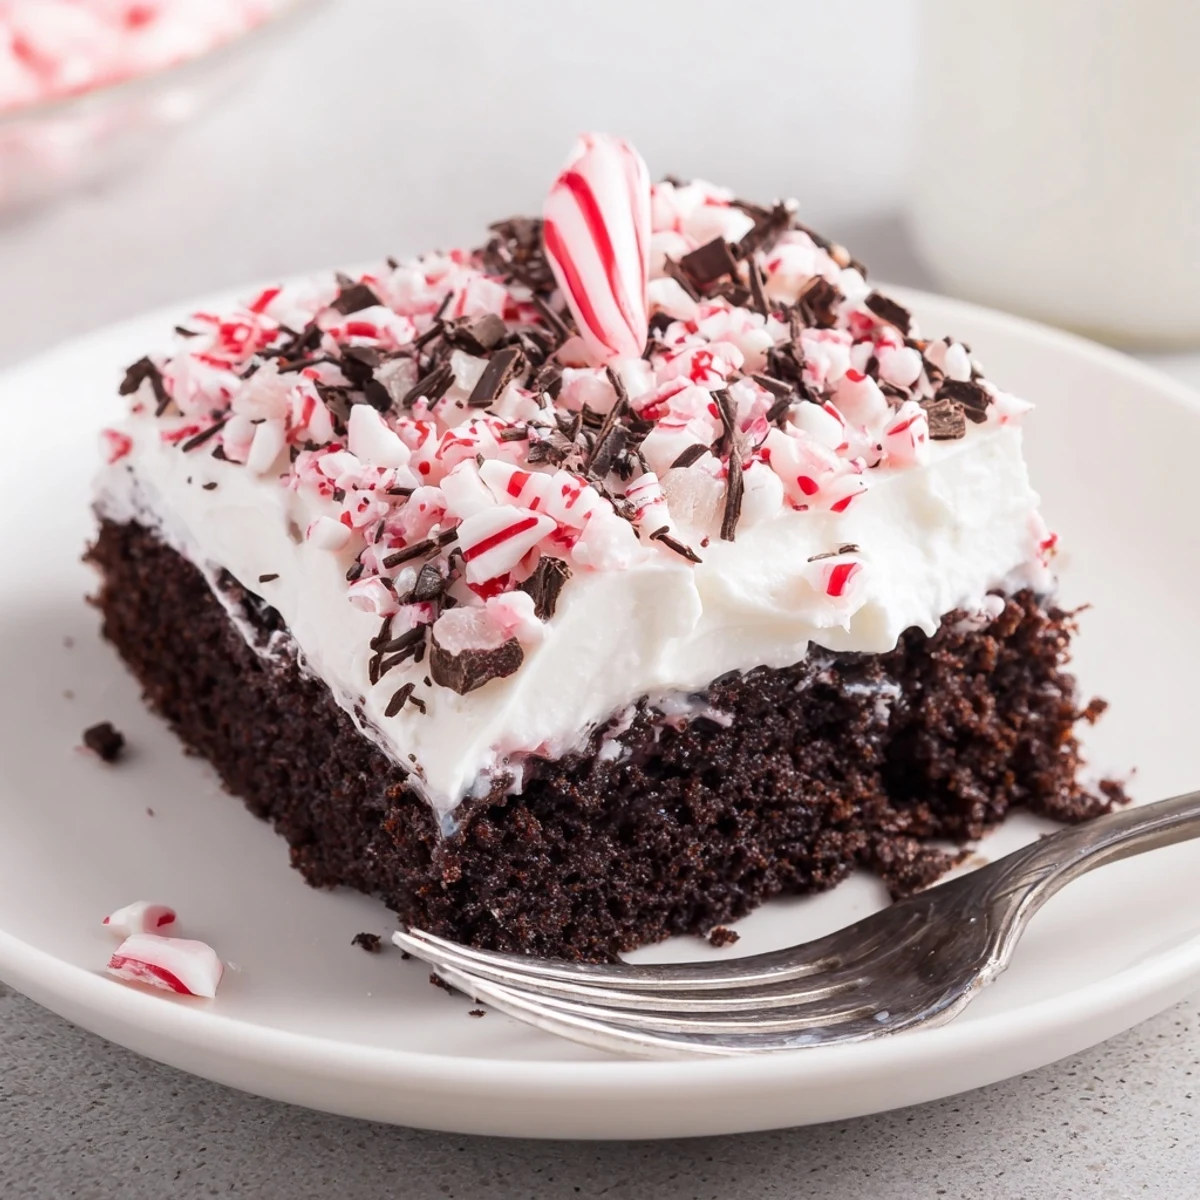
- Sprinkle with plenty of crushed peppermint candies, adding chocolate shavings or chips if you’re feeling extra festive.
- Serve and enjoy:
- Once chilled, slice and serve—expect empty plates and happy guests.
 Save
Save This cake marked a turning point at my daughter’s birthday dinner — between goofy candlelight and everyone’s red-and-white speckled lips, laughter filled the kitchen almost as much as the scent of peppermint. Even when the last slice vanished, the memory lingered for days.
How to Make Ahead and Store Peppermint Poke Cake
I’ve found this cake tastes even better after a night in the fridge, giving the pudding plenty of time to work its way into every bite. Just keep it well-covered to prevent the peppermint candies from melting or getting sticky in humid weather.
Choosing Your Favorite Cake and Topping Combo
White or red velvet cake mix also works beautifully in place of chocolate for a look that pops, especially at holiday parties. I like to switch up the toppings between chocolate chips and even sprinkles for an extra cheerful finish.
Troubleshooting and Last-Minute Fixes
If your pudding feels runny, don’t worry—just chill it a little longer before pouring. A messy top can always be covered up with extra whipped topping or more crushed peppermint, and nobody will know the difference.
- Stir pudding constantly to avoid lumps.
- Freeze the cake for 10 minutes if you need a quicker chill.
- Decorate just before serving to keep peppermint crispy.
 Save
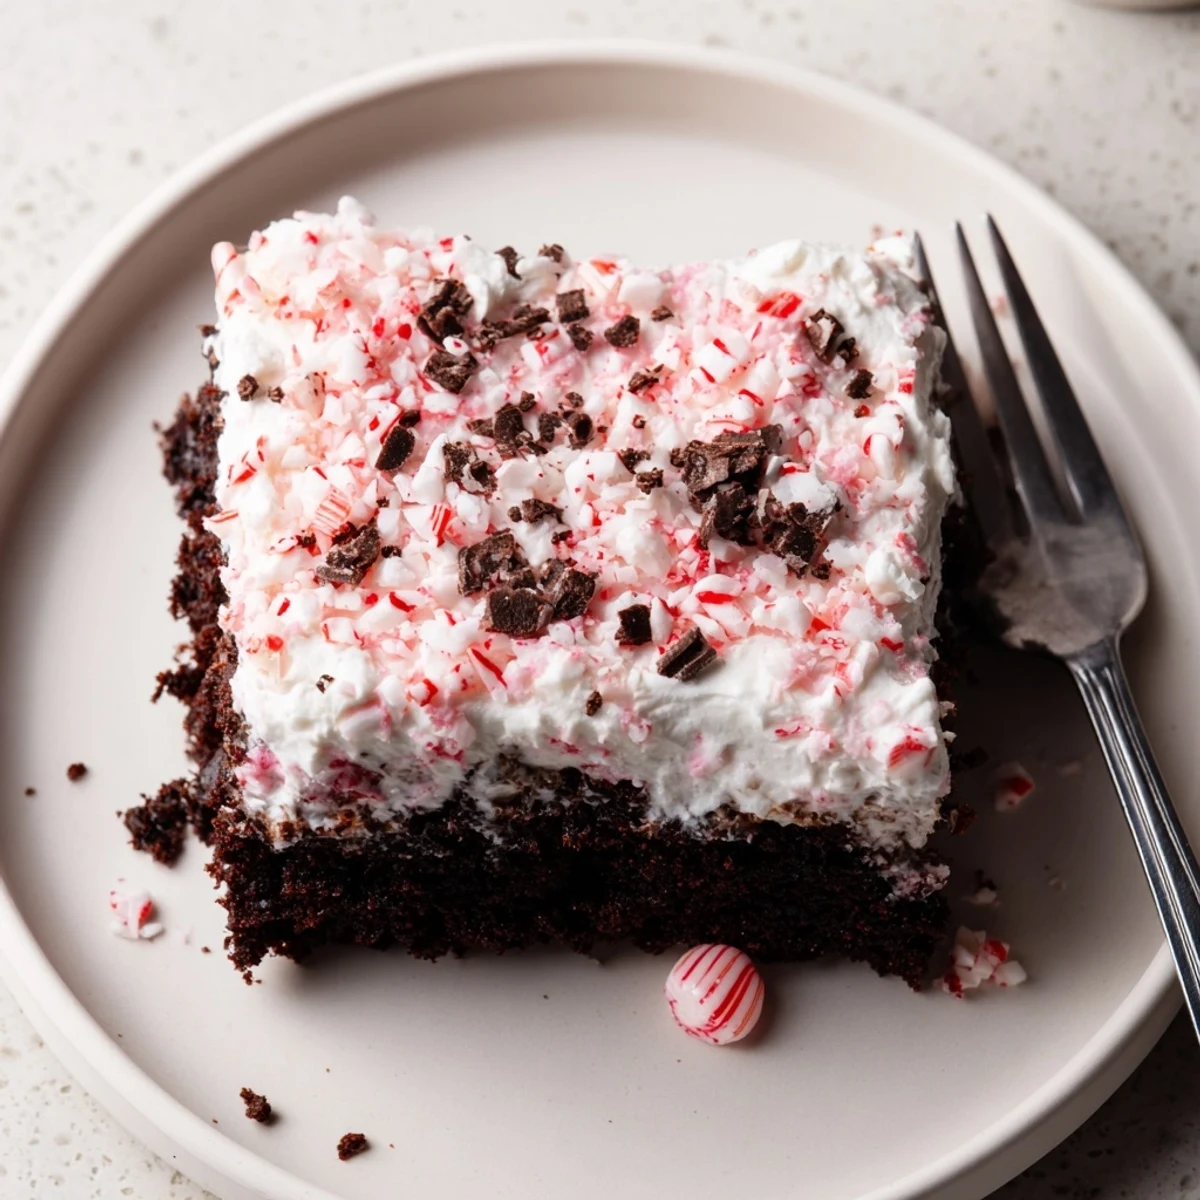
Save Whether you make it for the holidays or just to brighten a rainy weekend, this Peppermint Poke Cake always brings a refreshing twist and wide smiles. I hope you find as much joy in sharing it as I have.
Recipe FAQs
- → How long should I bake the cake?
-
Bake at 350°F (175°C) for 28–32 minutes, or until a toothpick inserted in the center comes out clean. Let the pan cool 10–15 minutes before poking holes so the cake holds its shape.
- → What’s the best way to poke holes without tearing?
-
Use the rounded end of a wooden spoon and press straight down about 1 inch apart. Work steadily around the pan to create even holes without pulling the crumb apart.
- → Can I use a different cake mix?
-
Yes. White or red velvet mixes are great alternatives for a brighter appearance and slightly different flavor; baking time stays similar but always check doneness with a toothpick.
- → How do I avoid a soggy finish?
-
Use the instant pudding as directed so it thickens before pouring. Pour evenly and refrigerate uncovered until set, then cover. Chilling helps the filling stabilize and prevents an overly wet texture.
- → Can this be made ahead and how should I store it?
-
Make it up to a day ahead and keep refrigerated, covered loosely with plastic wrap. For best quality, consume within 48 hours; crushed candies may soften over time, so consider adding a final sprinkle just before serving.
- → How can I boost the mint flavor without overpowering it?
-
Add 1/4 teaspoon peppermint extract to the cake batter or increase the pudding extract slightly, tasting as you go. A few drops go a long way—start small to avoid a sharp, medicinal note.
