 Save
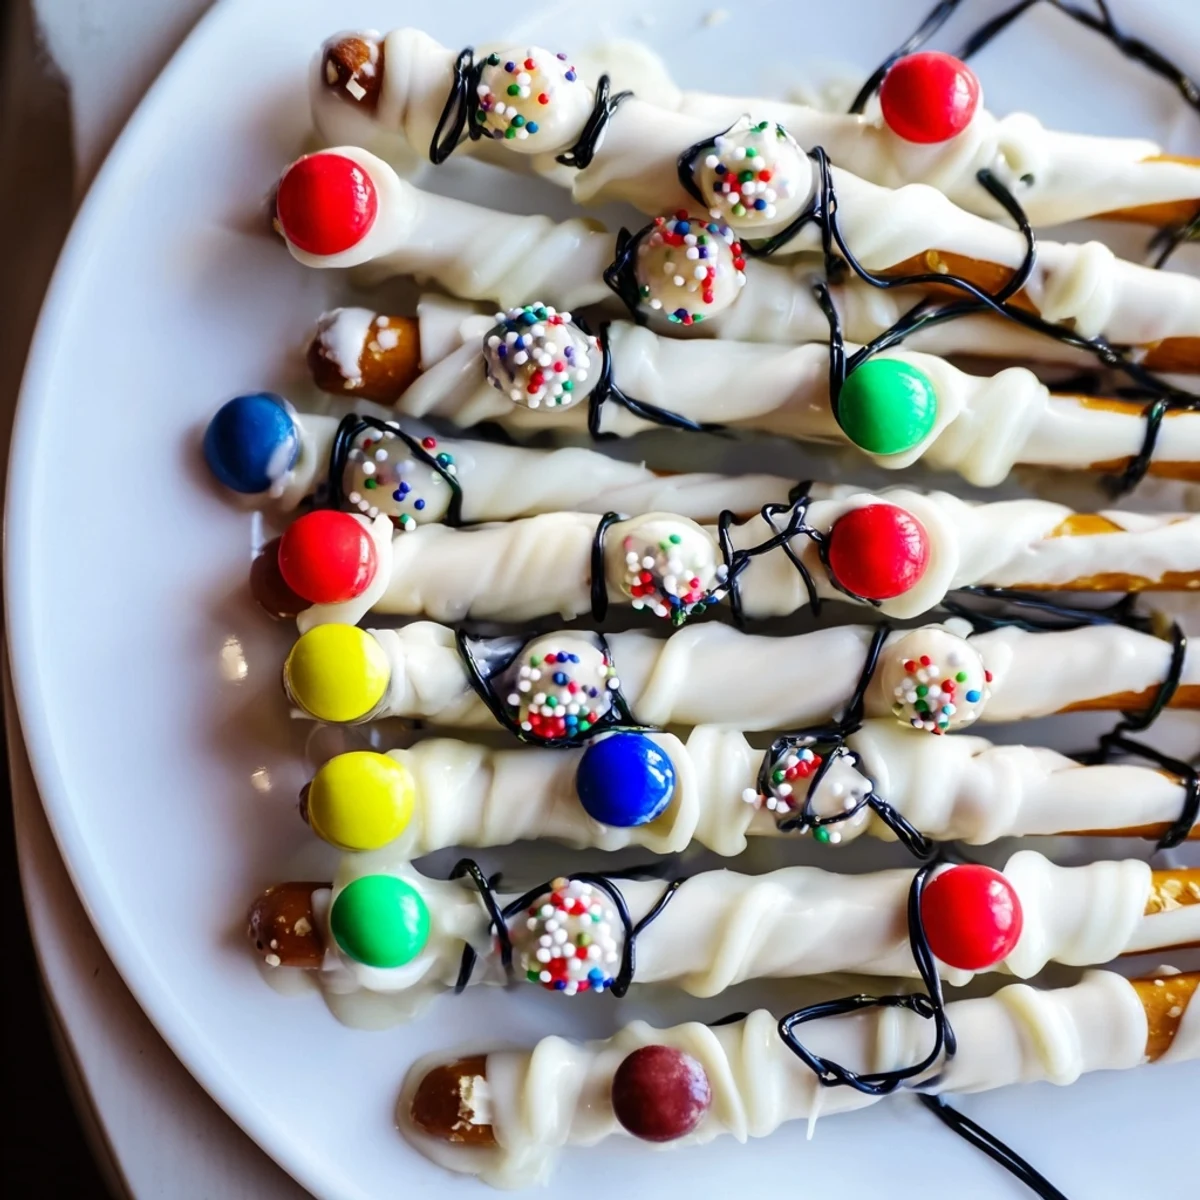
Save These festive pretzel sticks are dipped in creamy white chocolate and decorated with bright candy colors to mimic holiday lights. Ideal for holiday parties, they offer a fun and easy treat that requires no baking. Using simple ingredients like pretzels, candy melts, chocolate chips, and sprinkles, the sticks are transformed into visually appealing snacks. The process involves dipping, decorating with colorful dots, adding mini chocolate chips as sockets, and drawing wires with dark chocolate or gel. This vibrant and tasty creation sets firmly at room temperature within minutes, making it a perfect last-minute party addition that delights both kids and adults.
I'll never forget the year my niece asked if we could make edible Christmas lights. She'd just seen a strand of colorful bulbs at the store and wondered if everything festive could be turned into a snack. That's how these pretzel stick Christmas lights came to life in my kitchen, and they've been a holiday staple ever since.
The first time I made these, I set up a little assembly line with my nephew and we spent the afternoon creating our own edible light show. The look on his face when he realized he could eat his artwork was priceless, and now he requests these every December without fail.
Ingredients
- 24 pretzel sticks (thick, rod style): These are your light strands, so grab the sturdy ones that won't snap when you dip them. I've learned the hard way that thin pretzels break too easily and ruin the whole effect.
- 1 cup white chocolate or vanilla candy melts: Candy melts work better than regular chocolate because they set firm and glossy without tempering. I always keep a bag in my pantry for projects like this.
- 1/2 cup assorted colored candy melts (red, green, yellow, blue): These become your little light bulbs. You only need a small amount of each color, so those multi packs are perfect.
- 2 tablespoons mini chocolate chips: These tiny chips look just like the metal base of a real light bulb. Regular sized chips are too big, trust me.
- 1/4 cup assorted holiday sprinkles or nonpareils: Optional but they add that extra sparkle that makes kids gasp.
- 1/4 cup black decorating gel or melted dark chocolate: This draws the wire connecting your lights. Decorating gel is easier to control, but melted chocolate tastes better.
Instructions
- Get Your Workspace Ready:
- Line a baking sheet with parchment paper and set it nearby. You'll want everything within reach because once you start dipping, the chocolate waits for no one. I learned this when my first batch hardened in the bowl before I finished.
- Melt the White Chocolate:
- Put your white chocolate or vanilla candy melts in a microwave safe bowl. Heat in 20 second bursts, stirring between each one until it's completely smooth and pourable. If it seems too thick, add a tiny bit of vegetable oil to thin it out.
- Dip the Pretzel Sticks:
- Hold each pretzel stick by one end and dip it halfway into the melted white chocolate. Give it a gentle tap on the side of the bowl to let excess drip off. You want a clean coating, not a chocolate blob. Lay each one on your parchment lined sheet with space between them.
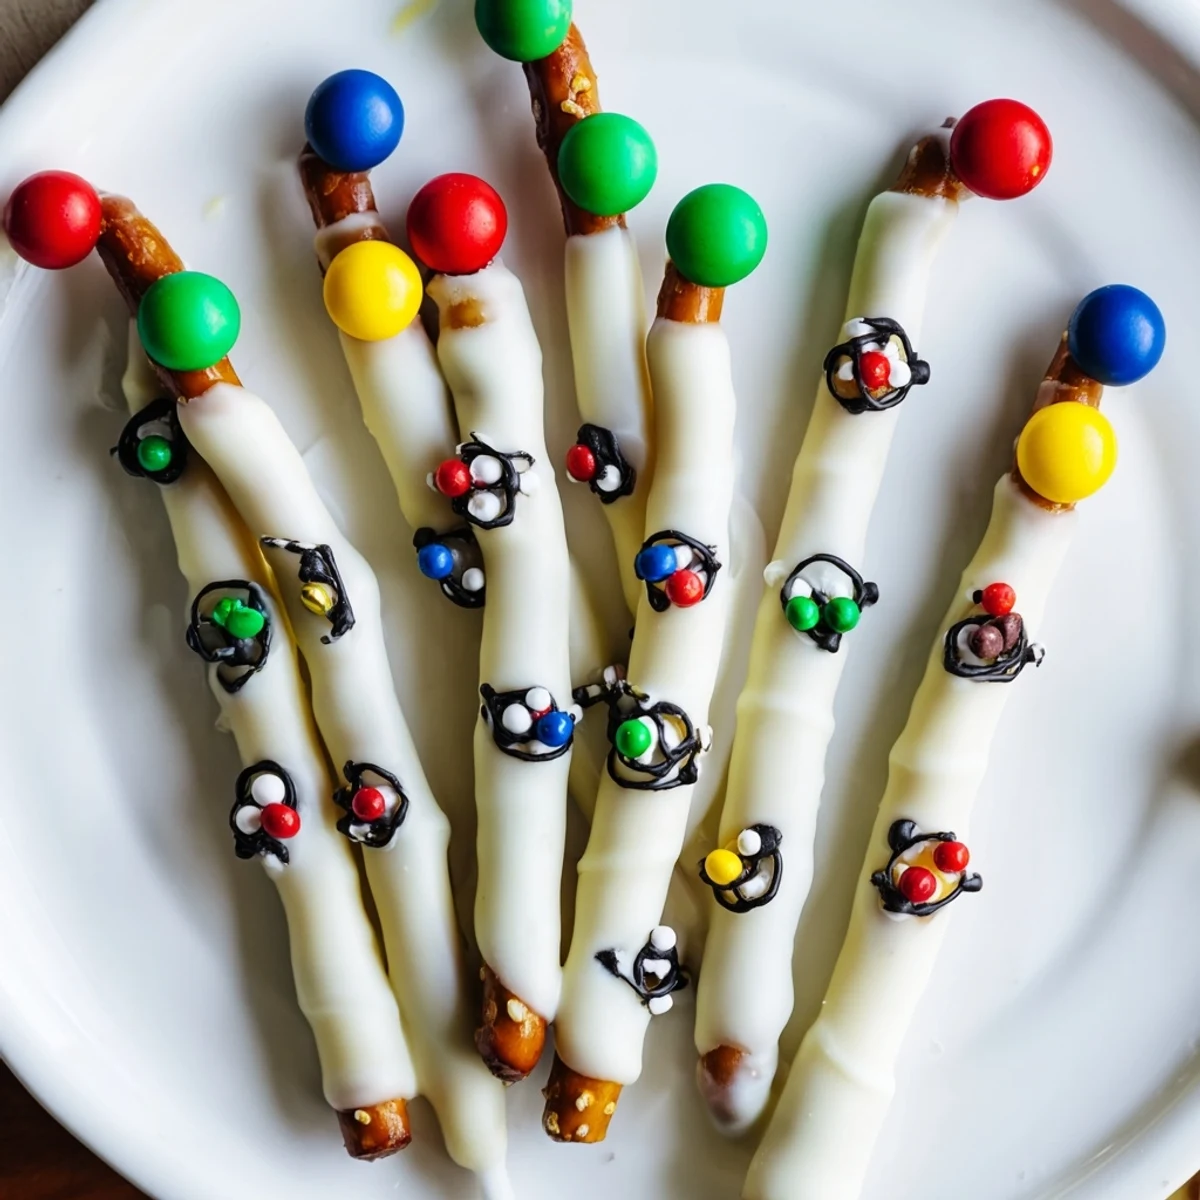
- Create the Colorful Light Bulbs:
- Melt each color of candy melts in separate small bowls. Using a spoon or a piping bag with a tiny opening, place small dots of color along the white chocolate section of each pretzel. I like to alternate colors randomly, just like real Christmas lights. Work quickly before the white chocolate sets completely.
- Add the Light Sockets:
- While everything is still soft, gently press one mini chocolate chip at the base of each colored dot. This little detail makes them look surprisingly realistic. The chips will stick right into the melted chocolate.
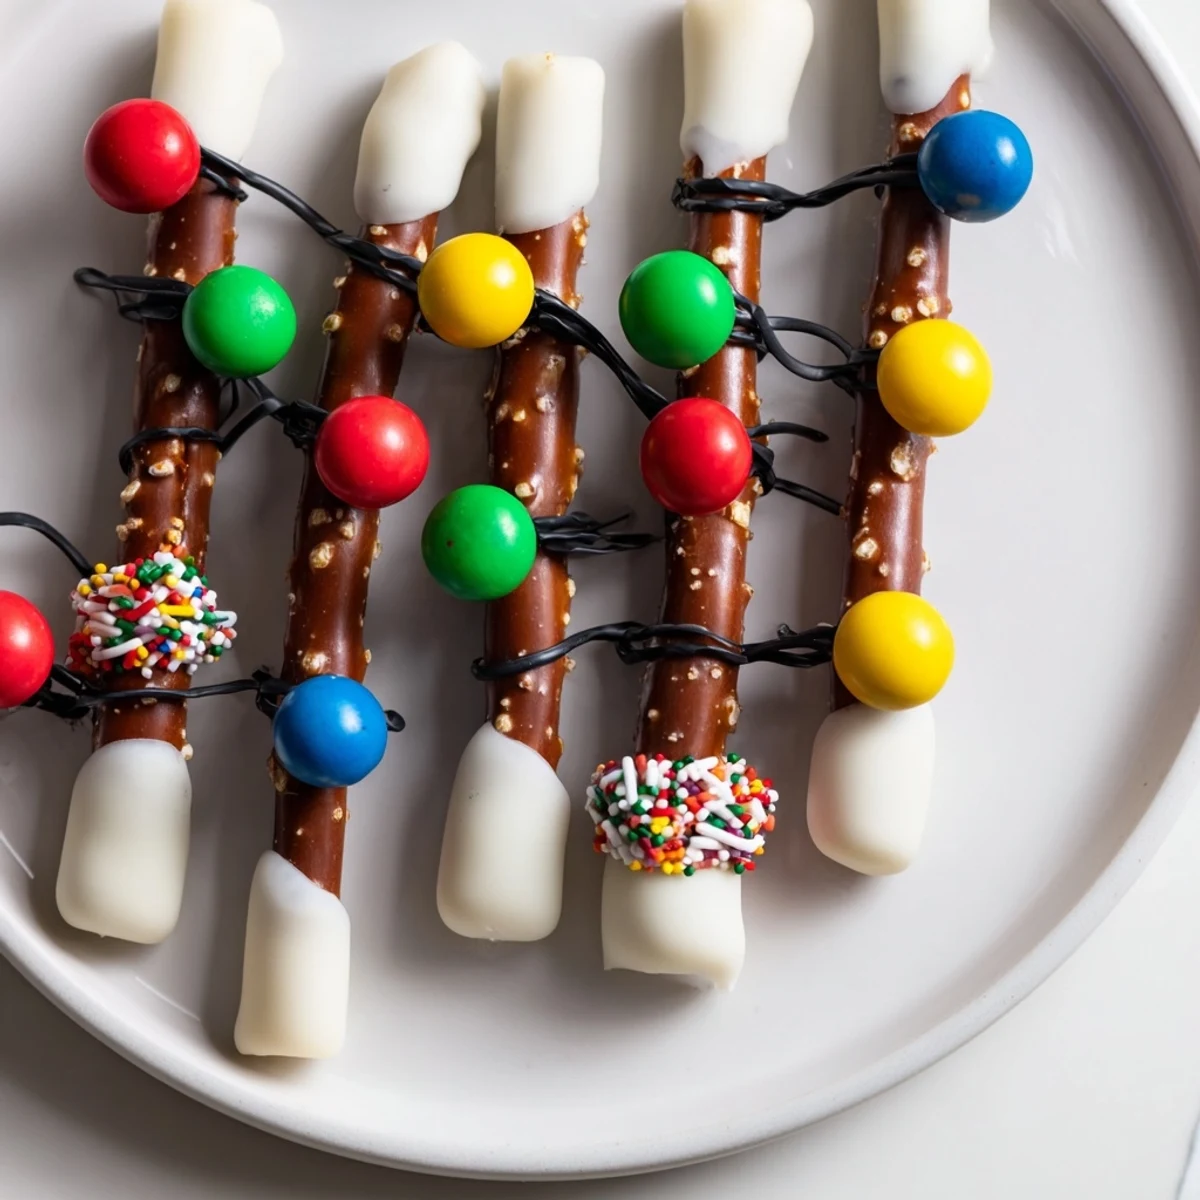
- Draw the Connecting Wire:
- Use black decorating gel or carefully drizzle melted dark chocolate to draw a thin line connecting all your light bulbs. This is the part where you feel like an artist. Don't worry if it's not perfect, real light strands are a little messy too.
- Add Final Sparkle:
- If you're using sprinkles or nonpareils, scatter them over the wet chocolate now. Just a light dusting adds so much charm.
- Let Them Set:
- Leave your pretzel lights at room temperature for about 20 minutes until everything is completely firm. If you're in a hurry or it's a warm day, pop them in the fridge for 10 minutes. Just watch for condensation when you bring them back to room temp.
 Save
Save Last year, I brought a platter of these to a cookie exchange and they disappeared faster than anything else on the table. One friend told me her daughter carried one around the party like a magic wand before finally eating it. That's when I realized these aren't just snacks, they're little bits of holiday joy.
Keeping Them Fresh
Store your pretzel Christmas lights in an airtight container at room temperature for up to 4 days. Stack them carefully with parchment paper between layers so the decorations don't smudge. I've never had a batch last that long though, they usually vanish within a day or two.
Making Them Your Own
You can absolutely swap the colors to match any occasion. Pink and red for Valentine's Day, pastels for Easter, orange and black for Halloween. My friend uses school colors for her son's team parties. The basic technique works for any theme you dream up.
When You Need Allergy Friendly Options
If you're working around allergies, gluten free pretzel sticks exist and work beautifully. There are also dairy free candy melts available at most craft stores. Just read labels carefully because some candy melts contain soy or traces of nuts.
- Let kids pick their own color combinations, it keeps them entertained and invested in the project
- Make a double batch because people always ask for more once they see how cute these are
- If you don't have piping bags, a small ziplock bag with the corner snipped off works perfectly for the colored dots
 Save
Save These pretzel Christmas lights have become one of those recipes I make without even thinking about it now, and every time I do, someone new falls in love with them. I hope they light up your holiday table too.
Recipe FAQs
- → Can gluten-free pretzels be used for this treat?
-
Yes, gluten-free pretzel sticks work well and maintain the crisp texture in this snack.
- → How can I melt the candy melts evenly without burning?
-
Microwave the candy melts in short 20-second bursts, stirring between each until smooth.
- → What is the best way to create the colorful light bulb dots?
-
Use a spoon or piping bag to carefully place small candy melt dots along the dipped section of each pretzel.
- → How do I prevent the chocolate from melting too quickly during decorating?
-
Work swiftly and allow the pretzels to set at room temperature or chill briefly in the fridge to firm up the coating.
- → Can I add nuts or other toppings to this snack?
-
Absolutely, sprinkling chopped nuts before the chocolate sets adds a delightful crunch and flavor.
