 Save
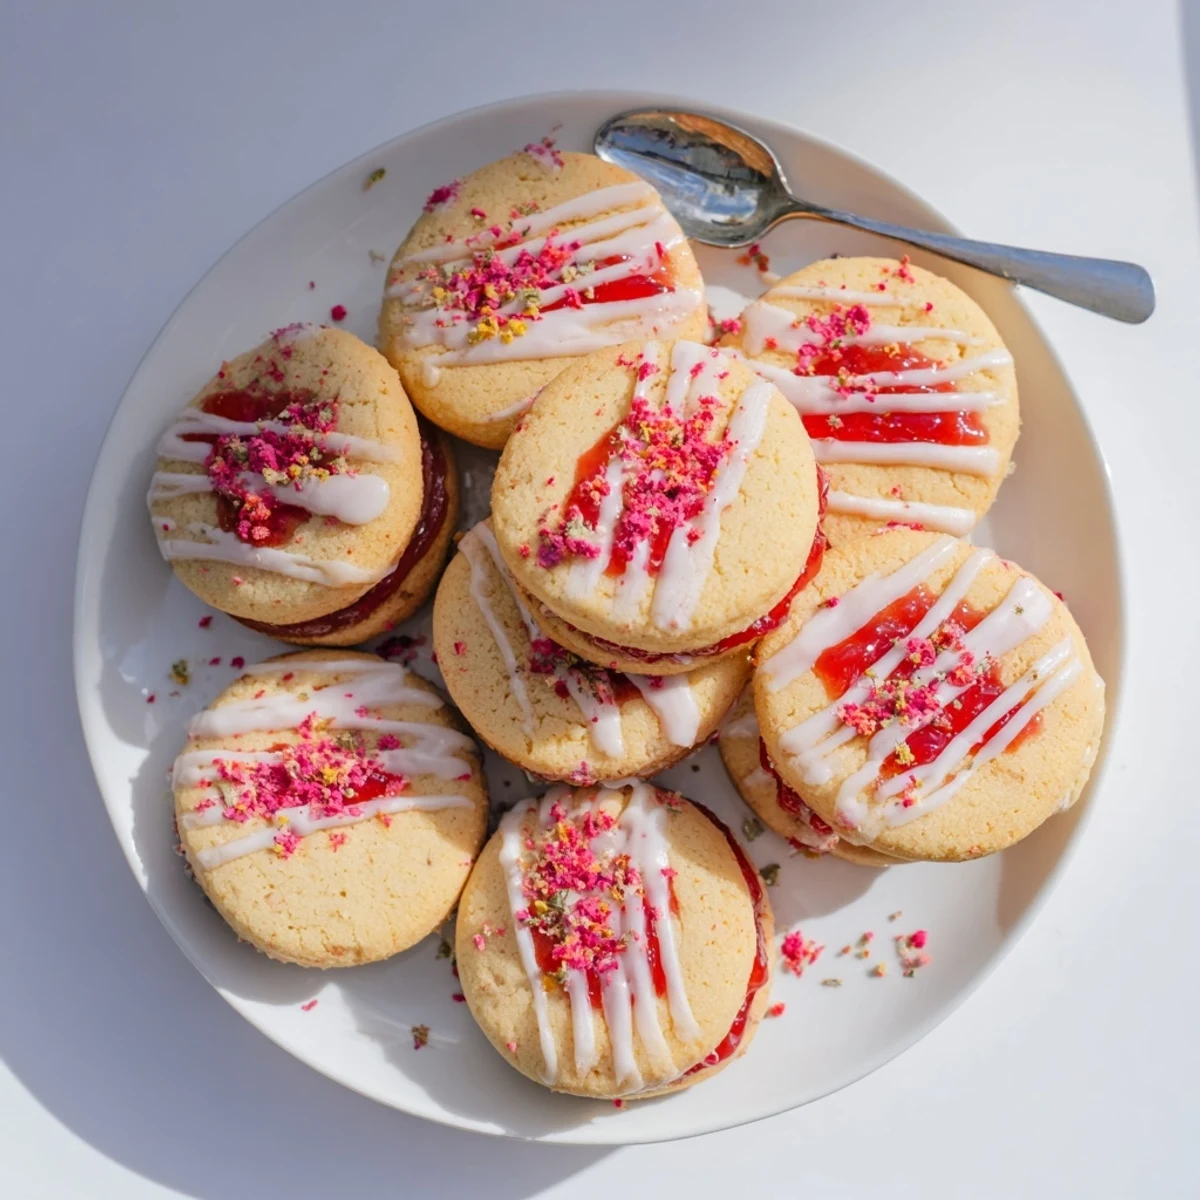
Save These delightful treats capture the nostalgic essence of everyone's favorite breakfast pastry in cookie form. Soft, buttery sugar cookie dough encases a center of sweet strawberry jam, creating a hidden fruity surprise inside each golden-baked treat. A simple vanilla glaze drizzled over the top adds just the right amount of sweetness, while colorful sprinkles or crushed freeze-dried strawberries bring a whimsical finish.
The dough comes together quickly with basic pantry staples, and the filling is as simple as opening a jar of your favorite seedless jam. Each cookie bakes in about 13 minutes, developing lightly golden edges while the jam filling creates a delicious fruit center. The optional garnishes let you customize these treats for any occasion—from everyday snacking to birthday celebrations.
The grocery store aisle is where this obsession started, standing in front of the Pop Tarts display and wondering why nobody had thought to stuff all that frosted strawberry goodness into a soft sugar cookie. My cart already had butter and flour, so the decision made itself before I even reached the checkout line. Twenty four cookies later, my kitchen looked like a pastry crime scene dusted with powdered sugar, and I had zero regrets.
I brought a batch of these to a neighborhood potluck last summer and watched a ten year old kid eat four of them in under ten minutes while his mom pretended not to notice. That moment alone was worth every minute of rolling and sealing dough. Now they request these before I even offer.
Ingredients
- All-purpose flour (2 1/2 cups or 315 g): The backbone of these cookies and regular all-purpose gives you the right balance of structure and tenderness here.
- Baking powder (1/2 teaspoon): Just enough lift to keep the cookies from turning into dense hockey pucks without making them cakey.
- Salt (1/2 teaspoon): Never skip this because salt is what makes the butter and sugar actually taste like something.
- Unsalted butter, softened (3/4 cup or 170 g): Pull it from the fridge an hour ahead because cold butter will not cream properly and you will end up frustrated.
- Granulated sugar (1 cup or 200 g): White sugar gives the cookies their crisp edges and soft centers without adding unwanted moisture.
- Large egg (1): Binds everything together and contributes richness to the dough.
- Vanilla extract (2 teaspoons): A generous amount because vanilla is the quiet hero that makes all the other flavors sing.
- Strawberry jam, seedless preferred (1/2 cup or 160 g): Seedless jam melts more smoothly inside the cookie but use whatever you have because either way works beautifully.
- Powdered sugar (1 cup or 120 g): Creates that thick glossy glaze reminiscent of the frosting on actual Pop Tarts.
- Milk (1 to 2 tablespoons): Add gradually until the glaze reaches a pourable but not runny consistency.
- Vanilla extract for glaze (1/2 teaspoon): A little extra vanilla in the glaze ties the whole flavor profile together.
- Crushed freeze-dried strawberries (2 tablespoons, optional): Scatter these on top for concentrated strawberry flavor and a pretty speckled look.
- Colorful sprinkles (optional): Pure fun and they make these impossible to resist, especially if kids are around.
Instructions
- Preheat and prepare:
- Set your oven to 350 degrees Fahrenheit and line two baking sheets with parchment paper so nothing sticks later.
- Whisk the dry ingredients:
- In a medium bowl, whisk together the flour, baking powder, and salt until evenly combined, then set it aside for a moment.
- Cream butter and sugar:
- Beat the softened butter and granulated sugar with an electric mixer until the mixture turns pale and fluffy, which takes about three minutes and makes your kitchen smell incredible.
- Add egg and vanilla:
- Beat in the egg and vanilla extract until everything looks smooth and cohesive, scraping down the bowl once to catch any stubborn butter patches.
- Bring the dough together:
- Gradually add the dry ingredients on low speed and mix just until a soft dough forms, stopping before you overwork it into toughness.
- Shape and fill the cookies:
- Scoop two tablespoon portions and roll them into balls, then flatten each slightly in your palm and spoon a half teaspoon of jam onto half the rounds before topping with another dough round and pinching the edges firmly to seal.
- Bake until golden:
- Arrange the sealed cookies two inches apart on your prepared sheets and bake for twelve to thirteen minutes until the edges are just turning golden and the centers look set.
- Cool properly:
- Let the cookies rest on the baking sheet for five minutes so they firm up, then transfer them to a wire rack to cool completely before glazing.
- Make the glaze:
- Whisk powdered sugar, milk, and vanilla together until smooth, adding milk drop by drop until you get a thick but drizzleable consistency.
- Glaze and decorate:
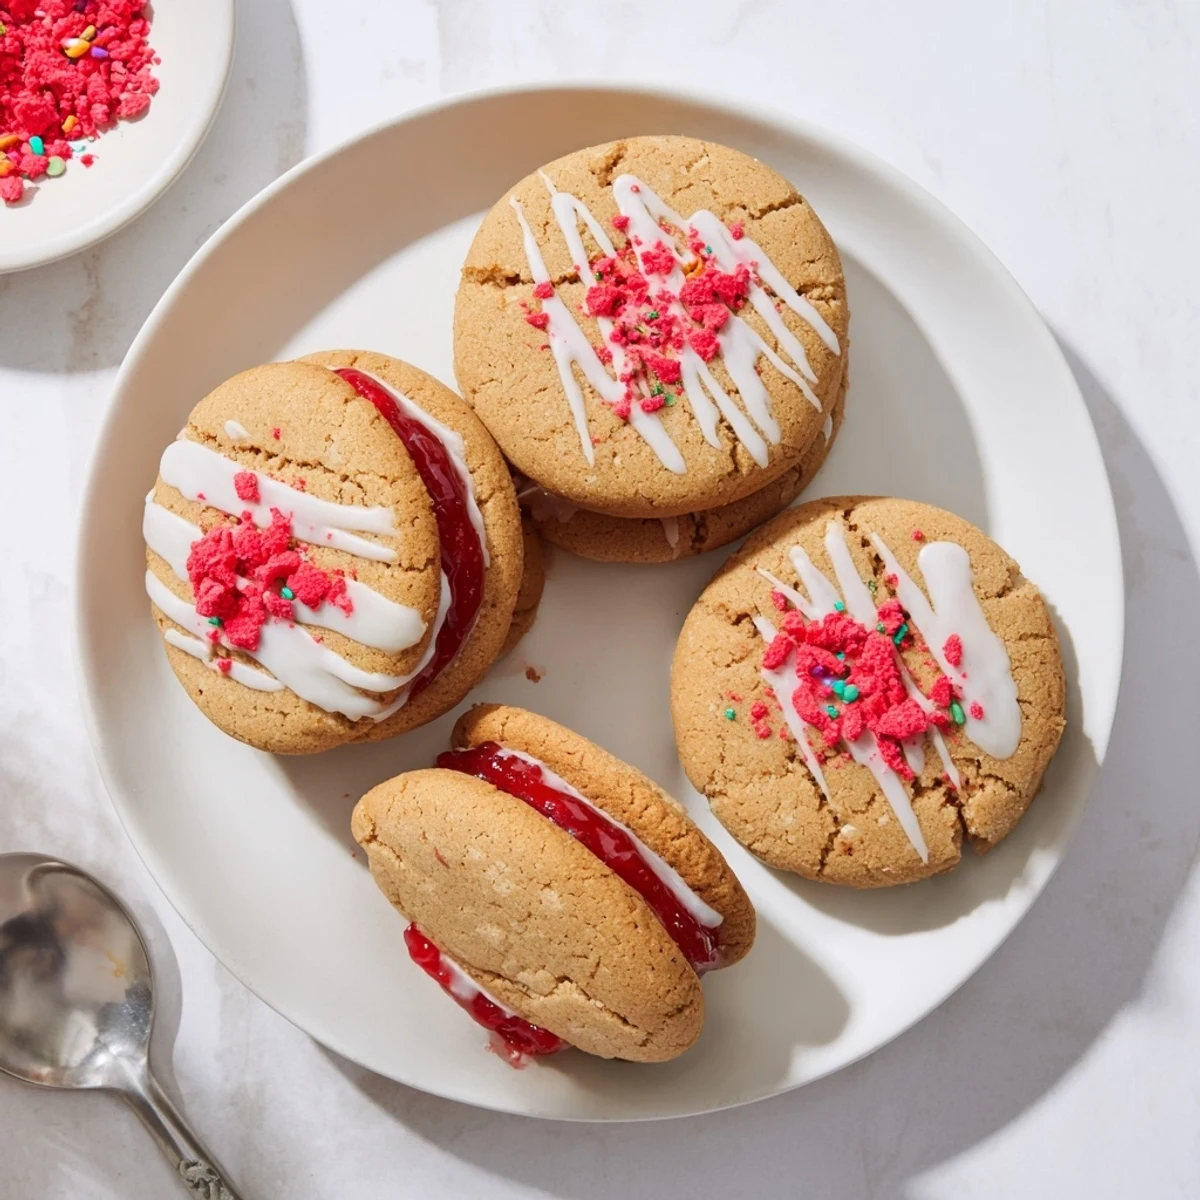
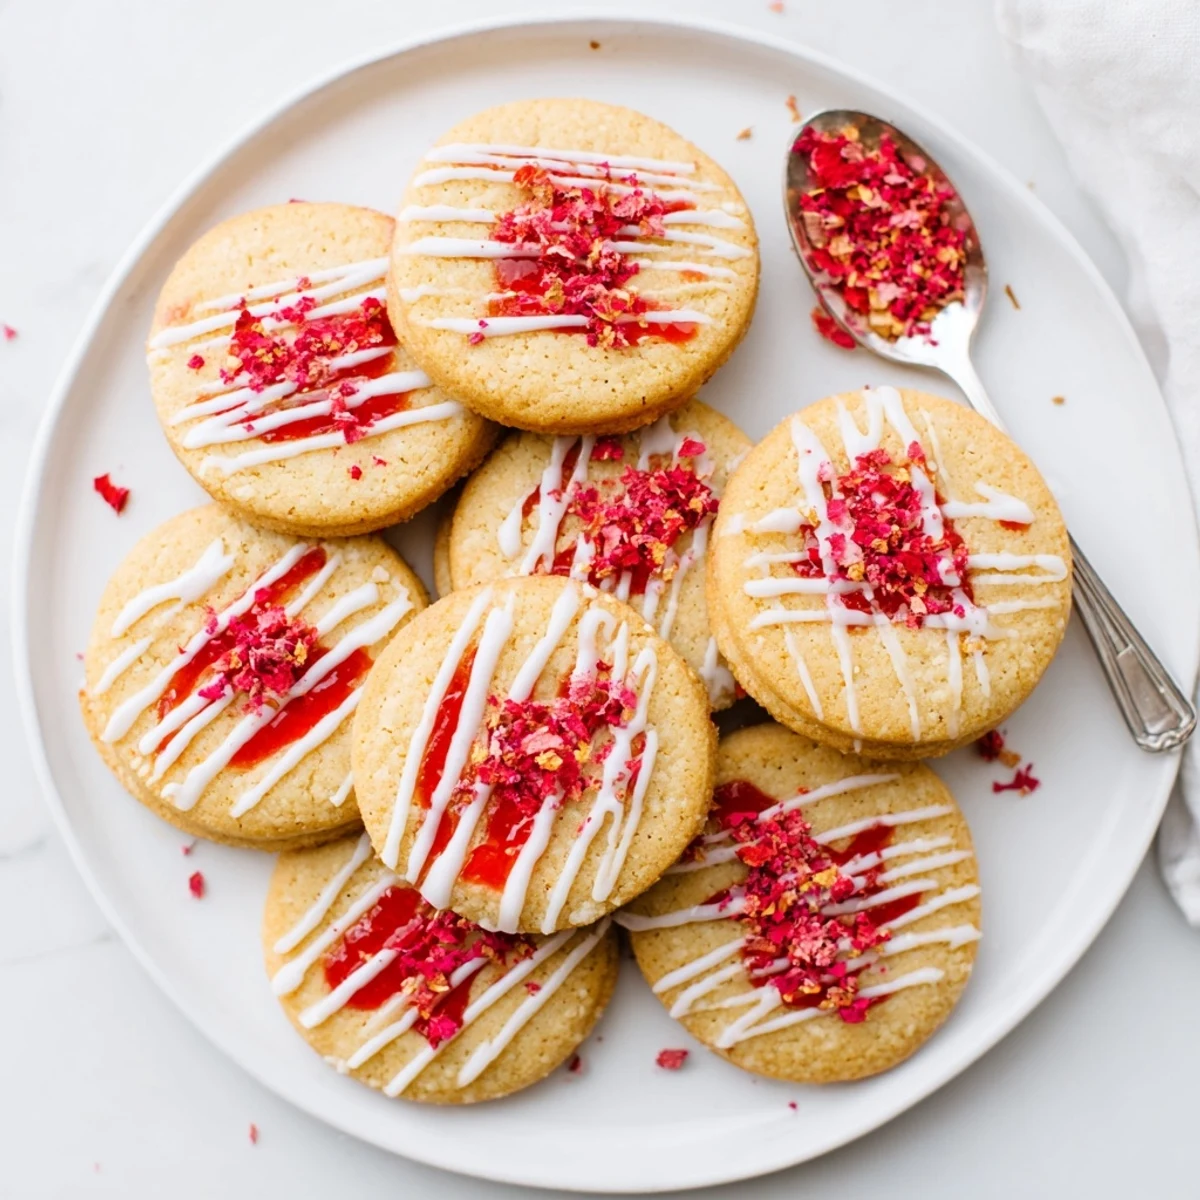
- Spoon or drizzle glaze over each cooled cookie and immediately sprinkle with crushed freeze-dried strawberries or colorful sprinkles before the glaze sets and forms a crust.
 Save
Save One rainy Saturday I spent an entire afternoon making three batches of these with different jams, lining them up on the counter like a very unofficial taste test. My partner walked through, sampled every single one without asking, and declared strawberry the winner while casually reaching for another. Some experiments do not need a committee.
Flavor Variations Worth Trying
Raspberry jam swaps in beautifully if you want something slightly more tart, and blueberry jam turns these into a completely different treat that tastes like a summer morning. You can also tint the glaze with a drop of pink or red food coloring for a playful look that kids go absolutely wild for.
Getting the Glaze Just Right
The glaze should coat the back of a spoon and slowly drip off rather than running like water, so add milk by the half teaspoon and test as you go. Work quickly once you start decorating because the glaze forms a skin within minutes and the sprinkles will not stick once that happens.
Tools That Make This Easier
A cookie scoop saves you from uneven portions and honestly makes the whole process feel faster and more organized.
- An electric mixer takes the arm work out of creaming butter and sugar properly.
- Parchment paper is non-negotiable here unless you enjoy scraping jam off metal pans.
- A wire cooling rack keeps air circulating so your cookies do not get soggy bottoms.
 Save
Save These cookies taste best on the day they are made but will keep in an airtight container for up to three days, assuming they last that long. Make them once and they will quietly become the thing everyone asks you to bring everywhere.
Recipe FAQs
- → Can I use different jam flavors?
-
Absolutely. Raspberry, blueberry, apricot, or even grape jam work wonderfully. Just choose a seedless variety for the smoothest filling experience.
- → How should I store these cookies?
-
Keep in an airtight container at room temperature for up to 3 days. The glaze may soften slightly over time but remains delicious. For longer storage, freeze undecorated cookies and glaze after thawing.
- → Why did my jam leak during baking?
-
This happens if the edges aren't sealed thoroughly or if the dough rounds are too thin. Pinch edges firmly together and avoid over-flattening the dough before baking.
- → Can I make the dough ahead of time?
-
Yes. Prepare the dough, wrap tightly, and refrigerate for up to 2 days. Let soften slightly at room temperature before shaping and filling.
- → What if I don't have an electric mixer?
-
You can cream the butter and sugar by hand with a sturdy wooden spoon—it just takes a bit more elbow grease and time (about 5-7 minutes of vigorous mixing).
