 Save
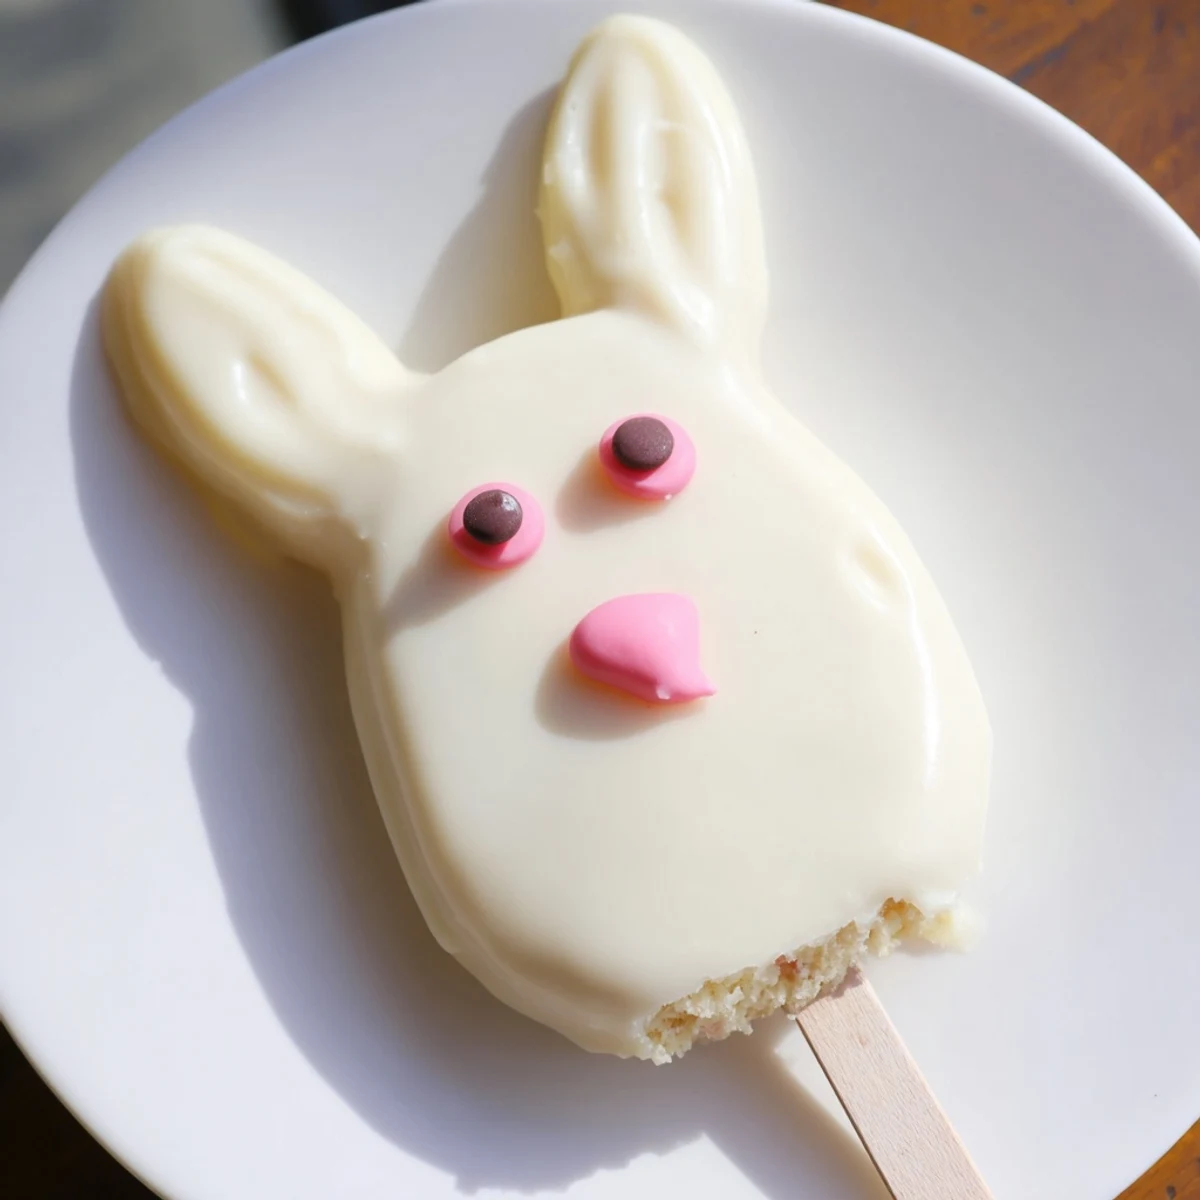
Save These delightful bunny-shaped treats combine moist vanilla cake with a rich white chocolate coating, creating the perfect festive dessert for your Easter gathering. The process involves mixing cake crumbs with cream cheese and butter, shaping them into adorable bunny faces, then dipping them in melted white chocolate. Decorate with candy eyes, sprinkles, or fondant ears to bring these charming treats to life. Each cakesicle offers a perfect balance of sweetness and creaminess, making them ideal for both children and adults. The recipe yields eight servings and can be customized with different cake flavors or colored chocolate for unique variations.
My daughter spotted these first on Instagram at midnight, thrusting her phone under my nose with those pleading eyes that no parent can resist. We made our first batch that very weekend, kitchen counter covered in sprinkles and white chocolate splatters, laughing at our lopsided bunny faces. Now they've become the one Easter treat my kids actually beg to help make instead of just eat.
Last Easter morning, my sister walked into my kitchen to find three generations of women covered in chocolate smudges. My mom was carefully placing pink ears while my niece dumped handfuls of sprinkles onto everything. Those imperfect, joyful bunny cakesicles were the first dessert to disappear at dinner.
Ingredients
- Vanilla cake crumbs: I save leftover cake scraps in the freezer throughout the month just for these moments
- Cream cheese: Room temperature is non negotiable or youll get lumpy pockets in your dough
- Unsalted butter: Softened for about 20 minutes makes mixing effortless
- Powdered sugar: Sweetens the dough just enough without overwhelming the white chocolate coating
- Vanilla extract: Pure vanilla makes such a difference in the final flavor
- White chocolate melts: High quality melts coat smoother than chips which can seize
- Cakesicle sticks: Insert these at an angle for better stability
- Edible gel coloring: A tiny bit goes a long way for those cute pink noses and ears
Instructions
- Mix your dough:
- Combine cake crumbs, cream cheese, butter, powdered sugar and vanilla until it holds together like soft cookie dough
- Shape the bunnies:
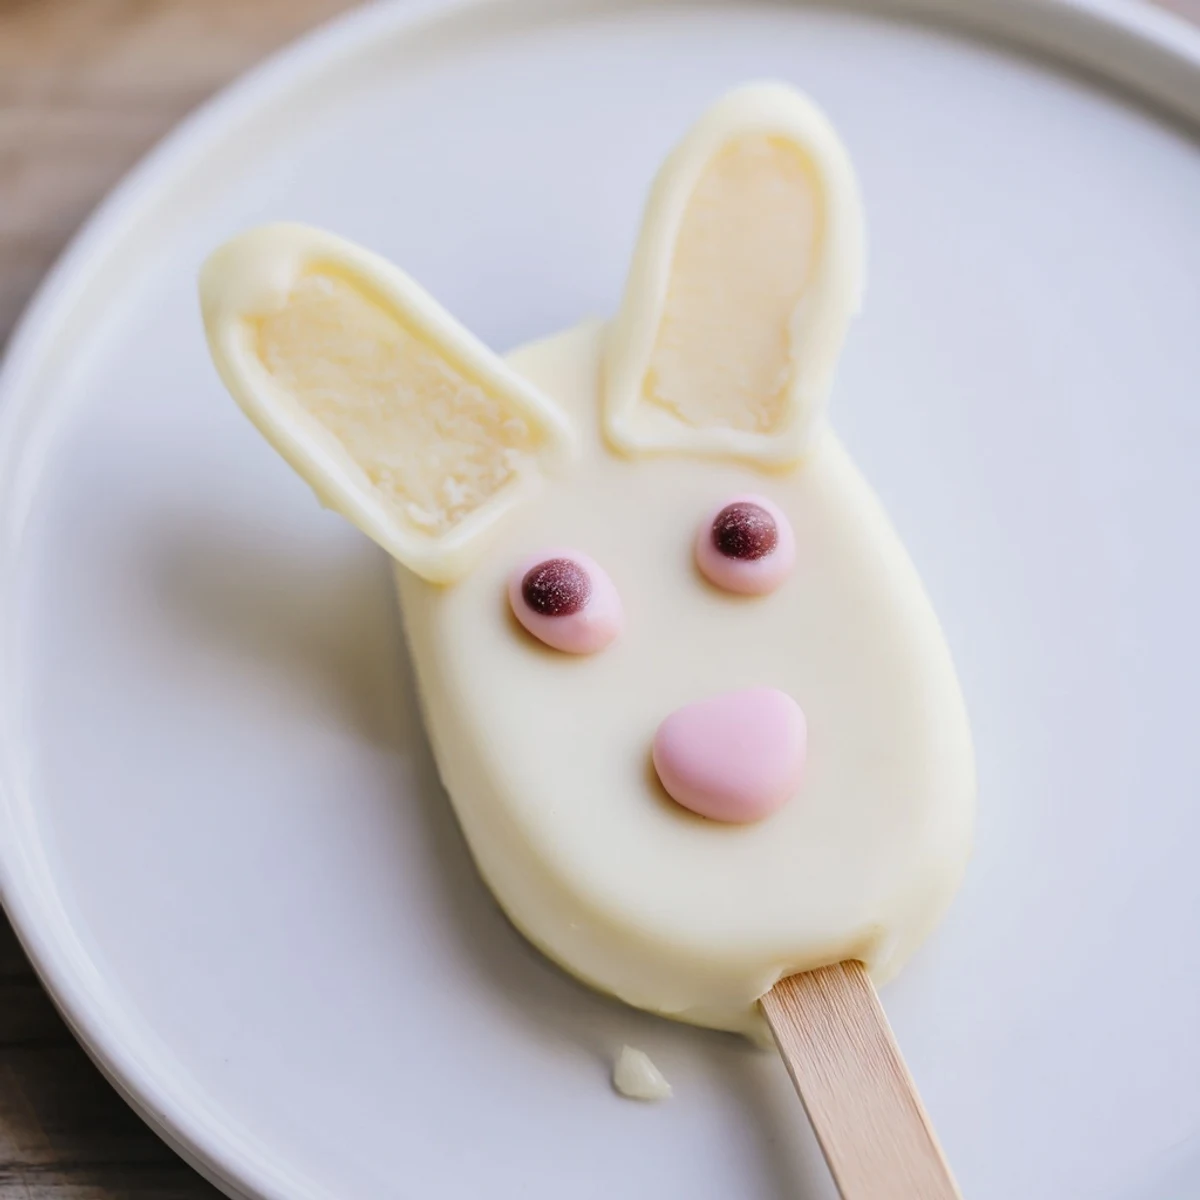
- Portion into 8 pieces and gently press into flattened ovals with slightly pointed tops for bunny heads
- Add the sticks:
- Press each stick about halfway into the bottom of each bunny shape and chill until firm
- Melt the chocolate:
- Heat white chocolate in 30 second bursts, stirring between each until glossy and smooth
- Coat the cakesicles:
- Dip each bunny completely, tap off excess, and let any drips fall off before decorating
- Decorate while wet:
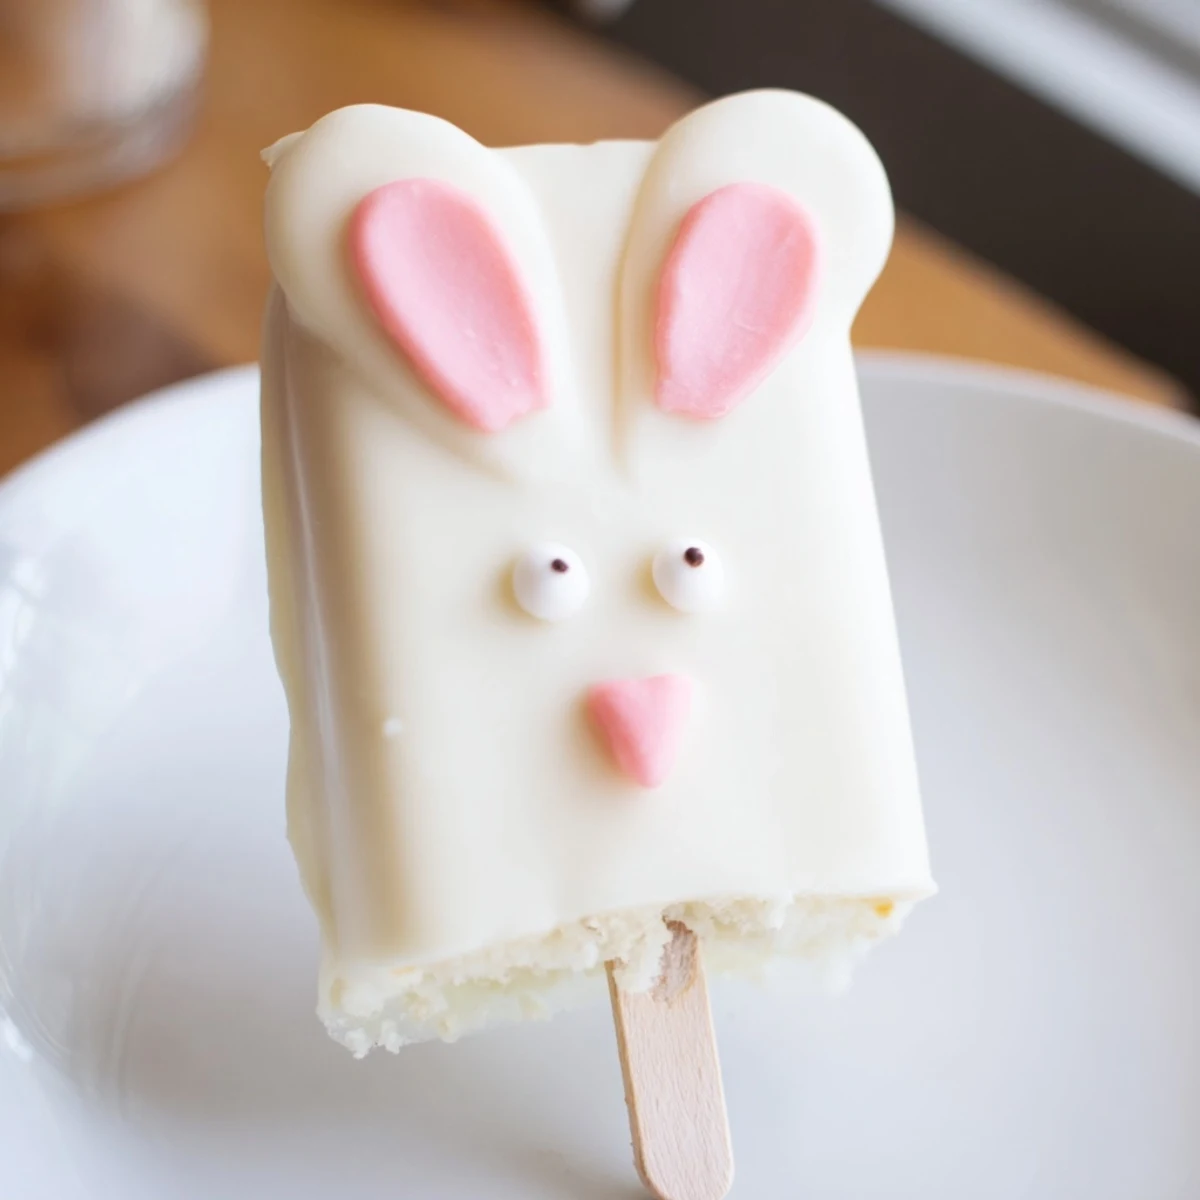
- Immediately add candy eyes, pink ears and noses while coating is still soft
- Set completely:
- Let them harden at room temperature or pop in the fridge for 10 minutes
 Save
Save My neighbor texted me at 11 PM last Easter Eve because she'd forgotten dessert for the next day. I brought over a box of these and she ended up serving them on a platter surrounded by jelly beans. Everyone assumed she'd spent hours on them.
Making Perfect Bunny Shapes
The first year I made these, every bunny looked slightly different. Some had wonky ears, others had eyes that were too far apart. By the third or fourth bunny, I realized the trick is shaping them when the dough is slightly chilled, making the edges much cleaner and more uniform.
Chocolate Coating Secrets
I learned the hard way that white chocolate seizes if even a drop of water gets into it. Now I dry every bowl and spoon completely before melting. Adding a tiny bit of vegetable oil if it gets too thick helps achieve that perfectly smooth, professional coating.
Decoration Ideas That Work
Over the years, we've experimented with every decoration imaginable. Some work beautifully while others were disasters. Here's what actually sticks and looks adorable.
- Heart sprinkles make perfect pink noses when placed upside down
- Pretzel sticks dipped in pink coating create charming floppy ears
- Edible markers let kids draw on whiskers and smiles after chocolate sets
 Save
Save These little bunnies have become such a cherished part of our Easter traditions. The kids look forward to decorating them more than the actual egg hunt.
Recipe FAQs
- → How far in advance can I make these cakesicles?
-
You can prepare these treats up to 3 days in advance and store them in an airtight container in the refrigerator. The coating helps maintain freshness, and they'll remain perfectly moist until serving time.
- → Can I use different cake flavors for this treat?
-
Absolutely! While vanilla works beautifully, you can experiment with chocolate, lemon, red velvet, or carrot cake crumbs. Each flavor creates a unique variation that still pairs wonderfully with white chocolate coating.
- → What if I don't have a cakesicle mold?
-
No problem! Simply shape the mixture by hand into flattened oval bunny faces. The mold helps with uniformity, but hand-shaping works perfectly fine and adds a charming homemade touch to each treat.
- → How do I prevent the chocolate from cracking when coating?
-
Ensure your cake shapes are thoroughly chilled before dipping. The temperature difference helps the chocolate set quickly and evenly. Also, avoid over-tapping when removing excess coating.
- → Can I freeze these for later use?
-
Yes! Place them in a freezer-safe container with parchment paper between layers. They'll keep well for up to 1 month. Thaw in the refrigerator overnight before serving for best results.
- → What's the best way to transport these to a party?
-
Stand them upright in a sturdy container filled with decorative elements like Easter grass or tissue paper. This prevents the coating from touching surfaces and keeps decorations intact during transport.
