 Save
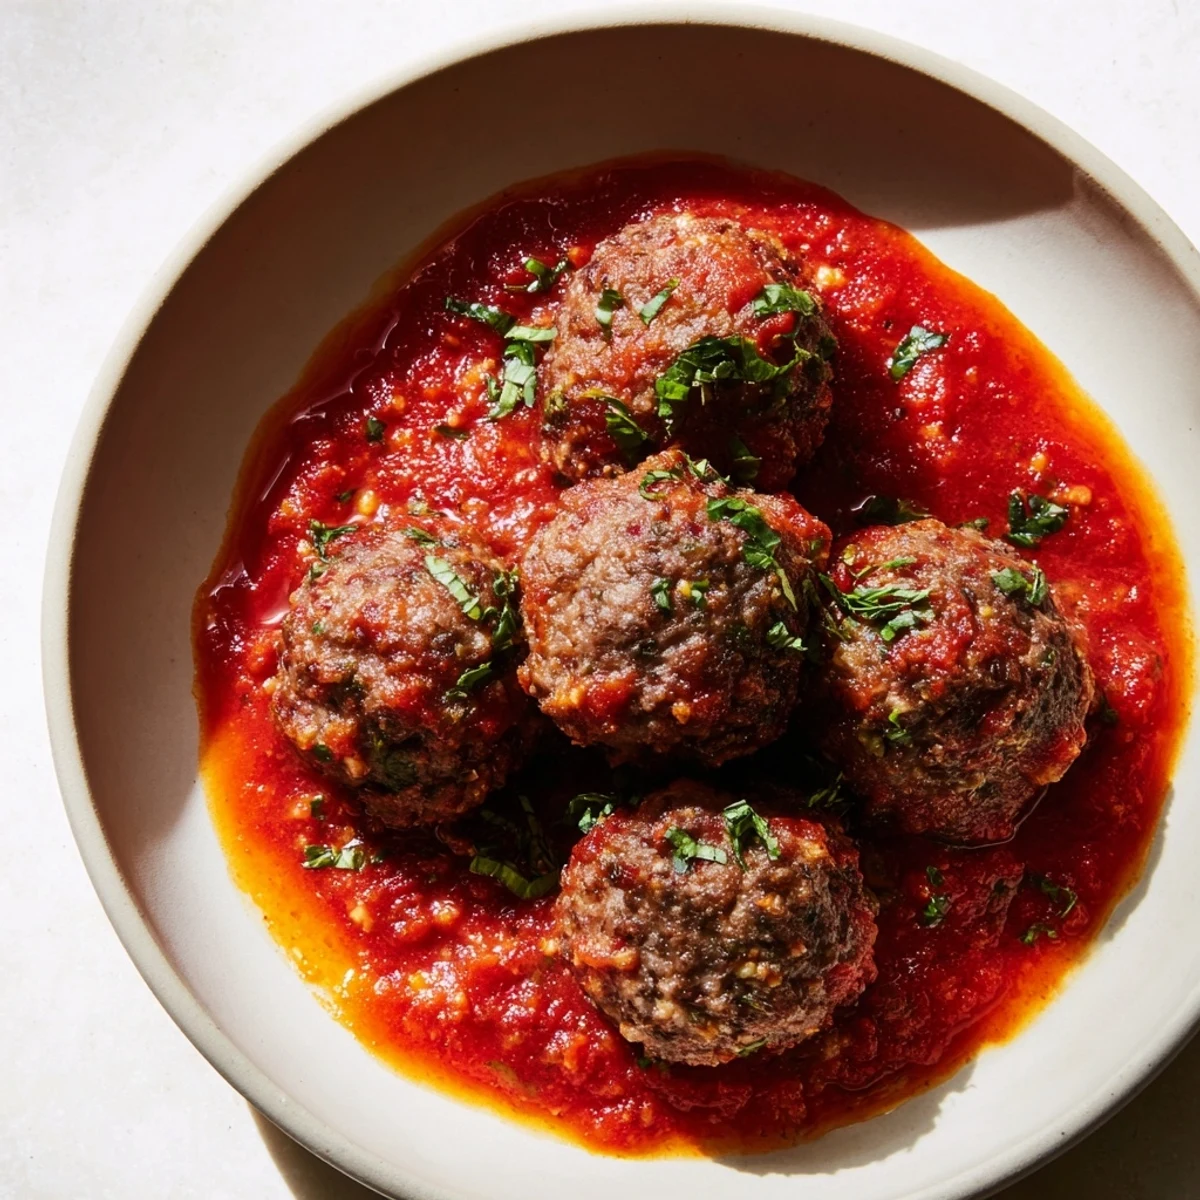
Save This dish features tender beef meatballs crafted from a blend of ground beef, Parmesan, breadcrumbs, and fresh herbs. The meatballs are browned before gently simmering in a savory marinara sauce infused with garlic, oregano, basil, and crushed tomatoes. The slow simmer ensures the flavors meld beautifully while maintaining juicy meatballs. Garnished with fresh basil or parsley, this comforting Italian-inspired classic pairs wonderfully with pasta or crusty bread for a satisfying meal.
There's something about the smell of meatballs browning in a hot skillet that takes me right back to my nonna's kitchen. I remember being maybe eight years old, standing on a wooden stool to reach the counter, watching her brown each one with such care. She'd always say the secret was not to rush them, and here I am decades later still thinking about those words every time I make them.
I'll never forget the first time I made these for unexpected dinner guests and they devoured them like they were at a trattoria in Rome. One friend asked for the recipe right then and there, sauce still on his chin, and I realized this was the dish I'd be making for the rest of my life.
Ingredients
- Ground beef (500 g): The foundation here—I reach for beef that's not too lean because the fat is what keeps these meatballs tender and rich. If it's too lean they'll be tough no matter what else you do
- Breadcrumbs (1/2 cup): These are your secret weapon for keeping the meatballs soft. They absorb the milk and create that delicate crumb, so don't skip them or swap them out with something else
- Parmesan cheese (1/4 cup grated): Freshly grated tastes infinitely better than the pre-grated kind, and it brings a nuttiness that makes people wonder what you did differently
- Whole milk (1/4 cup): This seems odd but it's what soaks into the breadcrumbs and keeps everything moist. Cold milk works best
- Egg (1 large): Your binder—just one is enough, and using a large egg matters more than you'd think
- Garlic and onion (minced and finely chopped): Mincing these small means they integrate fully into the meat rather than creating pockets of raw flavor. I use a microplane for garlic because it becomes almost a paste
- Fresh parsley (2 tbsp chopped): The fresh herb that wakes everything up—dried just isn't the same here
- Dried oregano and basil: These are your flavor anchors. I've learned to not skimp on these dried herbs in Italian cooking because they're doing heavy lifting
- Salt and pepper: Season as you mix because the meat needs it throughout, not just on the outside
- Olive oil (for frying): Use a good one you like the taste of—it's going into the sauce too
Instructions
- Get Everything Ready:
- Gather all your ingredients and have them within arm's reach. Pour the milk into a small bowl and add your breadcrumbs—let them sit for a minute so they soften and soak it all in. This is the trick that changes everything. Mince your garlic and onion finer than you think you need to.
- The Part Where You Build the Mix:
- In your large bowl, combine the beef with the soaked breadcrumb mixture, Parmesan, egg, garlic, onion, parsley, oregano, salt, and pepper. This is where you have to resist the urge to really work it. Use your hands and fold everything together gently—as soon as it looks combined, stop. Overworking makes them dense and tough. You'll feel the difference in your hands when you've done it right.
- Shaping Your Meatballs:
- Using a small ice cream scoop or two spoons, form the mixture into 16 to 18 balls, each about the size of a golf ball (roughly 1.5 inches). They don't need to be perfect—slightly irregular ones actually cook more evenly. Place them on a plate as you go.
- The Browning That Matters:
- Heat 2 tablespoons of olive oil in your large skillet over medium heat until it shimmers. Working in batches so you don't crowd the pan, add the meatballs. This is crucial—don't move them around constantly. Let each side touch the hot pan for a minute or two until it develops a golden crust. You're looking for color on multiple sides, about 5 to 7 minutes total per batch. The crust doesn't cook them through—the sauce will do that—but it adds so much flavor. Transfer each batch to a clean plate as they brown.
- Building the Sauce Foundation:
- In a separate large saucepan, heat 2 tablespoons of fresh olive oil over medium heat. Add your finely chopped onion and let it cook until it turns translucent and soft, about 3 to 4 minutes. You'll smell when it's ready—sweet and mellow. Then add your minced garlic and cook for just 30 seconds, stirring constantly, until it becomes fragrant. Don't let it brown or it'll taste bitter.
- The Sauce Comes Together:
- Pour in your crushed tomatoes—use your hands to crush any large pieces if you need to. Add the dried basil, oregano, red pepper flakes if you like heat, sugar to balance the acidity, and a pinch of salt and pepper. Stir everything together and let it come to a gentle simmer. You'll see the surface start to bubble lazily. The smell at this point is your reward.
- The Long Simmer:
- Return all your browned meatballs to the sauce, nestling them among the tomatoes. The sauce should come about halfway up the sides of the meatballs. Cover the pan partially with a lid (leaving it slightly ajar so steam can escape) and let everything simmer gently for 20 to 25 minutes. Every few minutes, gently turn the meatballs so they cook evenly. You'll notice the sauce thickens and darkens slightly, and the flavors deepen. This is the part where you can step away and do something else, but honestly I like to stay nearby and listen to the quiet bubbling.
- The Final Check:
- Taste a small piece of meatball to make sure it's cooked through—there should be no pink inside. Taste the sauce and adjust salt and pepper if needed. Sometimes I add a splash of red wine if I want more complexity.
- Finishing Touch:
- Tear some fresh basil or parsley over the top right before serving. It looks beautiful and adds brightness that cuts through the richness.
 Save
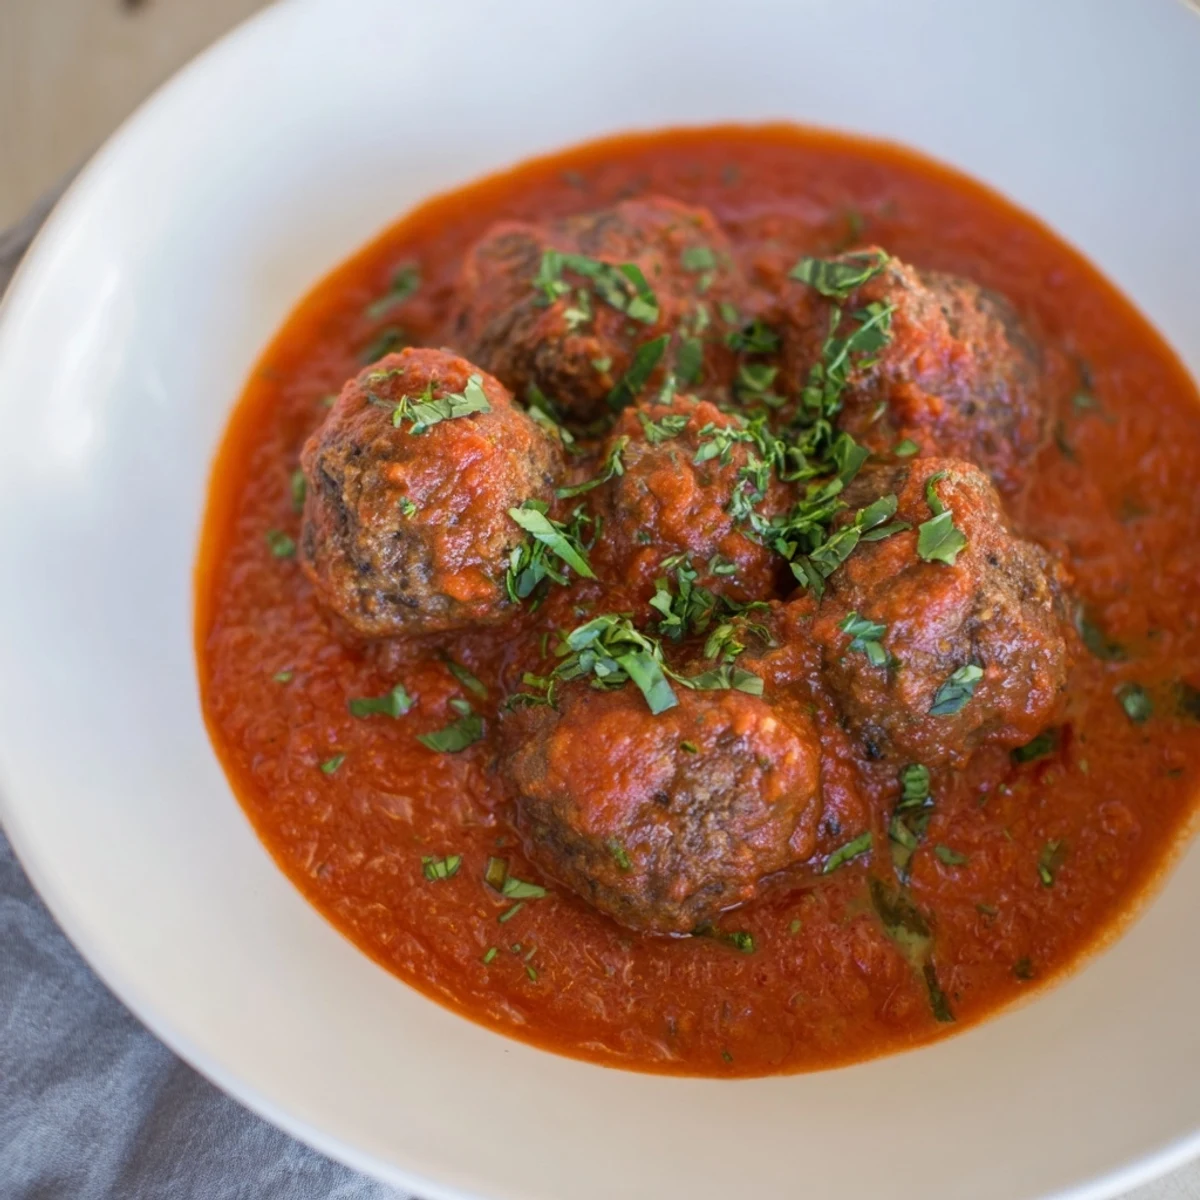
Save These meatballs became my go-to when I wanted to feed people something that tasted like love. There's a memory of a friend going through a difficult time, sitting at my table, twirling meatballs on pasta, and for the first time that week actually smiling. That's when I understood that good food is really about showing up for people.
Keeping It Fresh
These meatballs are actually better the next day once the flavors have had time to get to know each other. I make them on Sunday and eat them three different ways through the week—over pasta on Monday, tucked into a crusty sandwich on Tuesday, and reheated gently with some fresh greens on Wednesday. They freeze beautifully too if you want to make a double batch. Just cool them completely, store them in the sauce in a freezer-safe container, and thaw overnight in the refrigerator before reheating gently on the stove.
When You're Missing Something
I've learned to work with what I have in the pantry. If you don't have fresh parsley, the dried version works—just use less because it's more concentrated. No Parmesan? Pecorino Romano is a beautiful substitute and brings its own salty sharpness. Fresh basil is ideal for garnish but really any fresh herb will do. The core magic of this dish is in the browning and the gentle simmer, so don't stress too much about minor substitutions.
Serving Ideas That Clicked
Beyond the classic pasta pairing, I've discovered these meatballs are incredibly versatile. They're stunning over creamy polenta, tucked into crusty rolls for the best sandwich imaginable, or served alongside roasted vegetables for something lighter. My favorite recent discovery is serving them at room temperature as part of a charcuterie spread with good bread and olives—people are always surprised by how good they are when they're not piping hot.
- Remember that the meatballs will continue cooking slightly even after you remove them from heat, so don't overcook them in the sauce or they'll get tough
- A splash of red wine added to the sauce after you sauté the garlic brings a complexity that people notice even if they can't name it
- If your sauce seems too thin after simmering, remove the lid and let it reduce for another few minutes—the right consistency matters more than you'd think
 Save
Save This is the kind of recipe that gets better the more you make it because you start to understand the why behind each step. Once you've made it a few times, you can play with it—add a splash of wine, try different herbs, make them smaller for appetizers. But the fundamentals here are solid and have been for generations.
