 Save
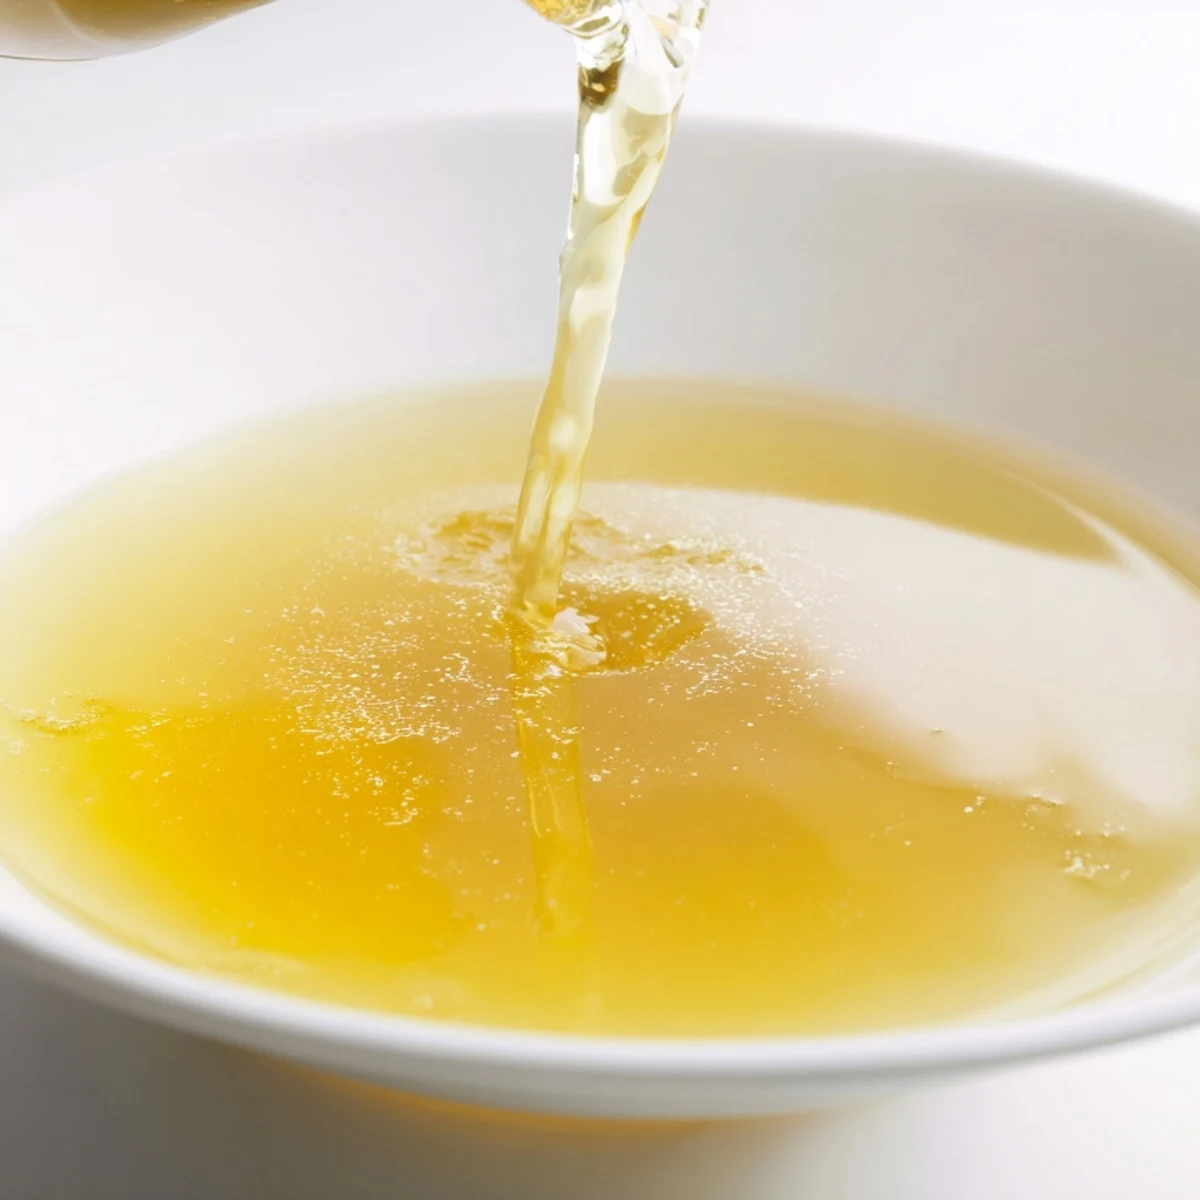
Save This flavorful beef broth is created by roasting marrow and knuckle bones along with select vegetables such as onions, carrots, and celery. Aromatics including garlic, thyme, bay leaves, and black peppercorns infuse the liquid during a long, gentle simmering process. The rich, clear broth serves as a versatile base to elevate soups, stews, and sauces, while the tomato paste enhances color and depth. Careful skimming and slow simmering ensure a clean, satisfying stock ready for various culinary uses.
I still remember the first time I made beef stock from scratch—it was a chilly Sunday afternoon, and the rich aroma slowly filling my kitchen felt like a warm hug that lasted hours. Discovering this simple yet transformative base changed how I approached soups and stews forever.
One time, unexpected guests showed up just as I was finishing a batch—pouring homemade beef stock into that stew made everyone linger at the table an hour longer than planned.
Ingredients
- Beef bones: Choose marrow or knuckle bones for the richest flavor; roasting them first really boosts that deep brown color
- Beef shank or stew meat: Optional, but it adds a beautiful richness to the broth
- Onions: Keep the skin on to enhance the color; quartered and ready to go
- Carrots and celery: Roughly chopped for mellow sweetness and aroma
- Leek: Washed and chunked; optional, but I love the subtle extra dimension it brings
- Garlic cloves: Smashed to release their warmth gently
- Bay leaves, thyme, peppercorns, parsley stems: These aromatics bring that classic herbal note that rounds out the stock
- Tomato paste: Optional, but it deepens the flavor and color beautifully
- Cold water: The base that draws everything out slowly
- Salt: Only add at the end to avoid reducing the liquid too much
Instructions
- Get Everything Ready:
- Preheat your oven to 220°C (430°F) and arrange the beef bones and optional shank on a roasting pan. As they brown deeply over 30-40 minutes, the scent shifts from raw to nutty and caramelized—a clear sign the magic is starting.
- Bring It All Together:
- Transfer those browned treasures into a large stockpot. Deglaze the roasting pan with a splash of water to lift every morsel of flavor, scraping gently, and pour it all in.
- Add The Aromatics:
- Toss in onions, carrots, celery, leek, garlic, tomato paste if using, bay leaves, thyme, peppercorns, and parsley stems—each adding layers to the flavor symphony.
- Simmer Slowly:
- Cover everything with cold water, bring to a gentle simmer over medium heat. Keep an eye out for foam on the surface to skim off, so your broth stays clear and pure during the first 30 minutes.
- Long and Low:
- Lower the heat, cover loosely, and let it simmer softly for 4 hours. Occasionally return with your skimmer, lovingly removing any fat or impurities. Keep it gentle—vigorous boiling will cloud the stock and dull the taste.
- Strain and Chill:
- Pour the broth through a fine-mesh sieve into a clean container, casting away the solids. Cooling quickly prevents any unwanted bacteria before refrigeration. Once chilled, skim off the solidified fat resting on top.
- Final Seasoning:
- Wait until ready to use before salting—stock is concentrated, so you want to control the salt level in your final dish.
 Save
Save This beef stock became more than a base—it turned into comfort on rainy evenings and the cornerstone of holiday recipes that brought everyone home. It’s little moments like these that prove cooking is truly love in liquid form.
Keeping It Fresh
Once cooled, storing your beef stock in airtight containers in the fridge keeps it fresh for about 3-4 days. For longer life, freeze in portions so you can thaw just what you need.
Serving Ideas That Clicked
I love ladling this stock into soups like French onion or classic vegetable—its depth instantly upgrades simple recipes to memorable meals.
A Time This Recipe Saved the Day
When unexpected guests arrived starving, having homemade beef stock meant I could whip up a hearty stew in no time. It felt like a secret weapon in the kitchen that never failed to impress.
- Always keep some stock frozen for last-minute rescues
- Don’t be afraid to add herbs you love for a personal touch
- Label your containers with date and contents to avoid kitchen confusion
 Save
Save Thanks for hanging out and sharing this recipe with me—may your kitchen always smell like comfort and success. Until next time, happy cooking!
Recipe FAQs
- → What type of bones work best for this broth?
-
Marrow and knuckle bones are ideal as they provide rich gelatin and flavor for a full-bodied broth.
- → Why is roasting bones important?
-
Roasting bones deepens the flavor and adds a rich, caramelized taste to the broth.
- → Can I add other vegetables for different flavors?
-
Yes, adding mushrooms or parsnips can provide additional depth and complexity.
- → How do I ensure a clear broth?
-
Simmer gently without boiling and skim off foam and impurities regularly during cooking.
- → When should I add salt to the broth?
-
Season with salt only after the broth has finished cooking to maintain clarity and balance.
